 Save to Pinterest
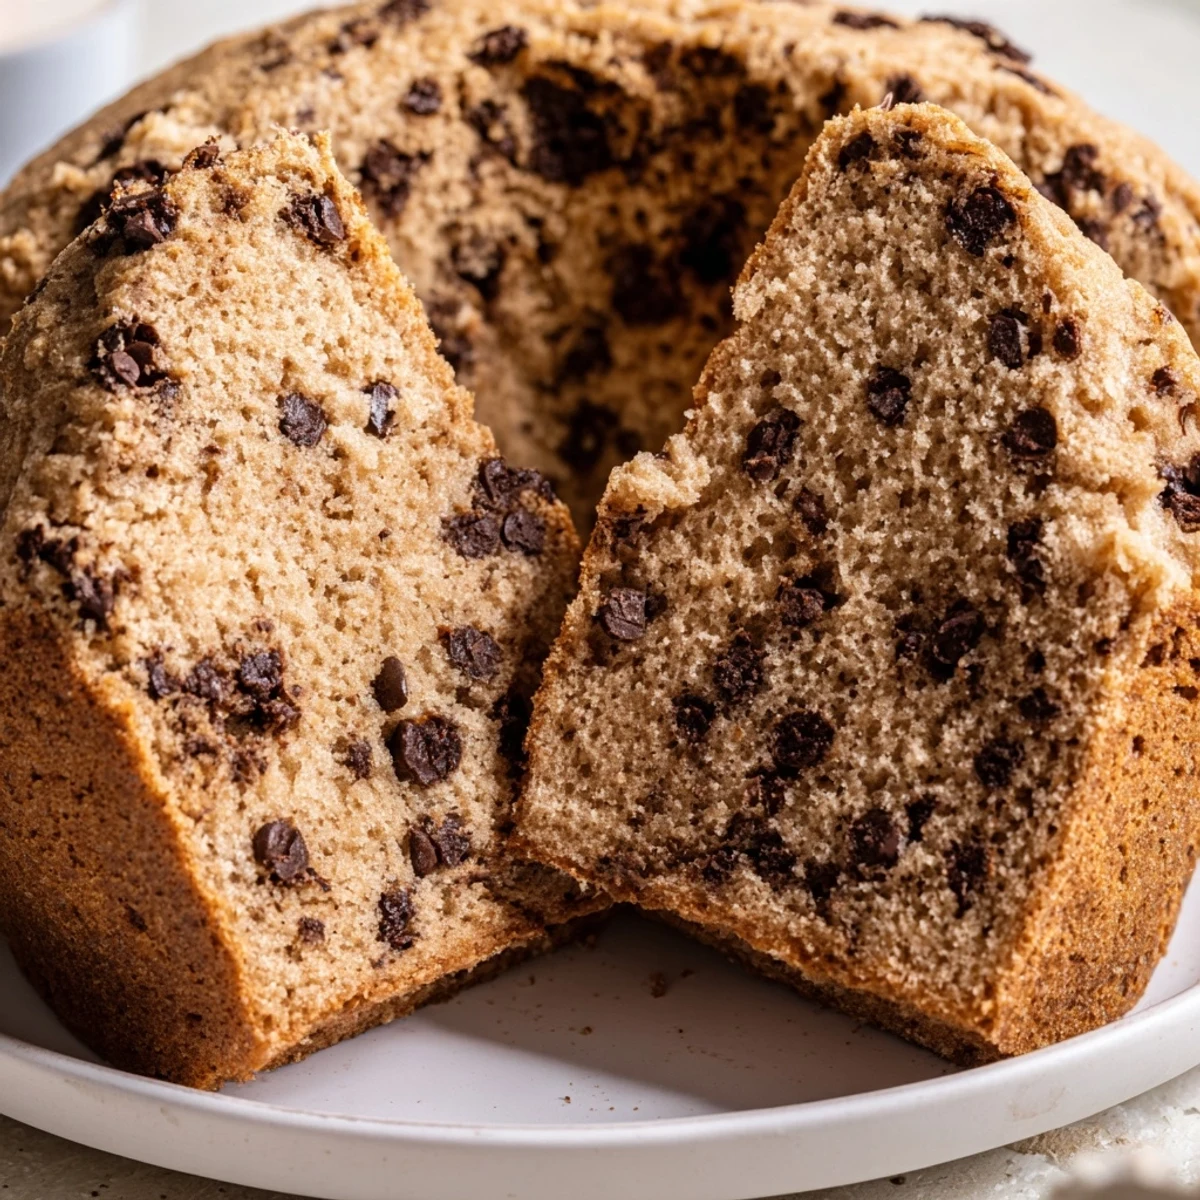
 This classic chocolate chip cake features an incredibly moist and tender crumb, generously studded with semi-sweet chocolate chips throughout. The buttermilk base ensures a soft texture while providing just the right amount of tang to balance the sweetness. Perfect for afternoon tea, birthday celebrations, or casual weeknight desserts, this cake comes together in just one hour from start to finish.
The technique involves creaming butter and sugar until fluffy, then alternating dry ingredients with buttermilk for that characteristic tender texture. Tossing the chocolate chips in flour before adding prevents them from sinking to the bottom during baking, ensuring even distribution in every slice.
My roommate Sarah burst through the door carrying a chocolate chip cake from some new bakery downtown, declaring it the best thing she'd ever eaten. We devoured half of it standing right there in the kitchen, chocolate smeared on our chins, making all sorts of inappropriate noises. The next morning I woke up determined to recreate that magic in my own oven, no matter how many attempts it took. Three cakes later, I finally nailed the perfect balance of tender crumb and chocolate distribution.
I made this cake for my mom's birthday one year when I was completely broke and couldn't afford a gift. She cried when she took the first bite, said it tasted exactly like the cake her grandmother used to make before she passed down the family recipe. Now it's become our birthday tradition, though I've learned to make two cakes because the first one always mysteriously disappears before dessert time.
Ingredients
- 2 cups all-purpose flour: The foundation of your cake, spooned and leveled gently rather than scooped directly which can compact the flour
- 1 ½ teaspoons baking powder: Works with the baking soda to give the cake its rise and airy structure
- ½ teaspoon baking soda: Reacts with the buttermilk for extra lift and tenderness
- ¼ teaspoon salt: Enhances the chocolate flavor and balances the sweetness
- ½ cup unsalted butter: Must be softened to room temperature so it creams properly with the sugar, creating those tiny air pockets that make the cake light
- 1 cup granulated sugar: Creaming this with the butter is what gives the cake its structure and fine crumb
- 2 large eggs: Should be room temperature to emulsify properly with the butter
- 1 teaspoon vanilla extract: Don't skimp here since it's the primary flavor complement to the chocolate
- 1 cup buttermilk: The secret ingredient for tenderness and tanginess that cuts through the sweetness
- 1 ¼ cups semi-sweet chocolate chips: Toss them with flour first so they don't all sink to the bottom while baking
- 2 tablespoons flour: For coating the chocolate chips and preventing them from sinking
- Coarse sugar or extra chocolate chips: Optional but creates that bakery style sparkle on top
Instructions
- Preheat your oven and prepare the pan:
- Set your oven to 350°F and generously grease a 9-inch round pan with butter, then dust it with flour, tapping out any excess.
- Whisk together your dry ingredients:
- In a medium bowl, combine the flour, baking powder, baking soda, and salt, whisking them together thoroughly so everything is evenly distributed.
- Cream the butter and sugar:
- Beat the softened butter and sugar together for about 3 minutes until the mixture looks pale and fluffy, scraping down the sides of the bowl once or twice.
- Add the eggs and vanilla:
- Beat in the eggs one at a time, letting each one fully incorporate before adding the next, then stir in the vanilla extract.
- Combine wet and dry ingredients:
- Add the flour mixture in three parts, alternating with the buttermilk in two parts, beginning and ending with the dry ingredients and mixing just until combined.
- Prepare the chocolate chips:
- Toss the chocolate chips with 2 tablespoons of flour in a small bowl until they're lightly coated, then gently fold them into the batter.
- Bake the cake:
- Pour the batter into your prepared pan, smooth the top with a spatula, and bake for 35 to 40 minutes until a toothpick comes out clean.
- Cool and serve:
- Let the cake rest in the pan for 10 minutes before turning it out onto a wire rack to cool completely.
 Save to Pinterest
 Last summer I brought this cake to a potluck and my friend's five year old took one bite and announced it was better than the bakery cake his mom bought for his birthday. His mom just sighed and asked me for the recipe. Now we have this running joke where I bring chocolate chip cake to every gathering and the kids start chanting my name when I walk through the door.
Making It Your Own
Swapping half the white sugar for brown sugar adds a lovely caramel depth that makes the cake taste more sophisticated. I've also added a teaspoon of cinnamon to the dry ingredients which gives it a snickerdoodle quality that people can never quite identify but keep asking about.
Serving Suggestions
While this cake is perfect on its own, I've learned that warming slices for 15 seconds in the microwave makes the chocolate chips melty and gooey in the most wonderful way. A dollop of unsweetened whipped cream on the side cuts the richness beautifully, or you can go full decadent with a scoop of vanilla bean ice cream.
Storage And Make Ahead Tips
This cake actually improves on the second day as the flavors meld and the moisture redistributes throughout the crumb. I wrap mine tightly in plastic wrap and store it at room temperature for up to three days, though it rarely lasts that long in my house.
- The batter can be made ahead and refrigerated overnight for an even more developed flavor
- Individual slices freeze beautifully wrapped in plastic and foil for those emergency chocolate cravings
- Bring frozen slices to room temperature uncovered so any condensation evaporates rather than making the cake soggy
 Save to Pinterest
 There's something about a homemade chocolate chip cake that feels like a hug from an old friend, familiar and comforting. Every time I pull one from the oven, that buttery vanilla scent takes me back to standing in my tiny first kitchen, covered in flour, feeling like I could conquer anything with the right recipe and enough chocolate.
Questions & Answers About the Recipe
- → Why do I need to toss the chocolate chips in flour?
-
Coating chocolate chips with flour helps them stay suspended in the batter during baking. Without this step, the heavier chocolate would sink to the bottom of the pan, leaving you with an uneven distribution throughout your finished cake.
- → Can I use regular milk instead of buttermilk?
-
Yes, you can substitute regular milk by adding 1 tablespoon of white vinegar or lemon juice to each cup of milk. Let it sit for 5-10 minutes until slightly thickened and curdled. This mixture mimics the acidity and thickness of buttermilk in your cake.
- → How should I store this cake?
-
Keep the cake in an airtight container at room temperature for up to 3 days. For longer storage, wrap individual slices in plastic wrap and freeze for up to 3 months. The cake stays moist and delicious when properly stored.
- → Can I make this cake ahead of time?
-
Absolutely! This cake actually tastes better the next day as the flavors have time to meld. You can bake it up to 24 hours in advance, cool completely, wrap tightly in plastic, and store at room temperature until ready to serve.
- → What type of chocolate chips work best?
-
Semi-sweet chocolate chips provide the classic flavor balance, but you can experiment with dark chocolate for a more intense taste, milk chocolate for sweeter results, or even chopped chocolate bars for larger pockets of melted chocolate throughout your cake.
