 Save to Pinterest
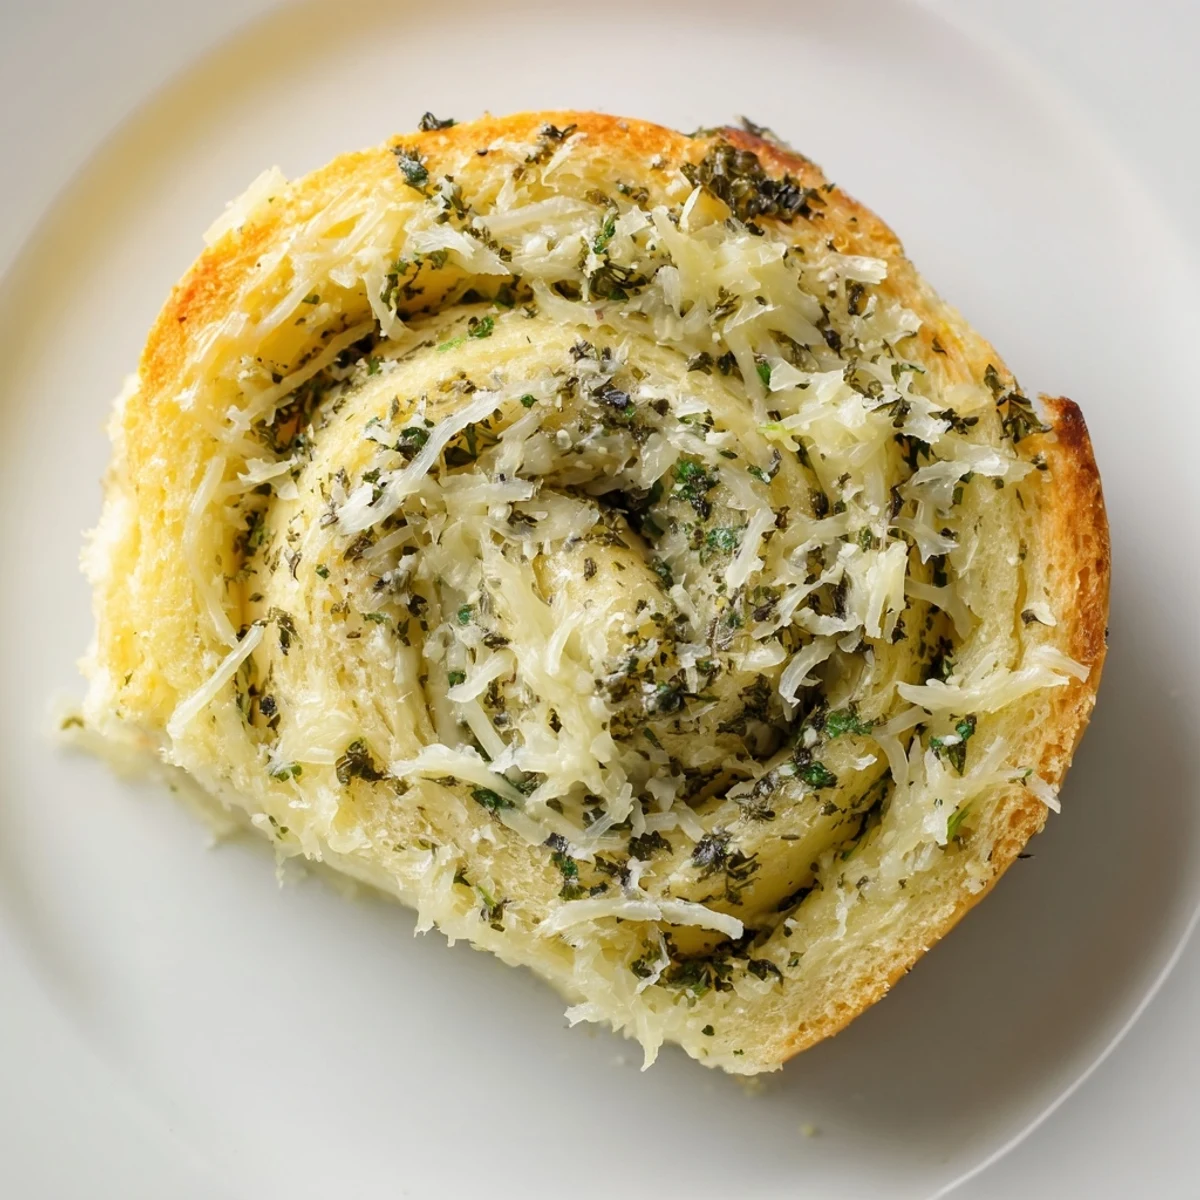
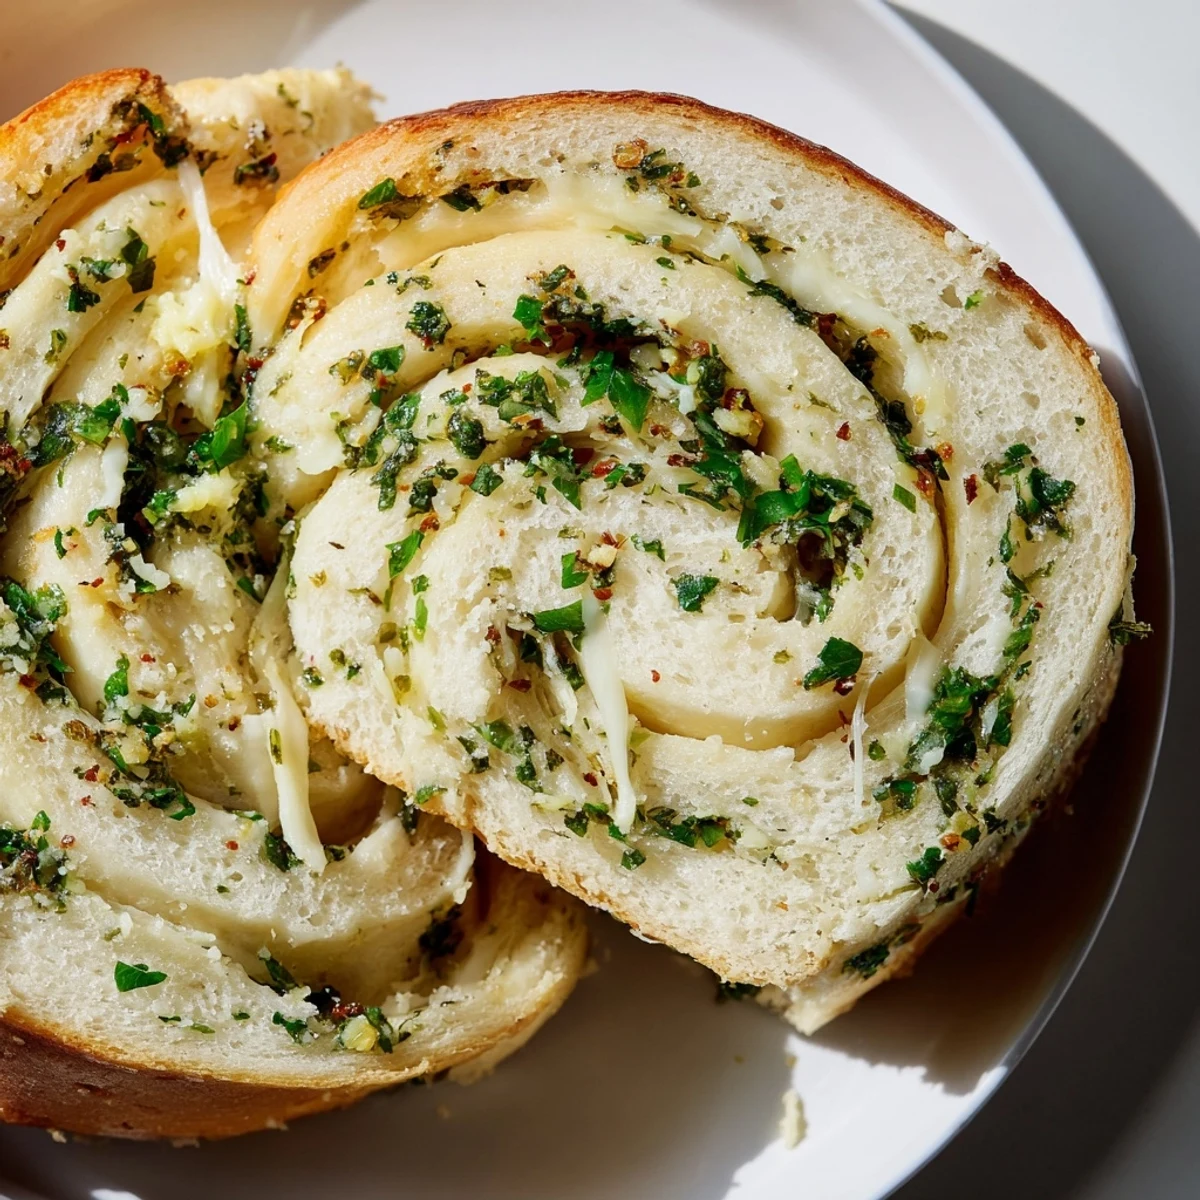
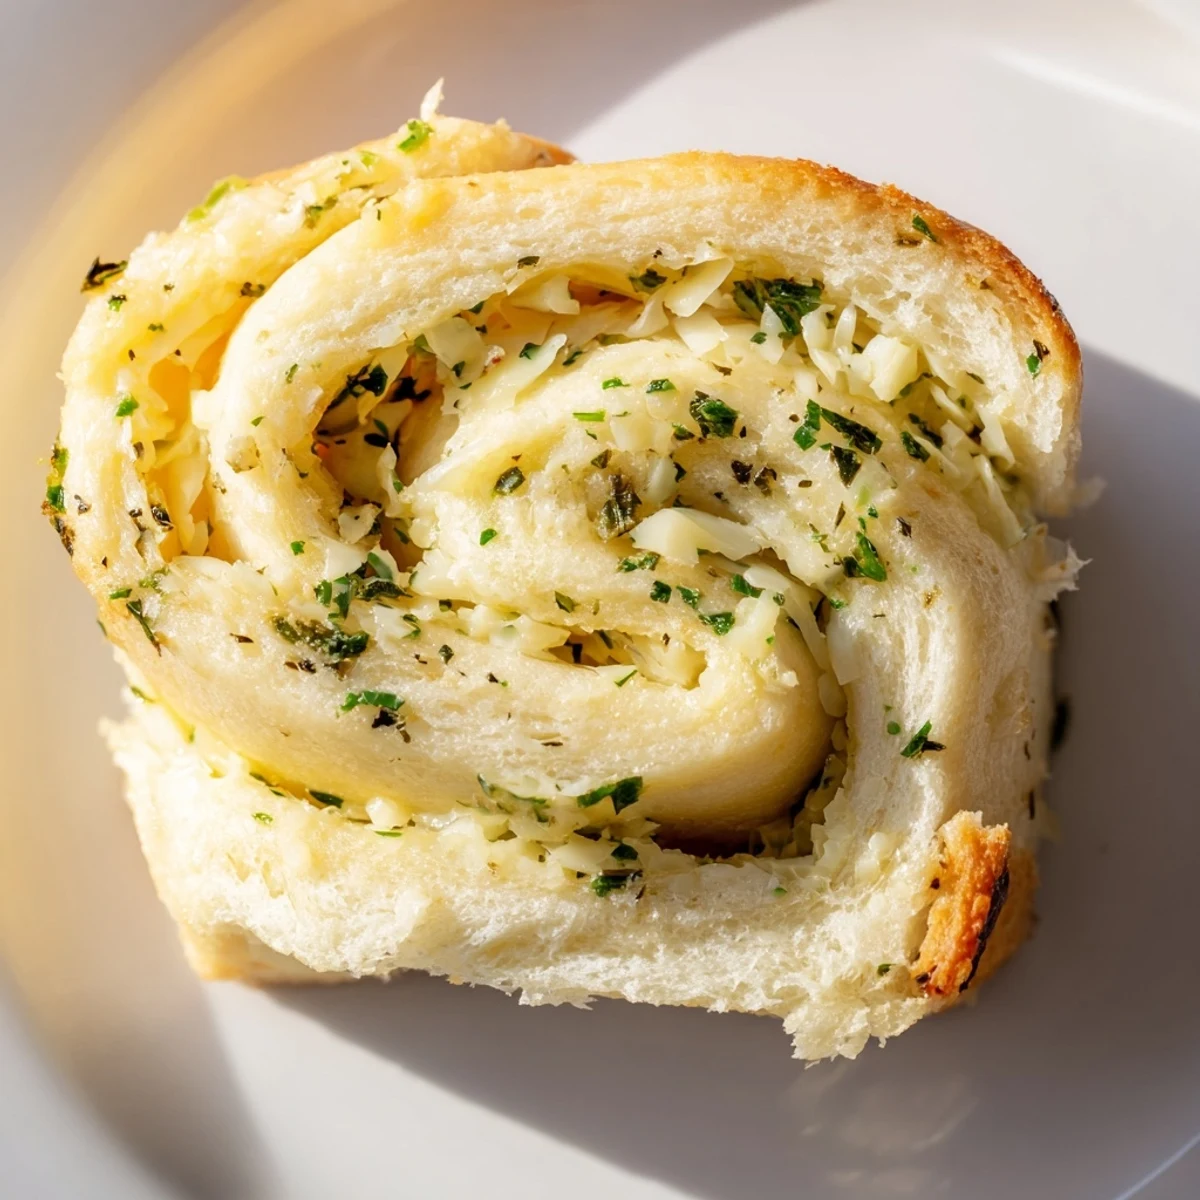
 Discover soft, airy bread rolls filled with a savory blend of garlic, mozzarella, Parmesan, and fresh herbs. Made from a yeast-leavened dough, these rolls offer a perfect balance of fluffiness and rich flavor. The dough requires rising time for a tender crumb, while the herb and cheese filling adds depth and aroma. Baked to golden perfection and brushed with melted butter, these rolls are delightful served warm alongside soups or as finger foods.
I stumbled on this recipe during a weekend when I had leftover herbs wilting in the fridge and a craving for something warm and shareable. The dough came together easier than I expected, and the smell of garlic and butter filling the kitchen made everyone wander in asking what was for dinner. These rolls became my go-to whenever I wanted something that looked impressive but didn't require pastry school skills. They disappear fast, so I learned to double the batch.
The first time I brought these to a potluck, someone asked if I bought them from a cafe. I didn't correct them right away because I was too busy enjoying the compliment. Later, I shared the recipe and realized how much joy comes from teaching someone else to make something this simple yet satisfying. Now it's become a tradition among my friends to bring these rolls to gatherings, each with their own twist on the filling.
Ingredients
- All-purpose flour: The backbone of the dough, I measure it by spooning into the cup and leveling off to avoid dense rolls.
- Active dry yeast: Make sure it's fresh and foamy after sitting in warm milk, or the dough won't rise properly.
- Warm milk: Too hot will kill the yeast, too cold won't activate it, aim for bath water温度.
- Sugar: Feeds the yeast and adds a hint of sweetness that balances the savory filling.
- Salt: Don't skip it, the dough tastes flat without this small amount.
- Unsalted butter: I use unsalted so I can control the salt level in both the dough and filling.
- Egg: Adds richness and helps the dough stay tender after baking.
- Garlic: Fresh minced garlic is worth the effort, it perfumes the whole dish.
- Mozzarella cheese: Melts beautifully and creates those pull-apart cheese strings everyone loves.
- Parmesan cheese: Adds a sharp, nutty flavor that deepens the filling.
- Fresh parsley and chives: Bright and grassy, they cut through the richness and make each bite feel lighter.
- Black pepper: Freshly ground gives a gentle heat that lingers pleasantly.
Instructions
- Wake Up the Yeast:
- Combine warm milk, sugar, and yeast in a large bowl and let it sit until it looks like foam on a cappuccino. If nothing happens after 5 minutes, your yeast might be old or the milk too cool, start over to save yourself frustration later.
- Build the Dough:
- Stir in melted butter, egg, and salt, then gradually add the flour while mixing with a wooden spoon. Once it gets shaggy, turn it out onto a floured counter and knead for 8 to 10 minutes until the dough feels smooth and springs back when you poke it.
- Let It Rise:
- Place the dough in a greased bowl, cover with a damp towel, and set it somewhere warm for an hour. I sometimes put mine near the oven or on top of the fridge, anywhere draft-free works.
- Make the Filling:
- While the dough rises, mix softened butter, minced garlic, both cheeses, parsley, chives, and black pepper in a bowl. Taste it and adjust the seasoning, this is your chance to make it your own.
- Roll and Fill:
- Punch down the risen dough and roll it into a 12x18-inch rectangle on a lightly floured surface. Spread the filling evenly, leaving a small border so it doesn't ooze out when you roll.
- Shape the Log:
- Starting from one long side, roll the dough tightly into a log and pinch the seam closed. Use a sharp knife or unflavored dental floss to slice it into 12 equal pieces without squashing the swirl.
- Second Rise:
- Arrange the rolls cut side up in a greased 9x13-inch baking dish, cover, and let them puff up for 30 minutes. They should look pillowy and almost touch each other.
- Bake Until Golden:
- Preheat your oven to 350°F and bake for 25 to 30 minutes until the tops are golden and the cheese bubbles. Brush with melted butter right when they come out, the rolls soak it up and turn glossy.
 Save to Pinterest
 One rainy evening, I made these rolls and served them with tomato soup, and it felt like the kind of meal that wraps you in warmth. My partner said it reminded them of childhood dinners, even though their mom never made anything like this. Sometimes food creates new memories that feel just as comforting as the old ones.
Make Ahead Magic
After slicing the rolls and arranging them in the baking dish, you can cover tightly and refrigerate overnight. The next morning, let them sit at room temperature for 30 minutes while the oven preheats, then bake as directed. The slow cold rise actually deepens the flavor, and waking up to fresh-baked rolls is a small luxury that costs you almost no extra effort.
Filling Variations
I've tried adding crumbled cooked bacon, chopped sun-dried tomatoes, and even a handful of spinach to the filling, and each version brought something new to the table. If you're feeling adventurous, swap the mozzarella for sharp cheddar or add a pinch of red pepper flakes for a gentle kick. The base recipe is sturdy enough to handle your creativity, so don't be afraid to experiment with whatever you have on hand.
Serving and Storage
These rolls are best served warm, straight from the oven when the cheese is still gooey and the butter glistens on top. Leftovers keep in an airtight container for up to three days and reheat well in a 300°F oven for 10 minutes. I've also frozen baked rolls and thawed them at room temperature before warming, and they taste nearly as good as the first day.
- Pair them with soup, salad, or a charcuterie board for an easy appetizer spread.
- Pack them in lunchboxes or take them on picnics, they travel surprisingly well.
- Brush with garlic butter halfway through baking for an extra layer of flavor.
 Save to Pinterest
 Every time I pull these rolls from the oven, I'm reminded that the best recipes are the ones you can make your own. Whether you stick to the original or add your favorite fillings, the joy is in the making and the sharing.
Questions & Answers About the Recipe
- → How do I achieve a fluffy texture in the rolls?
-
Ensuring the dough rises properly by keeping it warm and allowing adequate time for proofing creates airiness and softness in the rolls.
- → Can I prepare the rolls in advance?
-
Yes, assemble the rolls and refrigerate them overnight, then bake fresh the next day for convenience without sacrificing flavor.
- → What herbs complement the cheese filling?
-
Fresh parsley, chives, and optional additional herbs bring brightness and balance to the rich cheese and garlic mixture.
- → Is it possible to add other ingredients to the filling?
-
Yes, variations like cooked bacon or sun-dried tomatoes can be incorporated to enhance taste and texture.
- → How should I store leftovers?
-
Keep leftover rolls wrapped tightly at room temperature for up to two days or refrigerate, then gently reheat before serving.
