 Save to Pinterest
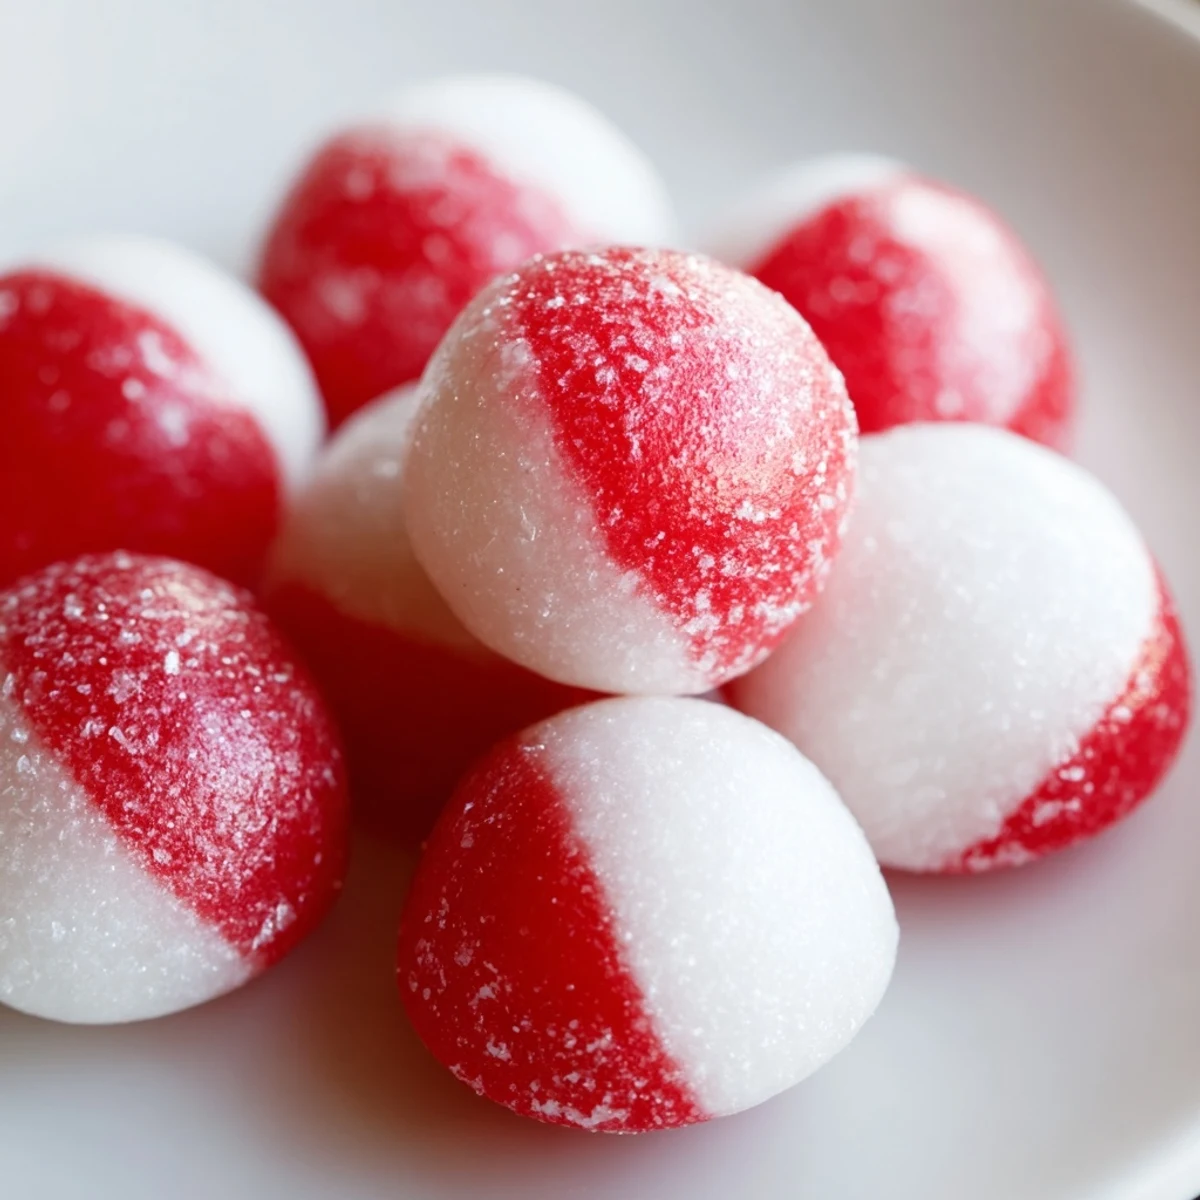
 These classic peppermint drops deliver a refreshing, cooling burst of flavor paired with a satisfying crunch. Crafted by boiling sugar syrup to the hard crack stage and enhanced with peppermint extract, they set into perfect small rounds. Dusting with powdered sugar prevents sticking, while the option to add red coloring offers a festive touch. Easy to prepare and ideal for holiday enjoyment or any time you crave a crisp peppermint treat.
The sharp crack of peppermint hitting my tongue always takes me back to the afternoon I scorched my first batch, watching helplessly as the syrup turned amber instead of clear. My grandmother laughed and said candy-making teaches patience better than any sermon. She was right—now I can tell when the thermometer hits 300°F just by the way the bubbles slow and thicken. These little drops became my December ritual, the kind of thing I make when the house needs that cool, sweet smell of mint curling through every room.
I started making these for my neighbor who hated the waxy texture of commercial mints. She'd knock on my door every December asking if I had time to whip up a batch, and I'd pretend to be annoyed even though I loved the excuse to pull out the candy thermometer. One year she brought over her grandkids, and we spent the afternoon dropping tiny spoonfuls onto parchment while they argued over whether to add red swirls or leave them plain white. That kitchen chaos, sticky fingers and all, is still one of my favorite memories.
Ingredients
- Granulated sugar: The foundation of any hard candy, it melts into a glassy syrup that hardens with that signature snap—make sure its fresh and not clumpy.
- Light corn syrup: This keeps the sugar from crystallizing into a grainy mess, giving you that smooth, clear finish every time.
- Water: It dissolves the sugar at the start, then evaporates off as the temperature climbs, leaving pure concentrated sweetness behind.
- Peppermint extract: A single teaspoon is enough to flood the candy with that icy, refreshing kick—add it off the heat or the alcohol will burn off and take the flavor with it.
- Red food coloring: Completely optional, but a few drops turn plain mints into festive little gems that look like they came from a candy shop.
- Powdered sugar: Dusting the finished candies keeps them from welding together in the jar, and it gives them a soft, snowy finish.
Instructions
- Prepare your workspace:
- Line a baking sheet with parchment and dust it lightly with powdered sugar so the hot candy releases easily once its set. Have your spoon ready and your extract measured out, because once the syrup hits temperature, you wont have time to scramble.
- Dissolve the sugar:
- Combine the granulated sugar, corn syrup, and water in a heavy-bottomed saucepan, stirring over medium heat until the sugar disappears completely. A heavy pan prevents hot spots that can scorch the syrup before it even starts to boil.
- Boil to hard crack:
- Clip your candy thermometer to the side of the pan, crank the heat to medium-high, and let it boil without stirring until it hits exactly 300°F. Stirring at this stage can cause crystallization, turning your smooth syrup into a gritty disaster.
- Add flavor and color:
- Pull the pan off the heat the instant it reaches temperature, wait for the bubbles to settle, then stir in the peppermint extract and food coloring. Work fast but stay calm—the syrup is still liquid enough to blend, but its cooling every second.
- Drop the candies:
- Using a small spoon, drop half-teaspoon rounds onto the prepared parchment, spacing them so they dont touch. The syrup will spread slightly as it lands, forming neat little discs that harden as they cool.
- Cool and finish:
- Let the candies sit untouched for at least 30 minutes until theyre completely hard and cool to the touch. Dust them with powdered sugar, then store in an airtight container away from humidity.
 Save to Pinterest
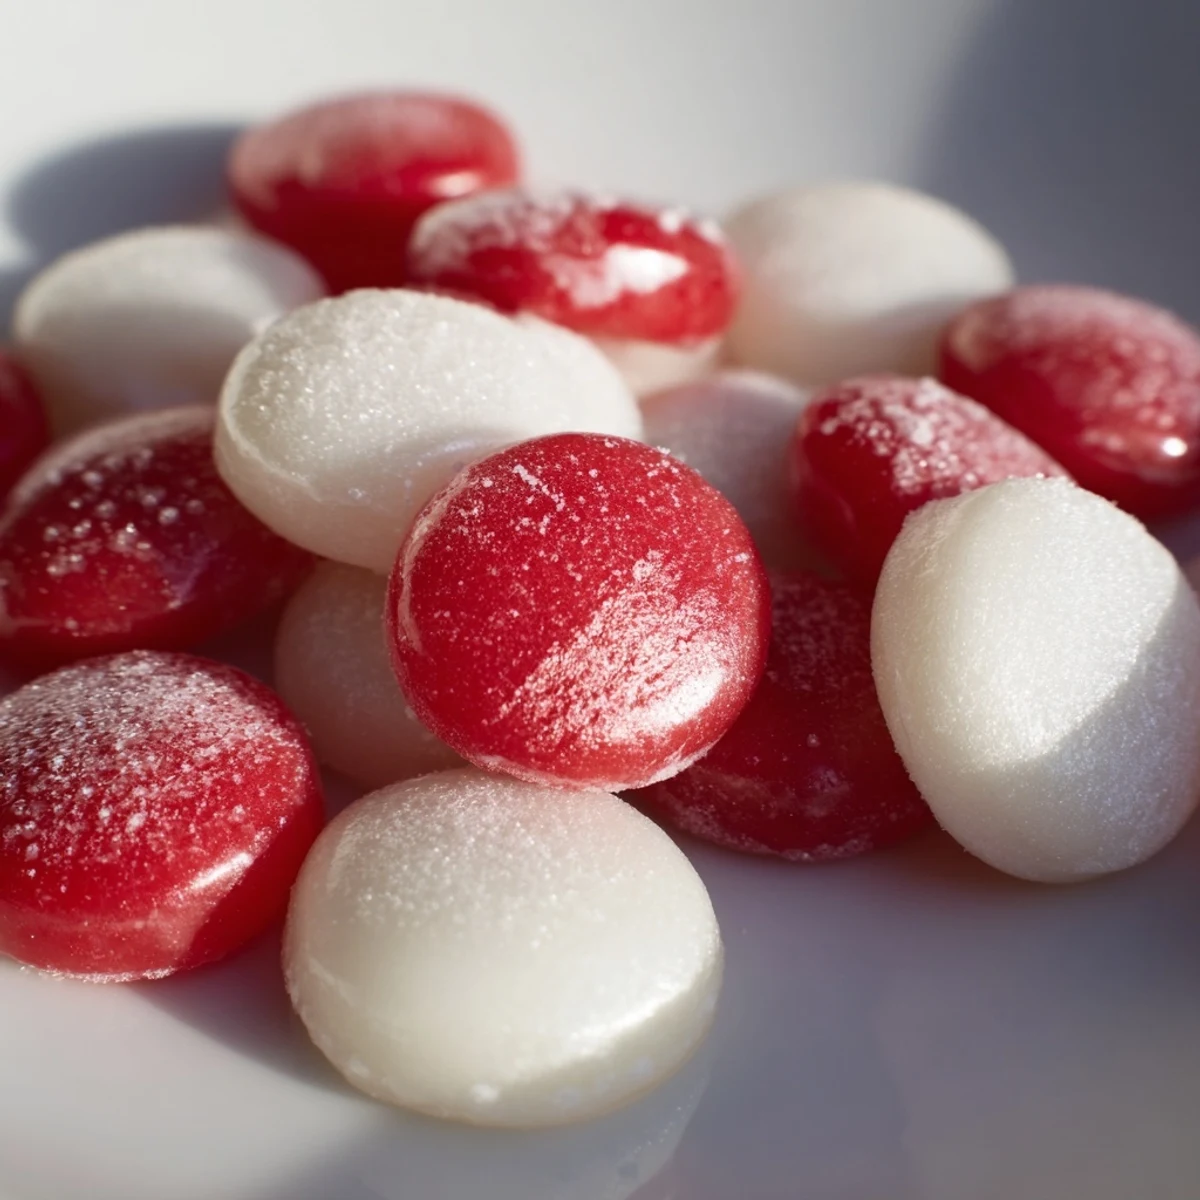
 The first time I handed a tin of these to a friend, she bit into one and her whole face lit up—she said it tasted like the candies her grandfather used to keep in his coat pocket. I hadnt set out to recreate anyones childhood, but thats the thing about peppermint: it sneaks into your memory and stays there. Now I make them every year, not just for the taste, but for the way they seem to carry little pieces of winter and nostalgia in every sharp, sweet bite.
How to Know When Its Ready
The syrup will start out cloudy and bubbly, then turn crystal clear as it climbs past 250°F. At 300°F, the bubbles slow down and the surface looks almost glassy—if you drop a tiny bit into cold water, itll harden instantly into a brittle thread that snaps clean. Trust the thermometer, but also trust your eyes and the way the syrup moves, thick and deliberate, no longer watery or loose.
Flavor Variations to Try
Swap the peppermint extract for cinnamon oil and youve got spicy red-hots, or use lemon extract and yellow coloring for sunshine drops that taste like summer. I once made a batch with a blend of peppermint and vanilla, and they tasted like liquid candy canes—subtle, layered, impossible to stop eating. Just remember that oils are stronger than extracts, so start with half the amount and taste as you go.
Storage and Shelf Life
These candies will keep for weeks in an airtight container, as long as you store them somewhere cool and dry. I like to layer them with squares of parchment to keep them from sticking, and I always tuck in a small packet of silica gel if the weathers damp. If they do get sticky, you can re-dust them with powdered sugar, but honestly, once humidity gets in, theyre best eaten quickly—not that thats ever been a problem in my house.
- Store in glass jars or tins with tight-fitting lids to keep moisture out.
- Avoid the fridge or freezer, as condensation will ruin the texture.
- If gifting, wrap individually in cellophane or wax paper for a polished, professional look.
 Save to Pinterest
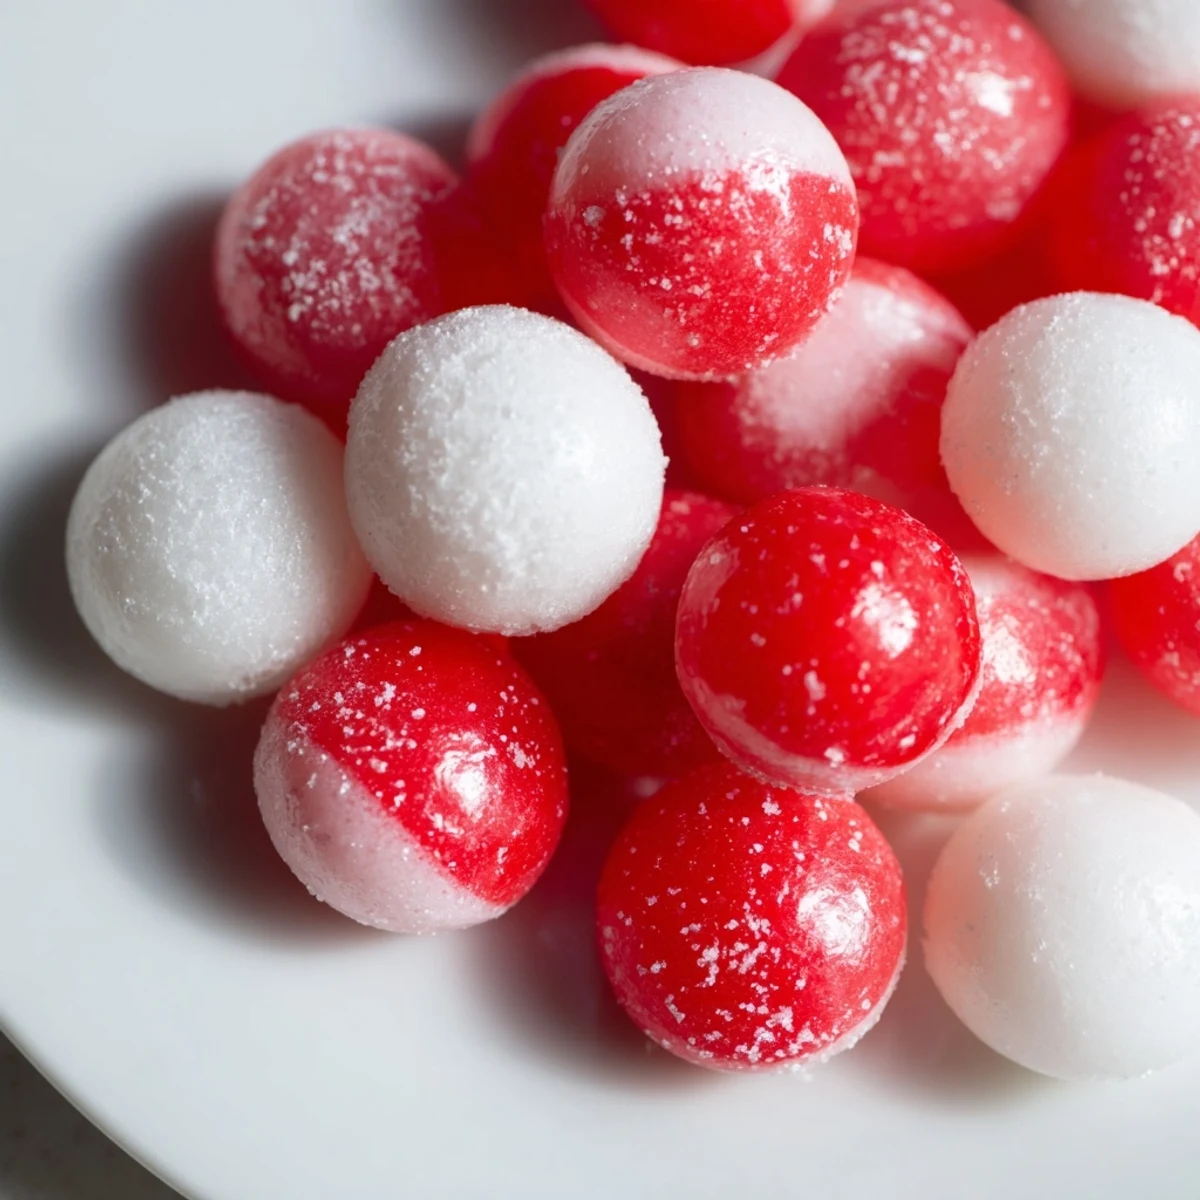
 Theres something deeply satisfying about turning sugar and heat into something this bright and clean-tasting, like alchemy you can actually eat. Every time I make a batch, I remember why I fell in love with candy-making in the first place—the precision, the risk, the way a few simple ingredients become something that makes people smile.
Questions & Answers About the Recipe
- → What temperature should the sugar syrup reach?
-
The syrup should be heated to 300°F (149°C), known as the hard crack stage, to ensure proper candy setting and crunch.
- → How can I prevent the candies from sticking together?
-
Lightly dust the baking surface with powdered sugar before dropping the candy mixture and dust the candies again once set.
- → Can I add color to the peppermint drops?
-
Yes, adding 2–3 drops of red food coloring creates festive red and white candies for holiday appeal.
- → What tools are essential for making these drops?
-
A heavy-bottomed saucepan, candy thermometer, baking sheet, parchment paper, and a small spoon are needed for best results.
- → How long does it take for the drops to set?
-
Allow the candies to cool and harden completely, which takes about 30 minutes at room temperature.
- → Are there common allergens in these drops?
-
The drops contain no common allergens but check food coloring sources if allergy concerns exist, and corn syrup may affect sensitive individuals.
