 Save to Pinterest
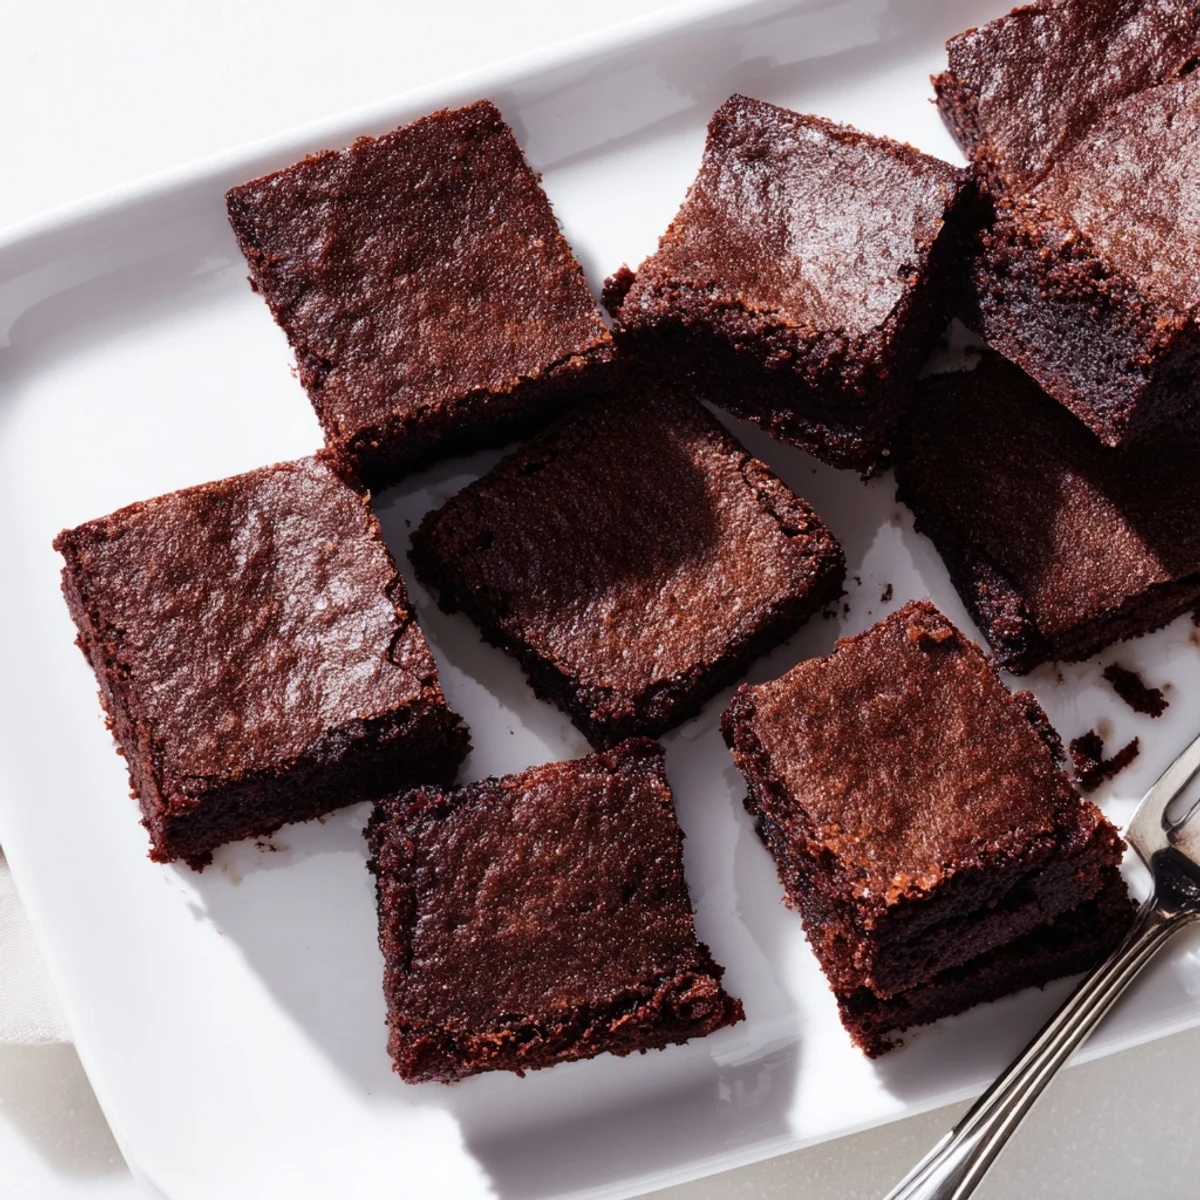
 These ultra-fudgy brownies combine the best of American and Japanese desserts, featuring a unique chewy mochi texture from sweet rice flour. The brown butter adds a rich, nutty depth that perfectly complements the intense chocolate flavor. With a crisp top and incredibly soft interior, these gluten-free treats offer an irresistible mouthfeel unlike any traditional brownie. Ready in just over an hour, they're perfect for serving with vanilla ice cream or fresh berries for an elegant finishing touch.
I was halfway through making regular brownies for a friend's birthday when I realized I was out of all-purpose flour. The only thing in my pantry was mochiko from a failed experiment months earlier. Something about the nutty smell of the brown butter I'd already made clicked with the sweet rice flour sitting there, and I decided to just see what would happen. That afternoon in the kitchen completely changed how I think about dessert textures.
My roommate walked in while these were baking and immediately asked what I was making because the whole apartment smelled like toasted nuts and chocolate. She took one bite fresh from the oven and made me promise to write down exactly what I did. Now they are the most requested treat at every gathering, and I have to hide a few for myself before they disappear.
Ingredients
- Sweet rice flour (mochiko): This creates that signature chewy texture, and I have found that regular glutinous rice flour does not give quite the same bounce
- Unsweetened cocoa powder: Use good quality Dutch-processed cocoa for that deep, almost black chocolate color and intense flavor
- Baking powder: Just enough to give these a slight lift while still maintaining that dense, fudgy quality we want
- Kosher salt: Salt balances the sweetness and makes all the chocolate flavors sing
- Unsalted butter: We are browning this ourselves, so starting with unsalted lets us control exactly how salty the final brownies taste
- Granulated and brown sugar: The combination gives you crispy edges from the white sugar and a slightly softer, more caramel flavor from the brown
- Large eggs: These should be room temperature so they incorporate evenly and give the brownies their structure
- Vanilla extract: Pure vanilla extract is worth it here because the flavor really comes through in the final bake
- Whole milk and heavy cream: The combination creates just the right amount of moisture for that fudgy texture without making the batter too thin
- Bittersweet chocolate: I chop this myself instead of using chips because the uneven pieces melt into little pools of chocolate throughout the brownies
Instructions
- Prep your pan:
- Line an 8x8-inch baking pan with parchment paper, leaving extra hanging over two opposite sides like little handles. This makes removing the brownies so much easier later, and I learned this trick after too many stuck-on batches.
- Make the brown butter:
- Melt the butter in a small saucepan over medium heat, then keep cooking and swirling the pan until it foams up and turns a gorgeous golden brown with this incredible nutty smell. Pour it immediately into a large bowl to stop the cooking.
- Melt the chocolate:
- Add your chopped chocolate to the hot brown butter and stir until it is completely melted and smooth. The residual heat from the butter is usually enough, but you can microwave for 10 seconds if needed.
- Whisk in the sugars:
- Add both the granulated and brown sugar to the chocolate mixture and whisk until everything is well combined. The mixture will look slightly grainy, which is totally normal.
- Add the eggs and vanilla:
- Whisk in the eggs one at a time, making sure each one is fully incorporated before adding the next, then stir in the vanilla extract.
- Mix the dry ingredients:
- In a separate bowl, whisk together the sweet rice flour, cocoa powder, baking powder, and salt until they are evenly combined.
- Combine everything:
- Add half the dry ingredients to the wet mixture and stir until just combined, then pour in the milk and heavy cream and mix until smooth.
- Finish the batter:
- Fold in the remaining dry ingredients gently until you do not see any dry streaks, but be careful not to overmix or the brownies can become tough.
- Bake:
- Pour the batter into your prepared pan and smooth the top, then bake for 40 to 45 minutes until the top is set and a toothpick comes out with just a few moist crumbs.
- Cool completely:
- This is the hardest part, but let these cool completely in the pan before using the parchment handles to lift them out and slice into squares.
 Save to Pinterest
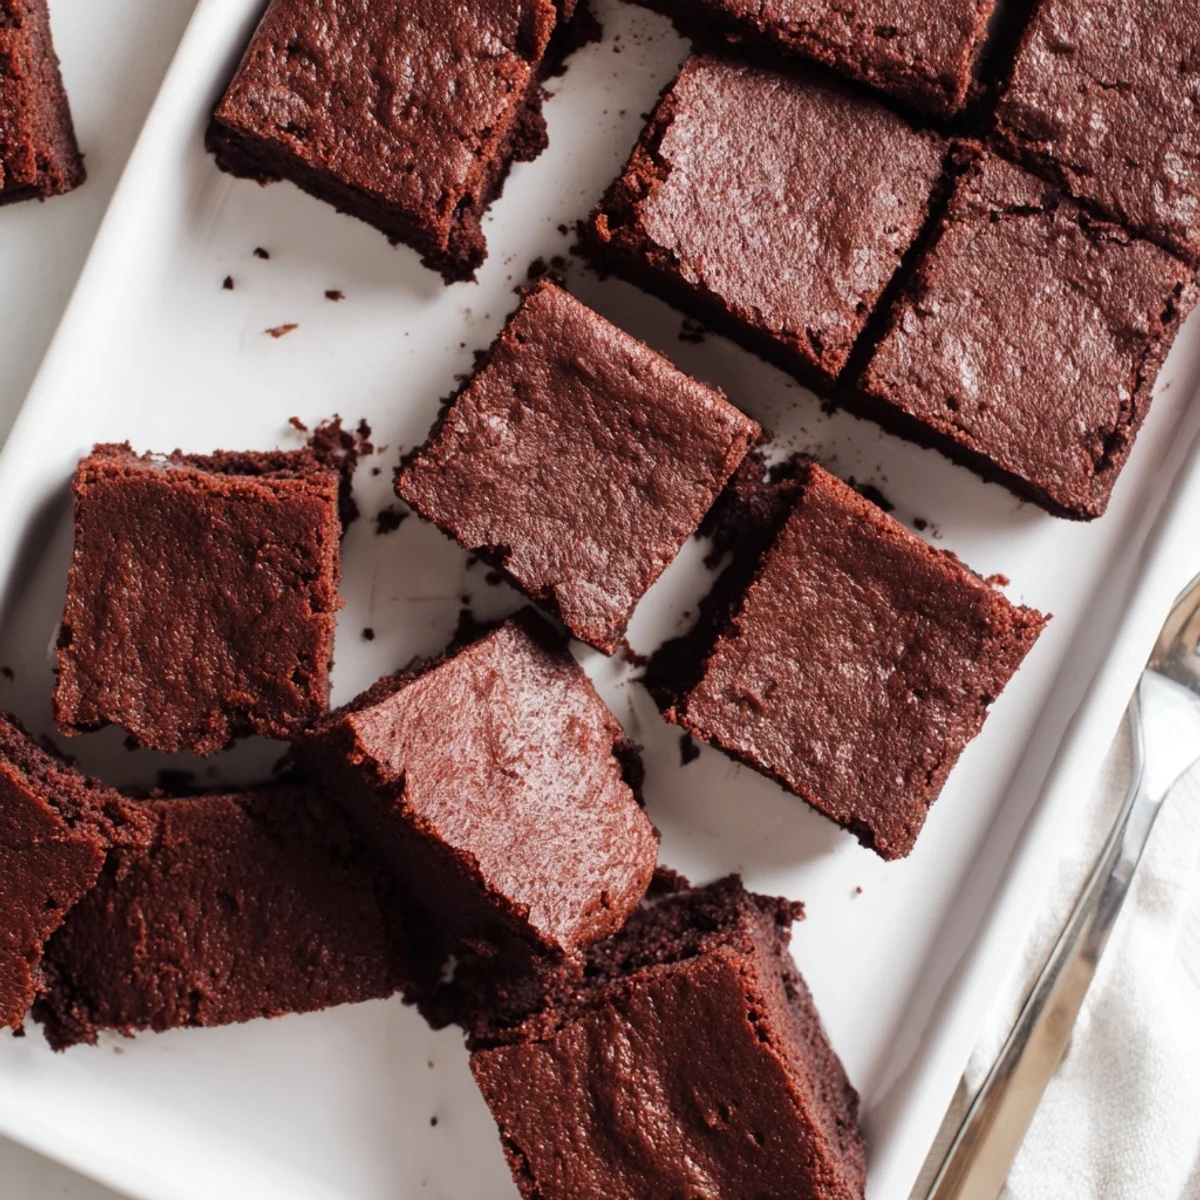
 These became my go-to contribution for every potluck and dinner party after my sister requested them for her wedding shower. Seeing people hesitantly try one, then their eyes light up when they hit that chewy texture, never gets old. They have this way of starting conversations about food memories and cultural recipes that I did not expect when I first threw them together.
Getting the Perfect Texture
The key to that incredible mochi-brownie hybrid texture is not overmixing the batter once you add the dry ingredients. I used to treat this like regular brownie batter and mix until smooth, but I learned that gentle folding keeps the rice flour from developing too much structure. The result is this perfect balance between fudgy and chewy that makes these so addictive.
Making Them Your Own
Sometimes I swirl in some peanut butter or top them with flaky sea salt right before baking for that sweet and salty combination. You can also add white chocolate chips or dried sour cherries if you want something closer to a chocolate cherry dessert. The base recipe is forgiving enough that you can play around, though I always recommend making them plain first.
Storage and Serving
These actually improve after sitting overnight, which is rare for brownies. The rice flour absorbs moisture and the flavors meld together into something even better than the first day.
- Store in an airtight container at room temperature for up to 5 days
- They freeze beautifully wrapped individually in plastic and then placed in a freezer bag
- A quick 10 second zap in the microwave brings back that just baked texture
 Save to Pinterest
 I hope these bring as much joy to your kitchen as they have to mine. There is something magical about recipes born from happy accidents.
Questions & Answers About the Recipe
- → What makes these brownies chewy?
-
The sweet rice flour (mochiko) creates the signature chewy mochi texture that sets these brownies apart from traditional versions.
- → Can I make these dairy-free?
-
Substitute the butter with coconut oil or vegan butter, and use plant-based milk alternatives. The texture may vary slightly.
- → How do I know when brownies are done?
-
Insert a toothpick in the center—it should come out with a few moist crumbs, not completely clean. This ensures fudgy texture.
- → Why brown butter instead of regular?
-
Brown butter adds a nutty, caramelized flavor that deepens the chocolate profile and creates more complex taste layers.
- → How should I store leftovers?
-
Keep in an airtight container at room temperature for up to 3 days, or refrigerate for up to a week. They also freeze well.
- → Can I use regular flour instead of mochiko?
-
No—sweet rice flour is essential for the chewy texture. Regular flour will create traditional cakey brownies without the mochi quality.
