 Save to Pinterest
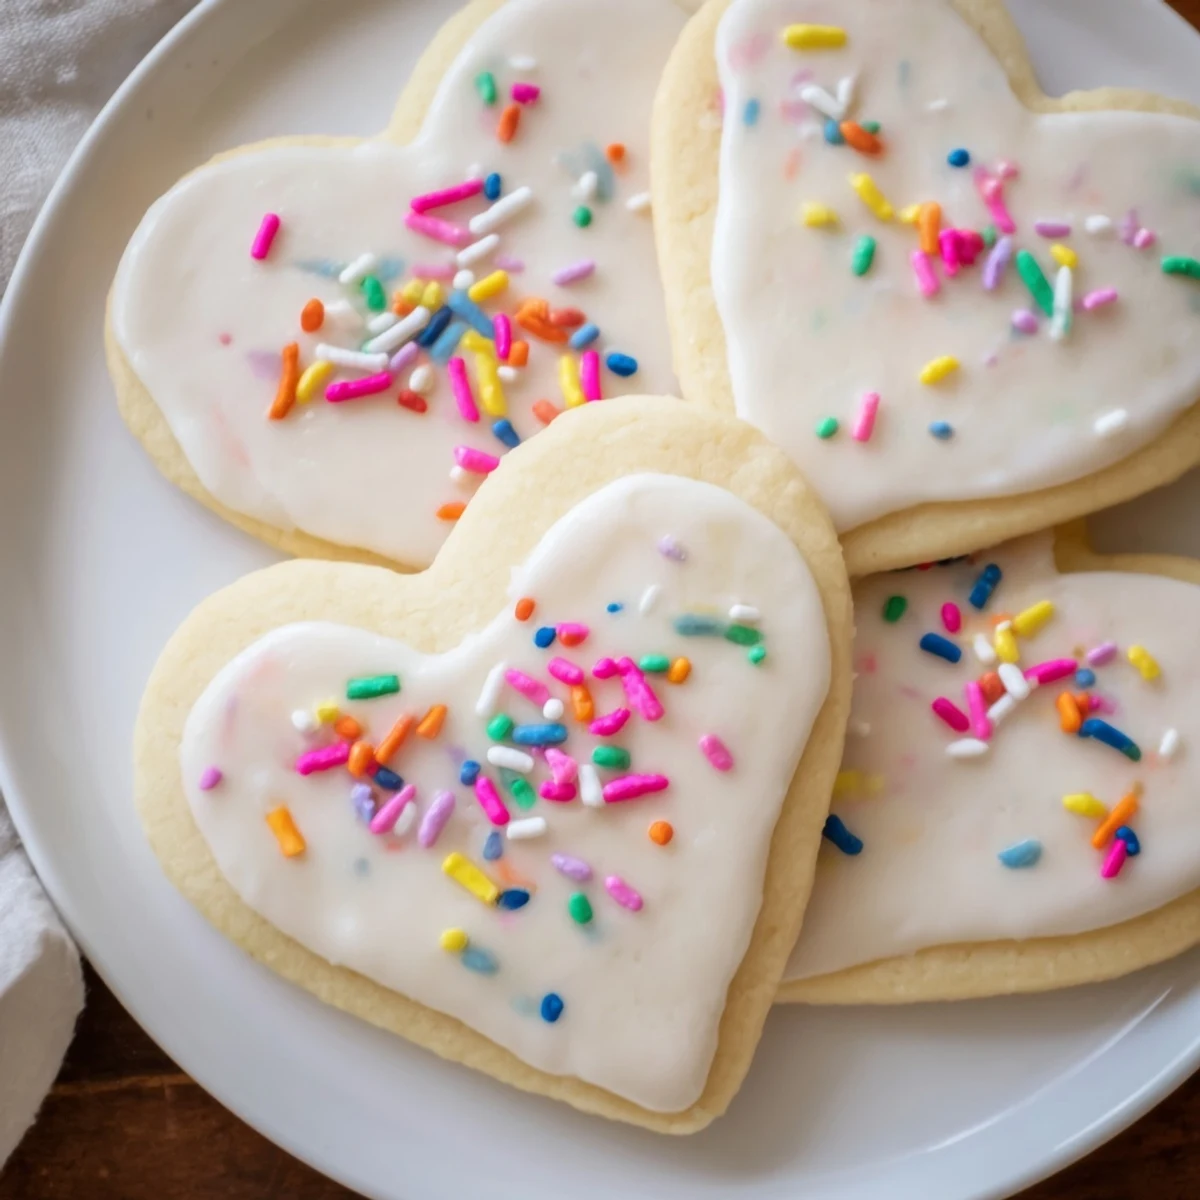
 These sweetheart sugar cookies offer a tender, buttery texture with a delicate vanilla flavor. Crafted from a smooth dough, they are cut into charming heart shapes and baked until just golden. After cooling, the cookies are adorned with a simple sweet glaze and festive sprinkles, adding both color and a light crunch. Ideal for celebrations, these treats blend soft sweetness with a crisp finish for delightful sharing moments.
The kitchen was tiny but the smell of butter and sugar filled every corner. I'd been promising my niece we'd make heart cookies together for weeks, and finally a rainy Saturday gave us the perfect excuse. She stood on a chair, flour dusting her nose, seriously considering which sprinkles deserved the prime spots on each cookie. Those afternoon baking sessions became our thing, something she still asks about every time February rolls around.
Last Valentine's Day, I made three batches for different people and each one disappeared faster than the last. My neighbor left a note on my doorstep saying they were the best cookies she'd ever had, and I'm pretty sure she's not just being neighborly. There's something about a homemade heart shaped cookie that makes people feel genuinely cared for, like you took extra time just for them.
Ingredients
- All purpose flour: The backbone that gives these cookies structure without making them tough or bread-like
- Baking powder: Just enough lift to keep them from being flat and dense, though not enough to make them puff up too much
- Salt: A pinch is absolutely essential to balance out all that sugar and make the flavors pop
- Unsalted butter: Room temperature butter creates the perfect tender crumb, and using unsalted lets you control exactly how salty they get
- Granulated sugar: Creates that classic crisp edge while keeping the centers soft and chewy
- Egg: Binds everything together and adds just enough richness without making the dough too sticky
- Pure vanilla extract: Don't skip the good stuff here since vanilla is the main flavor beyond butter and sugar
- Powdered sugar: Creates that smooth, professional-looking glaze that hardens just enough to stack without making a mess
- Milk: Start with two tablespoons and add more as needed to reach your ideal glaze consistency
Instructions
- Whisk the dry ingredients:
- In a medium bowl, combine the flour, baking powder, and salt until they're evenly distributed throughout
- Cream the butter and sugar:
- Beat the softened butter and granulated sugar together for 2 to 3 minutes until the mixture looks pale and fluffy
- Add the egg and vanilla:
- Mix in the egg and vanilla extract until everything is fully incorporated and smooth
- Combine the mixtures:
- Gradually add the dry ingredients to the wet mixture on low speed until a soft dough forms without overmixing
- Chill the dough:
- Divide the dough in half, flatten into discs, wrap in plastic, and refrigerate for at least 1 hour so they're easier to cut
- Preheat and prepare:
- Heat your oven to 350°F and line two baking sheets with parchment paper for easy cleanup
- Roll and cut:
- Roll one disc to 1/4 inch thickness on a floured surface and cut out heart shapes, transferring them to your prepared pans
- Use the scraps:
- Gather any remaining dough, re-roll it carefully, and cut more hearts until you've used almost everything
- Bake until just golden:
- Bake for 8 to 10 minutes until the edges are barely turning golden, then let them cool on the pans for 5 minutes
- Make the glaze:
- Whisk together the powdered sugar, milk, and vanilla until completely smooth, adding food coloring if you want something colorful
- Decorate your hearts:
- Once the cookies are completely cool, spread or drizzle the glaze and add sprinkles before it sets
 Save to Pinterest
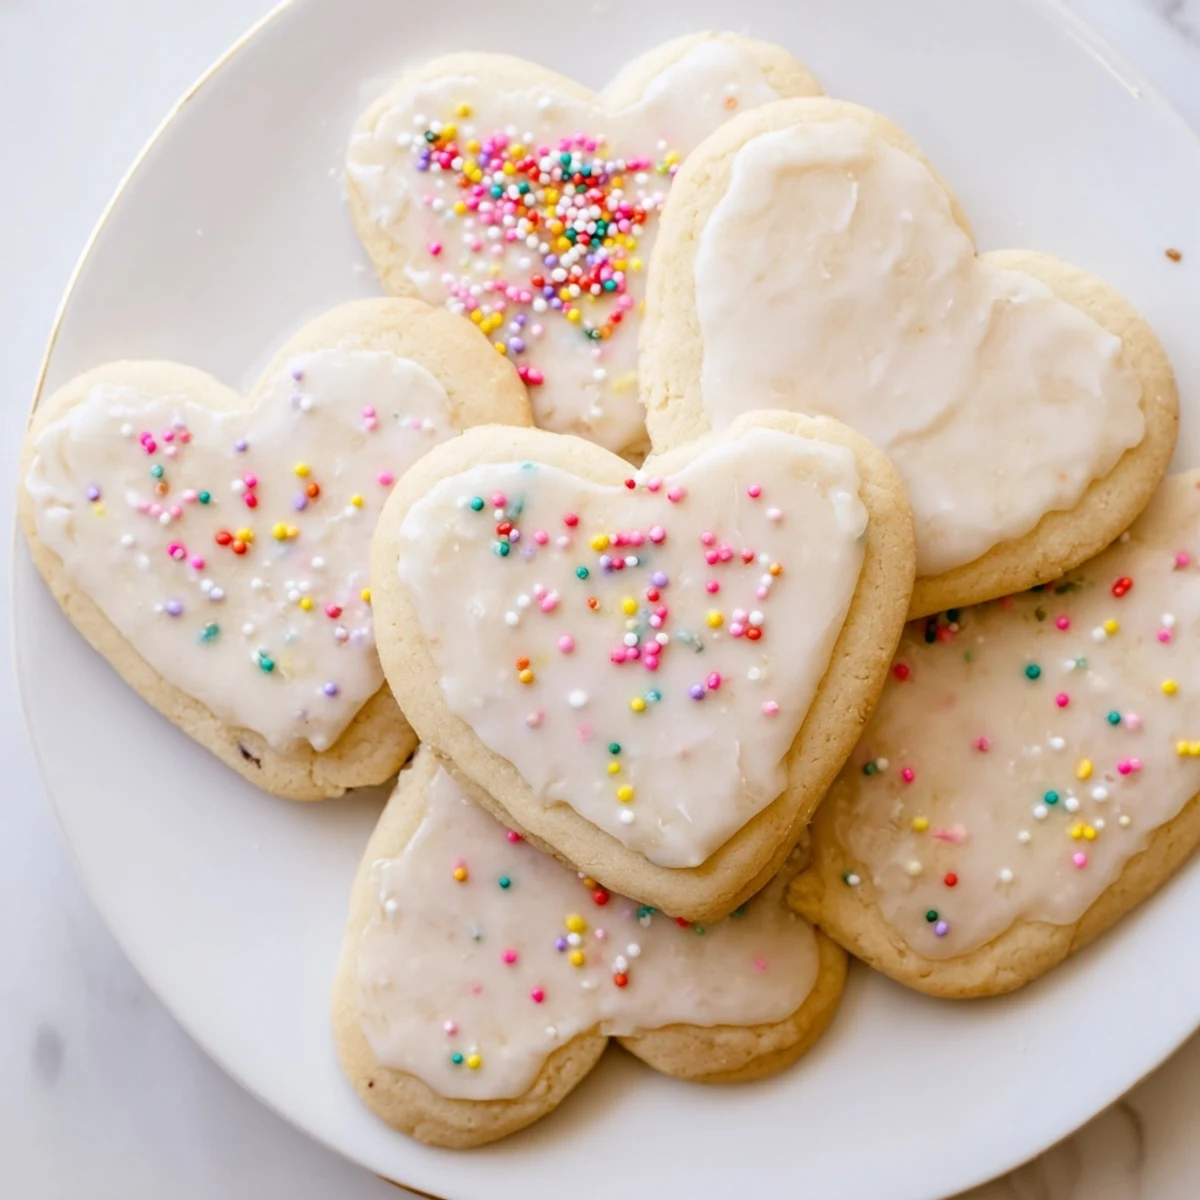
 My friend asked me to make these for her wedding favors last year, and we spent a whole afternoon decorating 200 hearts with different colored glazes. Her grandma told her they reminded her of the cookies her mother used to make, which is just about the best compliment a recipe can get.
Getting The Perfect Shape
Work quickly when you're rolling out the dough, especially if your kitchen runs warm. I've found that keeping one disc in the fridge while I roll the other makes everything so much easier to handle. Dip your cookie cutter in flour between cuts to keep the dough from sticking and losing those clean edges.
Glaze Secrets
The glaze consistency makes all the difference between cookies that look professional and ones that look like a kindergarten art project. You want it thin enough to spread smoothly but thick enough to stay where you put it. If it's too thick, add milk one drop at a time, and if it's too thin, whisk in more powdered sugar until it reaches that perfect ribbon-like consistency.
Making Them Ahead
You can make the dough up to three days ahead and keep it wrapped tightly in the refrigerator, which actually makes the cookies even better because the flour fully hydrates. The undecorated cookies freeze beautifully for up to a month, just thaw them completely before glazing or the moisture will make the glaze slide right off.
- Let the glaze dry completely before stacking cookies or they'll stick together
- Package them in clear bags with pretty ribbon for instant gifts
- These actually taste better on day two when the flavors have had time to develop
 Save to Pinterest
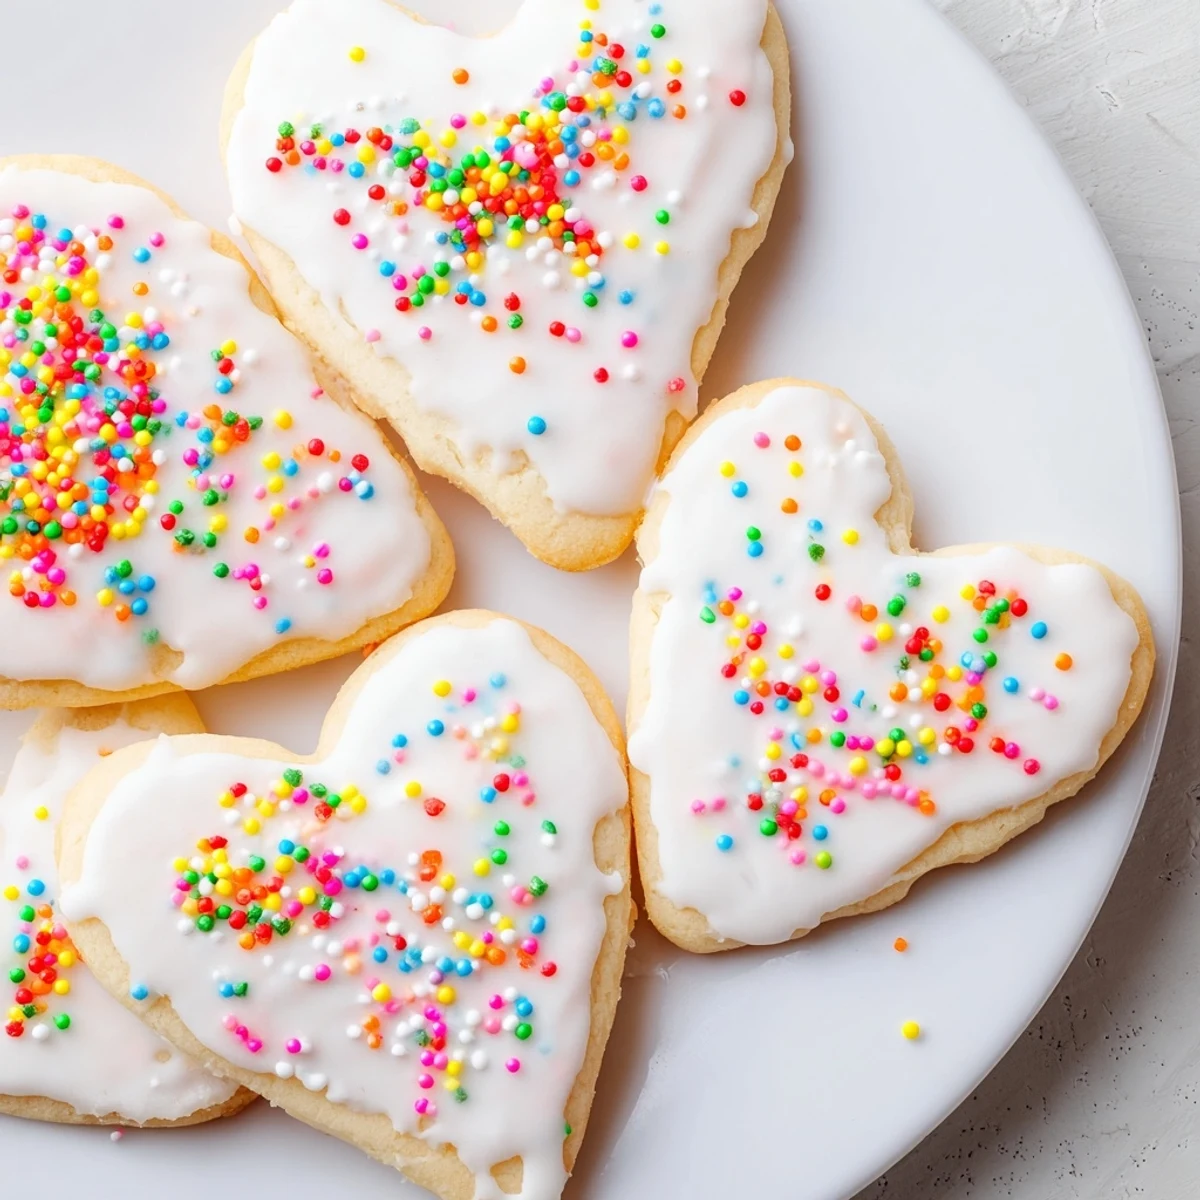
 There's something almost meditative about cutting out heart shapes and watching them transform into something beautiful in the oven. Hope these bring as much joy to your kitchen as they've brought to mine over the years.
Questions & Answers About the Recipe
- → How do I achieve tender texture in these cookies?
-
Using softened butter and not overmixing the dough helps maintain tenderness and a soft crumb.
- → Can I customize the glaze color?
-
Yes, adding food coloring to the glaze allows for a variety of festive colors to suit any occasion.
- → What is the best way to prevent cookies from spreading too much during baking?
-
Chilling the dough before rolling and cutting helps the shapes hold better and prevents excessive spreading.
- → How long should I bake the cookies for a crispier finish?
-
Baking an extra 1-2 minutes beyond the suggested 8-10 minutes will create a crisper cookie edge.
- → What tools are recommended for shaping these cookies?
-
A heart-shaped cookie cutter and a rolling pin are essential to achieve uniform and neat shapes.
