 Save to Pinterest
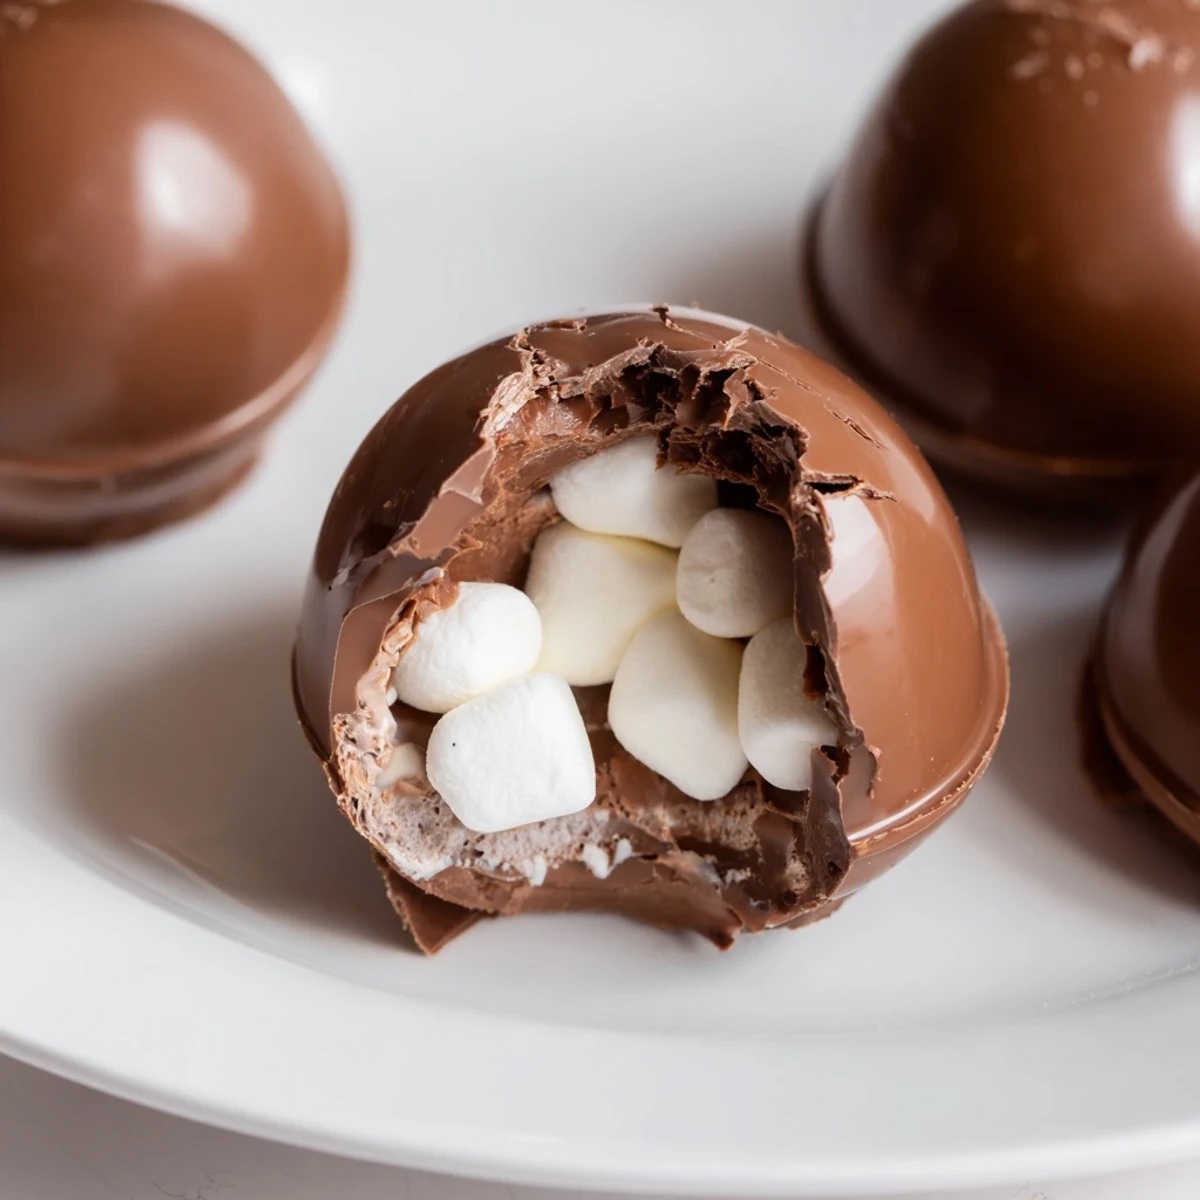
 These chocolate spheres feature a smooth, semi-sweet shell encasing a blend of hot cocoa mix and soft mini marshmallows. Crafted using silicone molds and careful layering, the shells firm up in the fridge before being filled and sealed. When dropped into warm milk, they slowly dissolve, releasing velvety chocolate and melted marshmallows for a rich, comforting beverage. Add cinnamon or peppermint for a festive twist.
I still remember the first time I discovered cocoa bombs at a cozy café in the city—watching the chocolate sphere slowly dissolve into a cloud of marshmallows as hot milk was poured over it felt like pure magic. I knew right then I had to recreate that moment at home, and now it's become my favorite way to impress guests on chilly evenings and lazy weekend mornings.
The first time I successfully sealed a cocoa bomb without it cracking, I felt like a pastry chef. My daughter ran into the kitchen at the sound of my excited squeal, and we ended up making a whole batch together that afternoon. Now every time we make them, it's become our little winter tradition.
Ingredients
- 300 g semi-sweet or milk chocolate, chopped or in chips: I always go for high-quality chocolate here because it melts so beautifully and tastes luxurious in every sip. The better your chocolate, the better your cocoa bombs taste. I've found that a blend of semi-sweet and milk chocolate gives you that perfect balance of richness without being too bitter.
- 6 tbsp hot cocoa mix: You can absolutely use store-bought here for convenience, but homemade cocoa mix takes these to another level. I like to make my own with cocoa powder, sugar, and a pinch of sea salt because it dissolves so much more smoothly.
- 60 g mini marshmallows: These are the heart and soul of your cocoa bomb. Mini ones work best because they distribute evenly and melt at just the right rate. Don't skimp here—those marshmallows are what make people fall in love with these.
Instructions
- Melt Your Chocolate Like You Mean It:
- Pour that chocolate into a microwave-safe bowl and give it 30-second bursts in the microwave, stirring between each one until it's silky smooth. If you're nervous about scorching it (which I was the first time), a double boiler works like a charm. Watch for that moment when it transitions from chips to liquid gold.
- Create Your Chocolate Shells:
- This is where the pastry brush becomes your best friend. Dip it into your melted chocolate and generously coat the inside of those silicone half-sphere molds. Don't be shy—you want walls thick enough to hold up to hot milk. I use the back of a spoon too if my brush bristles feel flimsy, and honestly, both techniques work beautifully.
- Set and Strengthen Your Shells:
- Pop those molds in the fridge for 10 minutes. When they come out, you'll see the chocolate has set into a shell. Now comes the secret: apply a second layer. This is what transforms them from fragile shells into cocoa bombs that can actually hold their own. Chill again for 10 to 15 minutes until they're completely firm to the touch.
- Release Your Creations:
- Gently wiggle and pop those chocolate half-spheres out of their molds. The silicone should practically hand them over to you. If they're being stubborn, let them sit at room temperature for a minute or two.
- Fill With Care:
- Take 6 of your half-spheres and spoon in 1 tablespoon of hot cocoa mix and about 10 mini marshmallows into each one. Don't overfill—you need room for the sealing to work properly. This is where I sometimes add a tiny pinch of cinnamon or crushed peppermint if I'm feeling fancy.
- The Part Where Magic Happens:
- This is my favorite step. Warm a small plate in the microwave for about 30 seconds. Take an empty half-sphere, press its rim against that warm plate for just a second or two until you see a thin line of melted chocolate form, then immediately press it onto a filled half-sphere. Hold for a few seconds and you've got yourself a cocoa bomb. Repeat until all six are sealed. Your kitchen will smell absolutely incredible.
- Make Them Extra Pretty:
- If you want to get fancy, drizzle some extra melted chocolate over your finished bombs or sprinkle them with festive toppings. They'll set within a few minutes and look like little edible works of art.
 Save to Pinterest
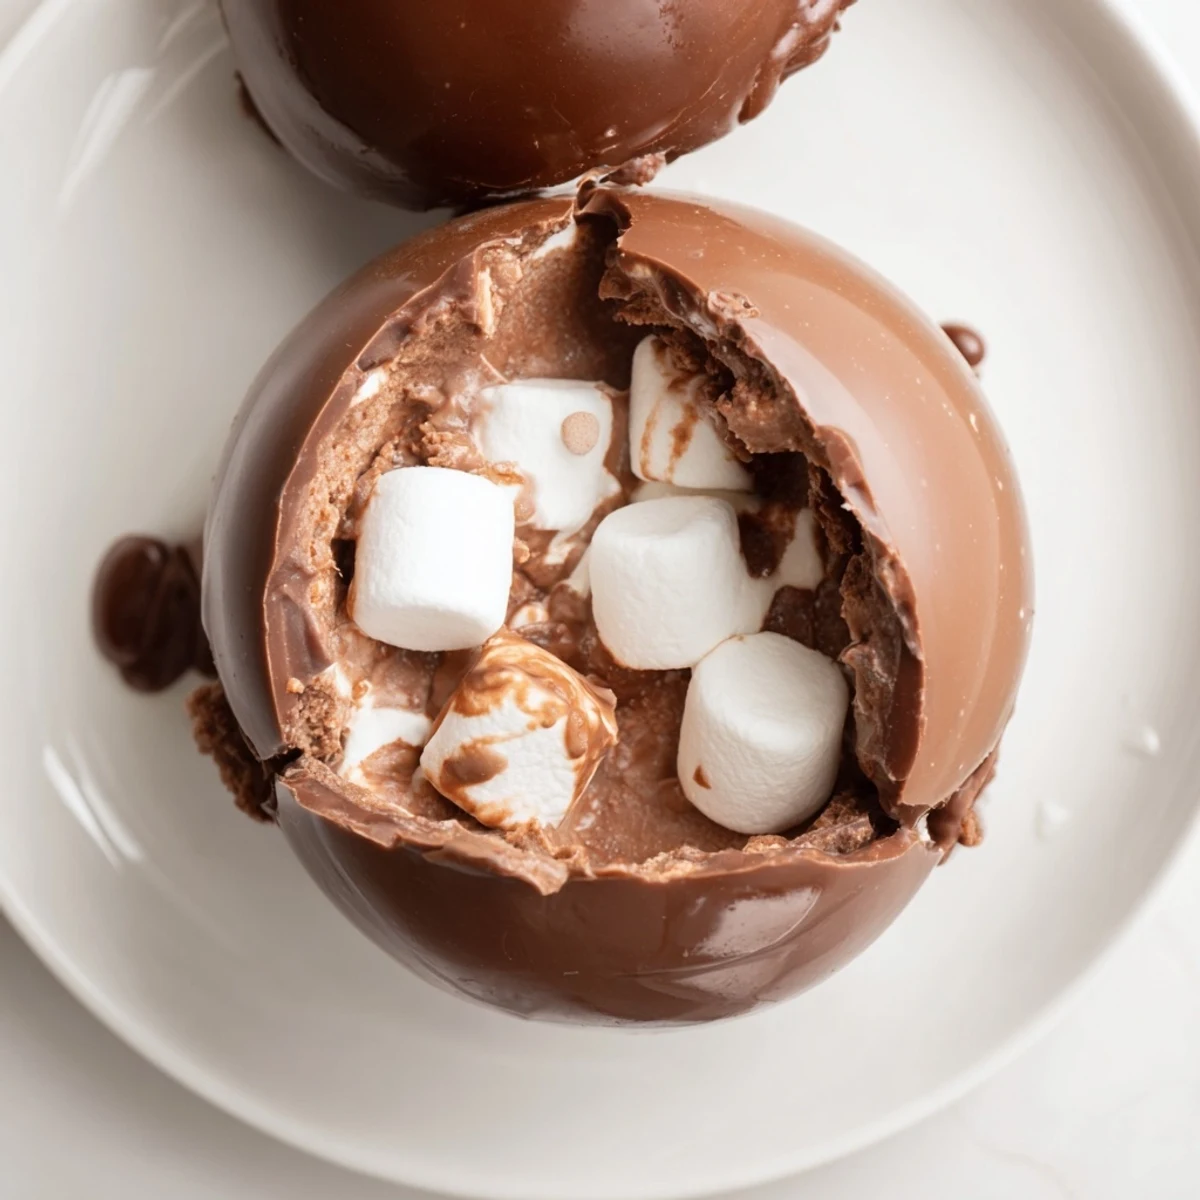
 There was one winter when a friend stopped by unexpectedly on a cold evening, and I pulled out a batch of these cocoa bombs I'd made earlier that week. Watching their face light up as the chocolate dissolved and the marshmallows floated up in their mug—that's when I realized these weren't just treats, they were little moments of joy I could create and share.
Playing With Flavors
Once you master the basic version, the flavor combinations become endless. I love adding a pinch of cinnamon to half a batch for that warm spiced feeling, or crushing up peppermint candies for a festive twist. Some of my favorite discoveries include a tiny sprinkle of sea salt on the chocolate shell (it makes everything taste more luxurious), a few white chocolate chips mixed in with the marshmallows, and even a pinch of instant coffee powder to deepen that chocolate flavor. You can also swap out your cocoa mix entirely and try a vanilla-based hot chocolate mix or even powdered chai for something completely different.
Keeping Them Perfect
Storage is where a lot of people go wrong, but it's actually simple once you know the trick. Cocoa bombs need to be kept in an airtight container in a cool, dry place—somewhere that stays around room temperature. Your pantry is perfect, your refrigerator is not (moisture is the enemy). They'll stay fresh and delicious for up to two weeks, though honestly they never last that long in my house. If you want to make them ahead for gift-giving, I've found they actually keep beautifully for several weeks if stored properly, so you can prepare batches months in advance during the off-season.
Troubleshooting Your Cocoa Bombs
The most common challenge I see people run into is cracks forming during the sealing process, and it almost always comes down to one of a few things. Maybe your chocolate cooled too much before sealing, or your mold walls were too thin in the first place. Sometimes the problem is pressing the seals together too hard or holding them too long. I've learned to press gently but firmly, count to about five, and then carefully set them down to cool. If you're struggling, take a step back and make sure each chocolate shell is actually thick enough by running your finger along the inside.
- If your chocolate seams are showing cracks, don't panic—a thin line of melted chocolate piped along the seam will seal it back up beautifully
- If your bombs feel hollow or thin-walled, you probably need a second coat of chocolate on your shells
- If they're leaking when you add hot milk, the seal wasn't complete—practice will make this muscle memory
 Save to Pinterest
 There's something deeply satisfying about making these from scratch. Every time you serve one, you're not just offering a drink—you're giving someone a moment of wonder and comfort wrapped up in chocolate.
Questions & Answers About the Recipe
- → How do I melt chocolate properly for the shells?
-
Use short bursts in the microwave, stirring frequently, or melt gently over simmering water to avoid burning.
- → What molds should I use for shaping the shells?
-
Silicone half-sphere molds around 5 cm diameter work best for forming smooth, even spheres.
- → Can I customize the filling flavors?
-
Yes, try adding cinnamon, crushed peppermint, or use white or dark chocolate for varied flavor profiles.
- → How can I seal the two halves of the chocolate spheres?
-
Warm the edges briefly on a hot plate to melt the rims and press halves together firmly to create a sealed ball.
- → What is the best way to serve the chocolate spheres?
-
Place a sphere in a mug and pour hot milk over it, allowing the chocolate to melt and release the filling for a creamy drink.
