 Save to Pinterest
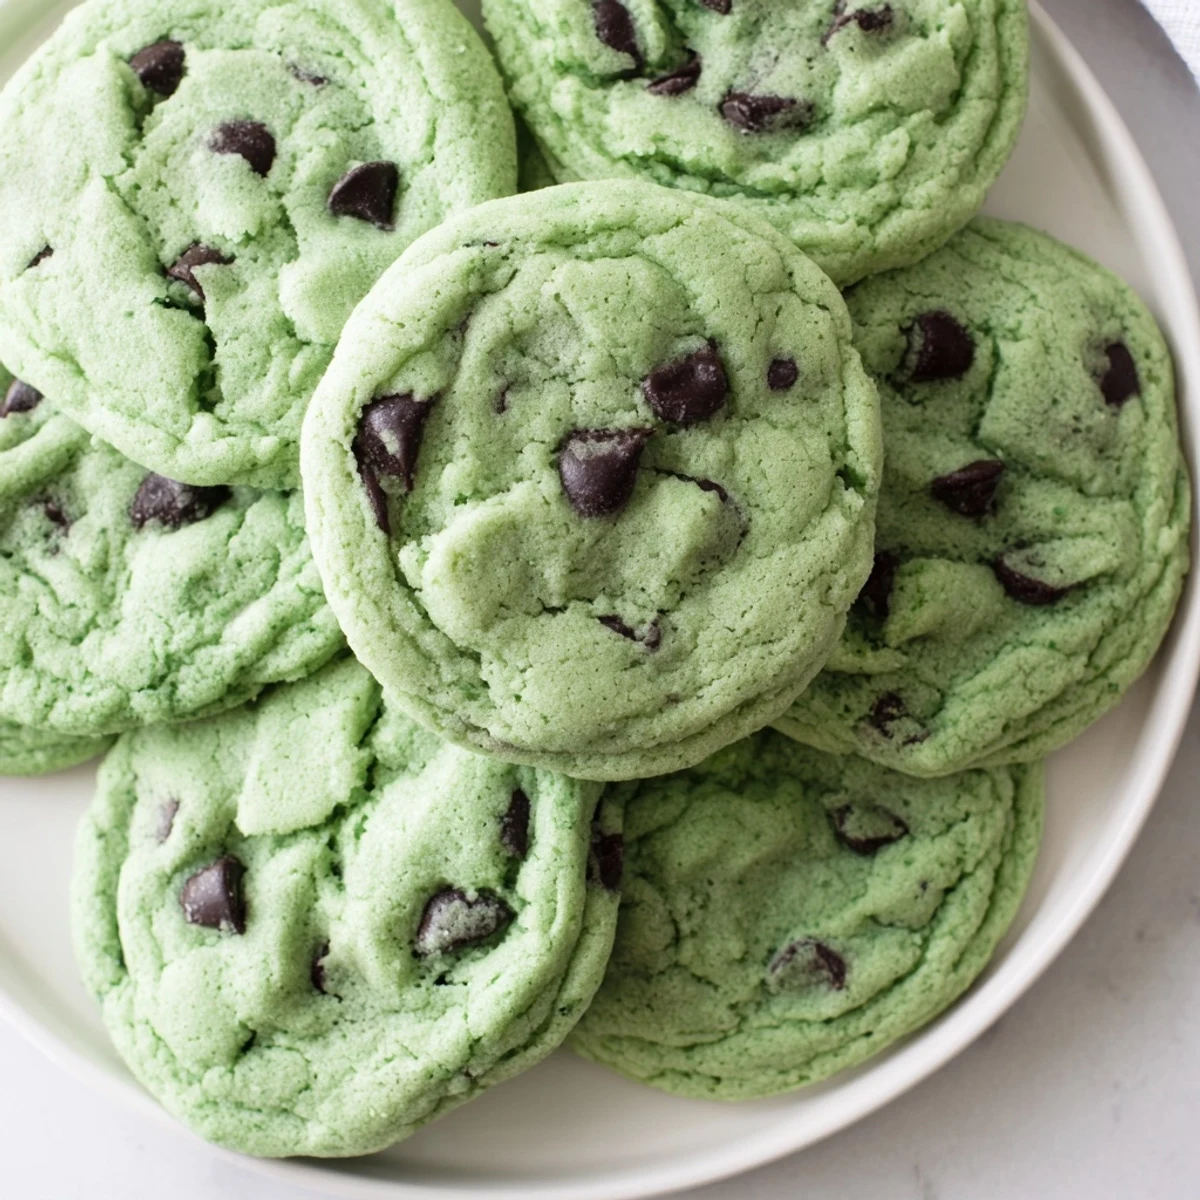
 Enjoy a delightful treat combining soft, chewy texture with cool mint and generous chocolate chips. These green-tinted bites offer a refreshing twist through peppermint and a hint of vanilla, creating a balanced fusion of flavors. Easy to prepare with common ingredients, they bake quickly for a fresh, tasty indulgence perfect for any occasion. Enhancements like chopped mint candies or white chocolate chips can customize the experience. Cooling on a wire rack ensures the ideal consistency for a satisfying bite every time.
My youngest daughter helped me make these on a rainy Saturday afternoon when we were all feeling a bit restless. We added too much green food coloring at first and ended up with dough the color of a cartoon dragon, which made us both laugh until our sides hurt. The whole house smelled like peppermint and butter, and suddenly that gray day outside didn't matter anymore. Those bright green cookies came out of the oven looking like little discs of happiness.
I brought a batch to my book club last month, and my friend Sarah actually took a picture of them before taking a bite. She said they reminded her of the mint chip ice cream her grandmother used to buy as a special treat. Later that evening, she texted me asking for the recipe because her daughter wouldn't stop talking about the green cookies. Sometimes food really is just a memory you can share.
Ingredients
- All-purpose flour: Provides the structure for these soft cookies. I've learned that measuring by weight gives the most consistent results.
- Baking soda: Helps the cookies spread just right while keeping their tender texture.
- Salt: Enhances both the mint and chocolate flavors. Don't skip it.
- Unsalted butter: Softened to room temperature makes creaming so much easier. I take it out about an hour before baking.
- Granulated sugar: Creates crisp edges while keeping centers chewy.
- Light brown sugar: Adds moisture and that subtle caramel note that pairs beautifully with mint.
- Eggs: Room temperature eggs incorporate better into the dough. I set them out with the butter.
- Peppermint extract: Pure extract makes all the difference. I use a heavy hand because we love that refreshing punch.
- Vanilla extract: Rounds out the mint flavor and adds warmth.
- Green food coloring: Gel coloring gives the most vibrant shade without thinning your dough.
- Semisweet chocolate chips: The classic choice that balances perfectly with the bright mint flavor.
Instructions
- Get your oven ready:
- Preheat to 350°F and line your baking sheets with parchment paper. This simple step saves you so much cleanup later.
- Whisk the dry ingredients:
- Combine the flour, baking soda, and salt in a medium bowl. Set this aside while you work on the wet ingredients.
- Cream your butter and sugars:
- Beat the softened butter with both sugars until the mixture looks pale and fluffy. This usually takes about 2 to 3 minutes of serious mixing.
- Add the eggs and extracts:
- Beat in the eggs one at a time, then pour in both the peppermint and vanilla extracts. The aroma at this stage is absolutely incredible.
- Create your perfect green:
- Add food coloring drop by drop, mixing thoroughly between additions. Remember you can always add more but you can't take it back.
- Combine everything:
- Gradually mix in your dry ingredients just until the flour disappears. Overmixing makes tough cookies, so stop as soon as it comes together.
- Fold in the chocolate chips:
- Gently fold in those chocolate chips until they're evenly distributed throughout your bright green dough.
- Scoop and space:
- Drop tablespoon sized dough balls onto your prepared sheets, leaving about 2 inches between each one for spreading.
- Bake to perfection:
- Bake for 9 to 11 minutes. You want the edges set but centers still looking slightly soft. They'll finish cooking on the hot pan.
- Cool and enjoy:
- Let them rest on the baking sheets for 5 minutes before moving them to a wire rack. This wait time is torture but so worth it.
 Save to Pinterest
 Last Christmas, my neighbor's son came over to help me decorate and spotted the green dough in the fridge. He asked if we were making Grinch cookies, and honestly, that's now what we call them in our house. Sometimes the best names come from the most unexpected places. We made a double batch that year and gave them away in little green bags.
Getting The Perfect Green Color
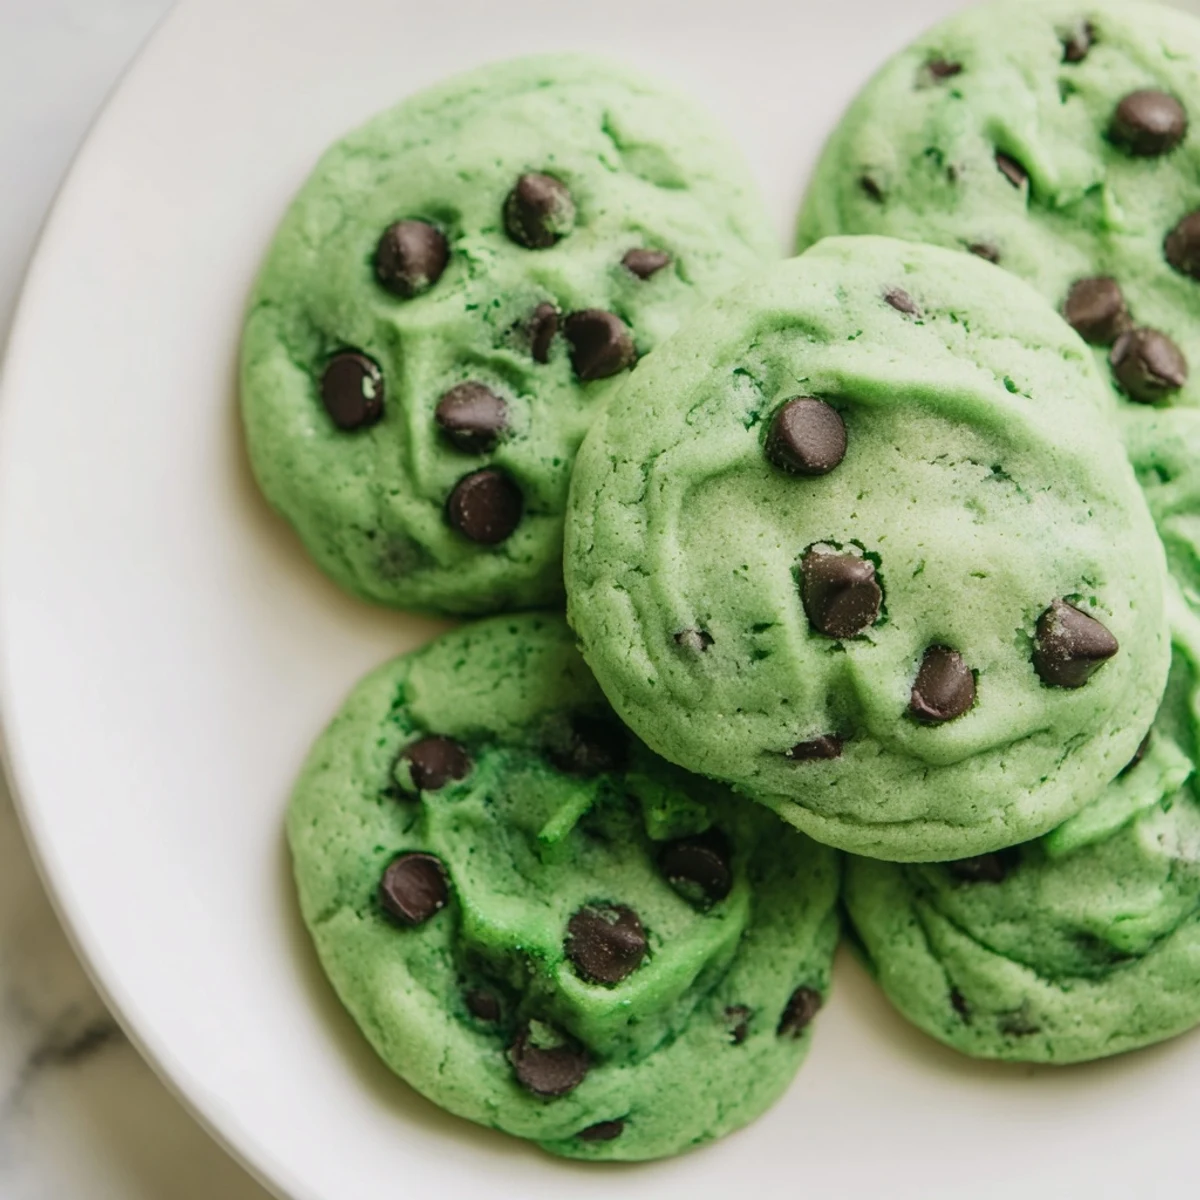
I've tried every type of food coloring out there, and gel coloring is absolutely worth seeking out. Liquid coloring can throw off your dough consistency and you need way more drops to get that vibrant shade. Start with a tiny amount of gel and mix thoroughly. You can always add more, but you cannot undo an overdose of green. I've learned this the hard way with forest green cookies that looked less like fun treats and more like something from a swamp.
Making Them Ahead
Scoop the dough balls and freeze them on a baking sheet before transferring to a storage bag. This changed my cookie game completely. Fresh baked cookies in under 15 minutes whenever someone drops by unexpectedly. Just add an extra minute to the baking time if they go in straight from the freezer. The dough stays good for about three months, though I've never tested that limit because they get eaten too fast.
Serving Ideas
These are fantastic on their own, but try sandwiching vanilla ice cream between two for a mint chocolate chip cookie ice cream sandwich. Roll the edges in sprinkles first for birthdays. Crush them over mint chocolate chip ice cream for an extra cookie crunch. Package them in clear bags tied with green ribbon for teacher gifts or holiday neighbors.
- Warm them for 10 seconds in the microwave before serving
- Serve alongside hot chocolate for the ultimate cozy treat
- Crumble over vanilla ice cream for a minty topping
 Save to Pinterest
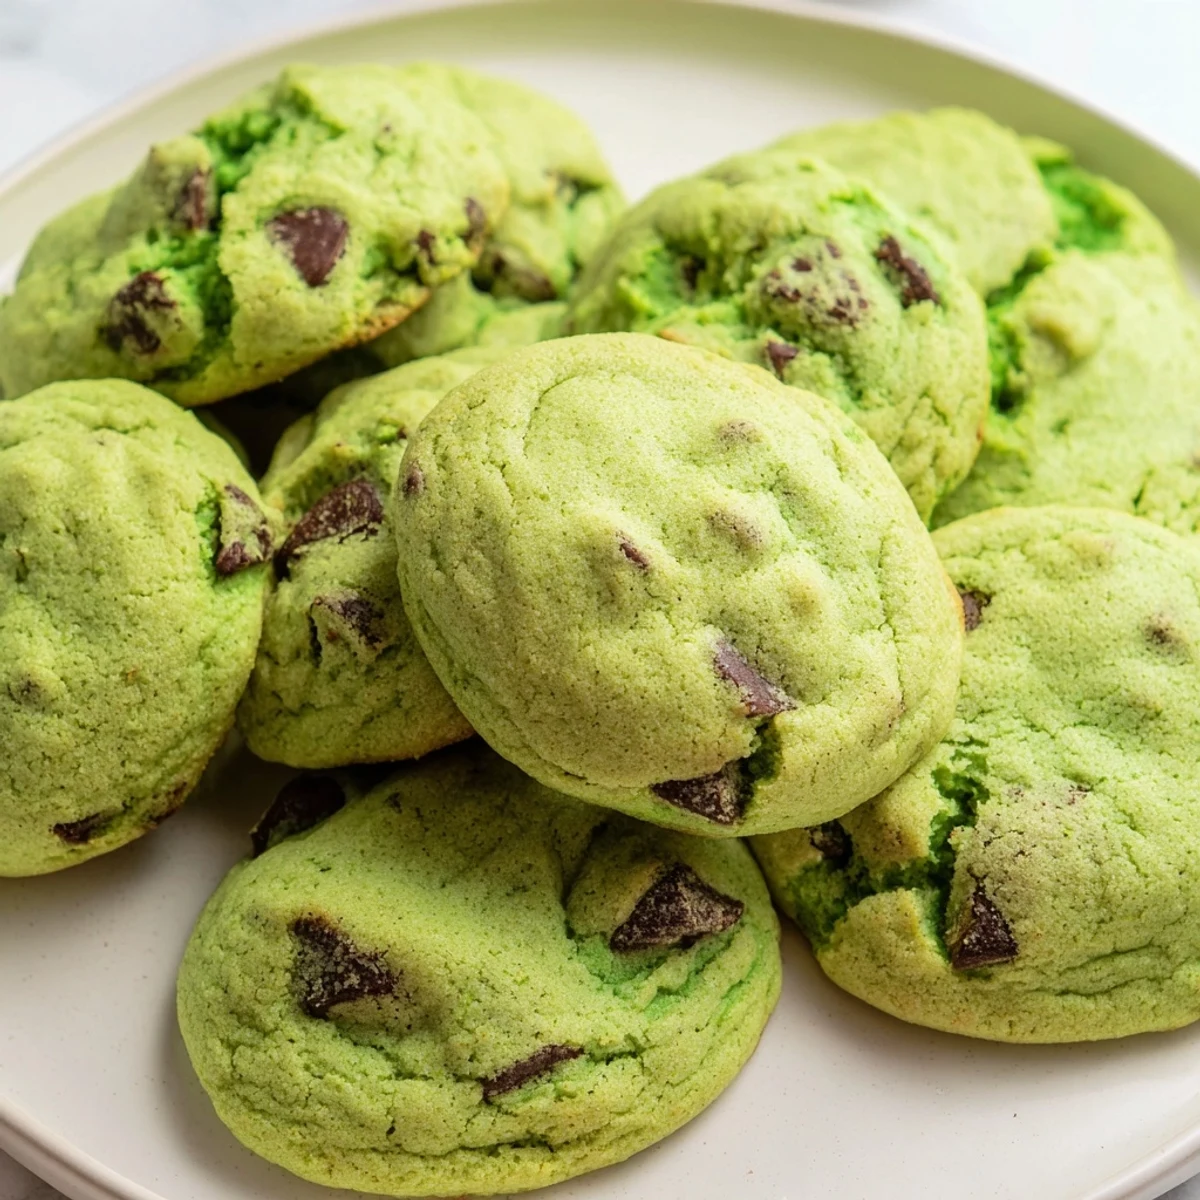
 There's something so cheerful about a plate of green cookies, especially on gray winter days or rainy afternoons. Hope they bring as much joy to your kitchen as they have to mine.
Questions & Answers About the Recipe
- → What gives these treats their green color?
-
Green food coloring is added gradually to the dough to achieve the desired shade without altering the texture.
- → Can I substitute white chocolate chips instead?
-
Yes, white chocolate chips can replace semisweet ones for a different flavor profile and a lighter look.
- → How do I enhance the mint flavor further?
-
Incorporating chopped mint candies or Andes mints into the dough adds an extra burst of refreshing mint.
- → What is the best way to achieve a chewy texture?
-
Beating butter and sugars until fluffy and baking just until edges set keeps the center soft and chewy.
- → How long should these be cooled before serving?
-
Let the baked pieces cool on the baking sheet for 5 minutes, then transfer to a wire rack to cool completely.
