 Save to Pinterest
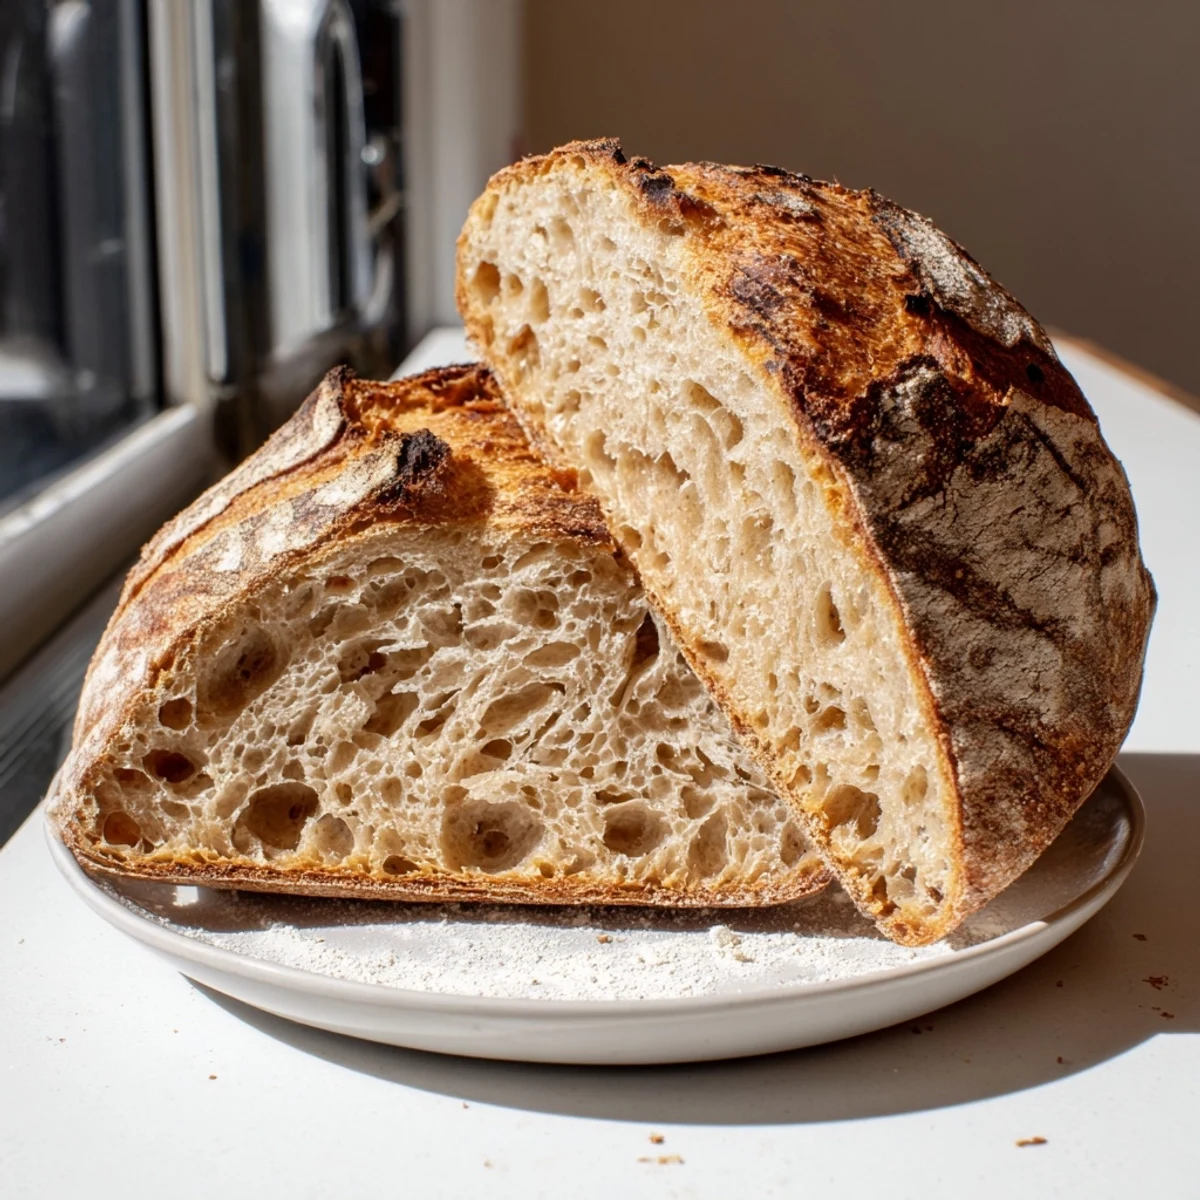
 This traditional sourdough method transforms just flour, water, and salt into a stunning artisan loaf with thick crust and open crumb. The wild yeast starter develops complex tangy flavors over 14-20 hours of natural fermentation. Stretch-and-fold techniques build strength without kneading, while baking in a preheated Dutch oven creates professional steam for exceptional oven spring and crackling crust. Perfect for beginners seeking authentic results.
My first sourdough loaf emerged from the oven looking more like a mutant pancake than bread. I'd fed my starter aggressively, watched bubble formation like a hawk, and still ended up with something更适合 a doorstop than dinner. Three years later, my kitchen counter still hosts that same bubbly jar of wild yeast, now named Bubbles because originality was never my strength. Some mornings I catch myself talking to it while measuring flour.
Last winter, during that week where everything felt grey and endless, I started a batch before bed. The stretching and folding became meditative, something to do with my hands while my mind raced. When my roommate wandered into the kitchen at midnight, drawn by the subtle sour smell of fermenting dough, we ended up eating warm slices with butter at 2 AM, watching snow pile up outside the window.
Ingredients
- 100 g active sourdough starter: This living ingredient is everythingfeed it 4-8 hours before mixing until it's doubled and bubbling with enthusiasm
- 375 g bread flour: High protein content creates that signature chewy crumb structure we're chasing
- 25 g whole wheat flour: Just enough to add complexity and depth without weighing things down
- 275 g water: Room temperature helps fermentation proceed at a steady pace
- 10 g sea salt: Enhances flavor and strengthens gluten development
Instructions
- The Patient Mix:
- Combine your flours and water in a large bowl until shaggy and barely integrated, then walk away for an hourthis resting period called autolyse lets flour hydrate fully and makes everything easier later.
- Bring It Together:
- Add your bubbly starter and salt, mixing by hand until fully incorporatedthe dough should feel sticky and alive between your fingers.
- The Stretch and Fold Dance:
- Over 4-5 hours, perform stretch and folds every 30-45 minutesgrab one edge of dough, pull it up high, and fold it over the center, rotating the bowl four times totaleach round builds strength in your dough.
- Give It Shape:
- Turn dough onto a floured surface, gently form it into a round, rest 20 minutes, then create a tight final loaf before placing seam side up in a well-floured proofing basket.
- The Final Wait:
- Let rise 2-3 hours at room temperature, or tuck it in the fridge overnight for extra tang and convenience.
- Get Ready to Bake:
- Preheat your Dutch oven at 250°C for at least 30 minutesyou need serious heat to create that magical oven spring.
- The Moment of Truth:
- Invert dough onto parchment, score with confidence, transfer to your scorching hot pot, cover and bake 20 minutes before removing the lid for another 25 minutes until deeply golden.
 Save to Pinterest
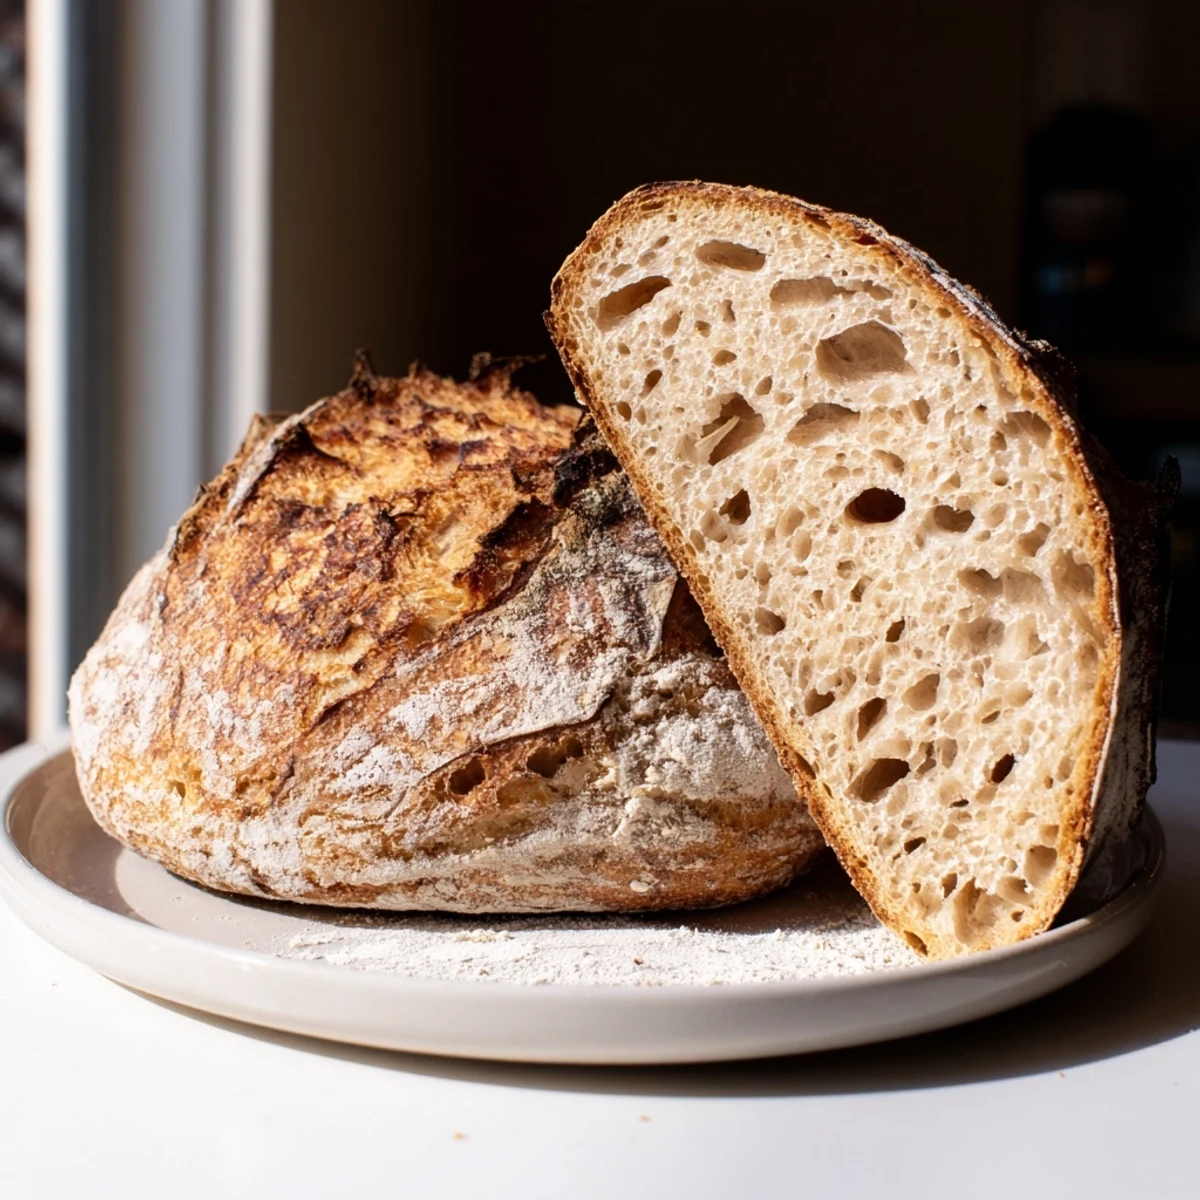
 This bread has become my go-to housewarming gift, wrapped in brown paper with a handwritten note about the starter's journey. Last month, a friend called at midnight just to say they'd finished half the loaf standing at their counter, exactly like we'd done that snowy night.
Understanding Your Starter
Think of your starter as a pet that only eats flour and water. Keep it on the counter for daily baking, or tuck it in the fridge and feed weekly if you're taking a bread break. The longer you nurture it, the more complex and unique your bread will taste.
The Dutch Oven Secret
That heavy pot with a lid? It's creating a mini steam chamber, exactly what professional bakeries achieve with their steam injection ovens. The trapped moisture keeps the crust soft initially, allowing maximum oven spring before hardening into that gorgeous crackly exterior.
Making It Your Own
Once you've mastered this basic formula, try adding toasted nuts, dried fruits, or herbs during the final fold. Some of my best variations came from whatever needed using up in the pantry.
- Rye flour adds lovely earthiness to the whole wheat portion
- Try spraying the oven walls with water when you add the dough for extra steam
- Keep your starter in a glass jarplastic can trap odors
 Save to Pinterest
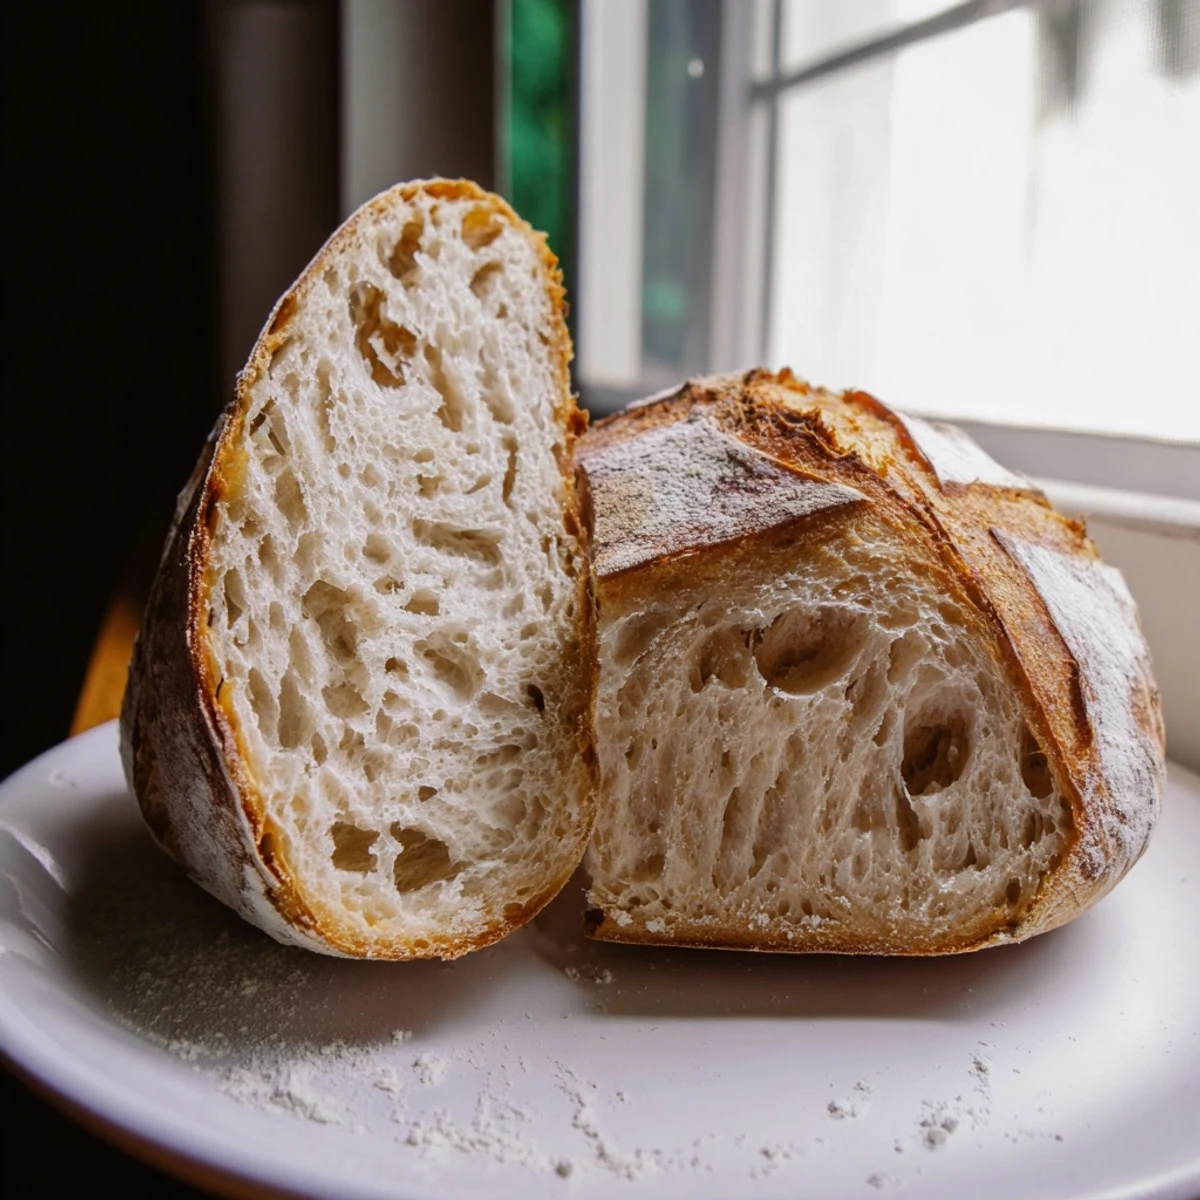
 There's something profoundly satisfying about turning flour, water, and salt into something so nourishing. May your kitchen always smell of warm bread.
Questions & Answers About the Recipe
- → What makes sourdough different from regular bread?
-
Sourdough uses wild yeast and beneficial bacteria naturally present in flour instead of commercial yeast. This slow fermentation creates distinctive tangy flavor, improves digestibility, and produces a chewy texture with crisp crust that's difficult to achieve with other methods.
- → How do I know when my starter is active enough?
-
A healthy starter should be bubbly, doubled in volume 4-6 hours after feeding, and have a pleasant slightly sour aroma. When you drop a spoonful into water, it should float rather than sink, indicating it's sufficiently fermented to leaven your loaf effectively.
- → Can I shorten the fermentation time?
-
Rushing fermentation compromises flavor and texture. The long fermentation develops the characteristic tangy taste and breaks down gluten for easier digestion. Cold-proofing overnight in the refrigerator actually enhances flavor while providing scheduling flexibility without sacrificing quality.
- → Why is a Dutch oven recommended?
-
A preheated Dutch oven traps steam from the dough, creating the ideal humid environment for dramatic oven spring. This professional technique ensures your loaf develops maximum volume and the crackling crust characteristic of authentic artisan loaves.
- → How should I store the finished loaf?
-
Wrap completely cooled bread in a cotton cloth or paper bag and store at room temperature for 2-3 days. Avoid plastic bags which make the crust soft. For longer storage, slice and freeze in a sealed container, thawing individual slices as needed.
