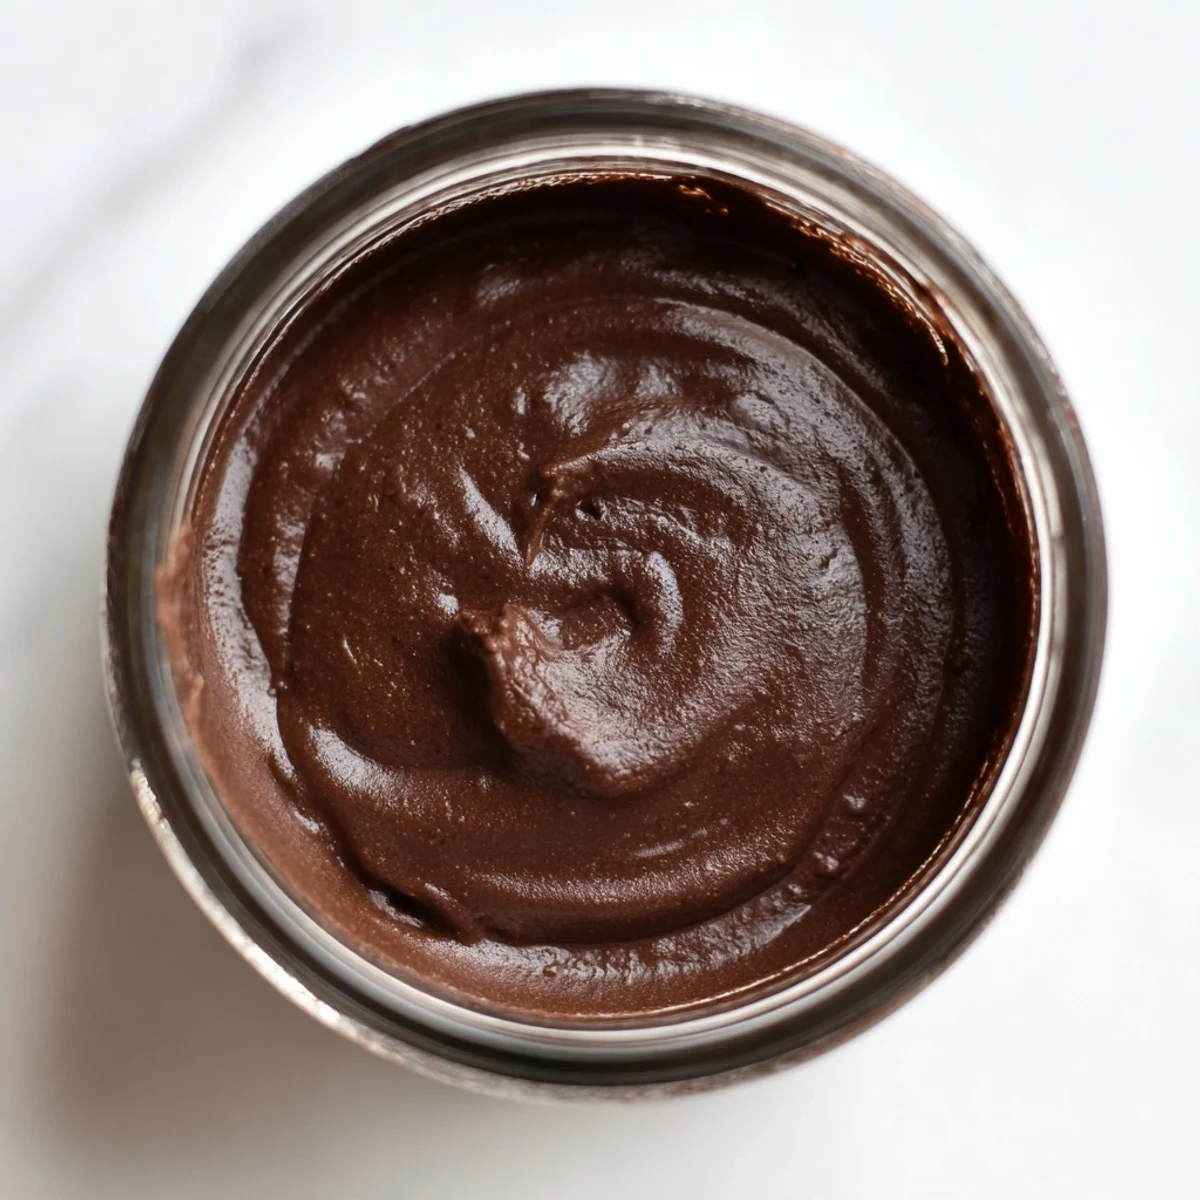
 Save to Pinterest
 This creamy chocolate spread combines toasted hazelnuts and cocoa powder to create a smooth, luscious topping. Blended with milk and vanilla, it offers a rich, balanced flavor ideal for toast, pancakes, or desserts. Prepared quickly using a food processor, this spread provides a versatile addition to your breakfast or snack options. Variations include dairy-free and nut-free alternatives by swapping milk or nuts. Store chilled for up to two weeks.
I still remember the moment I decided to make chocolate spread at home. It was a rainy Sunday morning, and I'd just finished a jar of the store-bought kind, disappointed by how artificial it tasted. My grandmother used to make something similar when I was young, grinding hazelnuts by hand in her kitchen. That memory sparked something in me—a determination to recreate that magic, but with modern shortcuts. Now, every time I spread this rich, creamy chocolate goodness on warm toast, I'm transported back to her kitchen, except this time it takes just 20 minutes instead of an hour.
I'll never forget the first time I made this for my niece's birthday breakfast. She watched as the nuts transformed from chunky bits into silky paste, then darker and richer as the cocoa went in. When I finally spread it on her croissant, her eyes lit up in a way that no store-bought jar could ever replicate. That's when I knew this recipe was more than just efficient—it was a moment we'd both remember.
Ingredients
- 100 g hazelnuts (toasted and skins removed): These are your foundation—toasting them first deepens their flavor significantly. I learned the hard way that raw hazelnuts taste flat and slightly bitter. The skins rub off easily once they're warm and slightly cooled.
- 30 g unsweetened cocoa powder: Use the highest quality you can find. This isn't the place to economize, since cocoa is the star. Dutch-processed cocoa gives a deeper, less acidic chocolate flavor.
- 100 g powdered sugar: This dissolves seamlessly into the spread, unlike granulated sugar which can feel gritty on your tongue.
- 100 ml whole milk: The fat content in whole milk is crucial for achieving that luxurious, glossy texture. Don't skip this step thinking skim milk will work the same way—it won't.
- 2 tbsp vegetable oil: This keeps the spread spreadable and prevents it from becoming too dense. Light olive oil works beautifully if you prefer, but sunflower oil is the most neutral choice.
- 1 tsp pure vanilla extract: Pure vanilla makes a noticeable difference over imitation. It adds complexity that makes people ask, "What's the secret ingredient?"
- 1/4 tsp fine sea salt: A tiny pinch awakens all the flavors and prevents the spread from tasting one-dimensionally sweet.
Instructions
- Toast and process your hazelnuts:
- Place your hazelnuts in the food processor and let it run for about 5 minutes. You'll witness something magical here—watch as they go from chunky bits to a ball of paste, then gradually release their oils and become smooth and creamy. Stop occasionally to scrape down the sides with a spatula. This patience is everything; rushing this step means a grainier final product.
- Build your flavor foundation:
- Add the cocoa powder, powdered sugar, vanilla extract, and salt to your hazelnut paste. Blend until the mixture looks uniform and dark, about 1-2 minutes. You're combining dry ingredients into something that still feels like paste.
- Add richness and creaminess:
- With the processor still running, very slowly drizzle in the vegetable oil first, then the milk. This gradual addition is key—rushing it can make the mixture separate. The spread will transform before your eyes, becoming glossy and luxuriously smooth. It should look like liquid silk when you're done.
- Taste and perfect:
- Take a small spoonful and taste it at room temperature. This is when you decide if it needs more sweetness (add a touch more powdered sugar) or salt (just a few grains more). Trust your palate here—you're creating something personal.
- Jar and cool:
- Transfer your spread to a clean glass jar using your spatula, getting every last drop. Let it cool completely to room temperature before sealing and refrigerating. It will thicken slightly as it cools, reaching that perfect spreadable consistency.
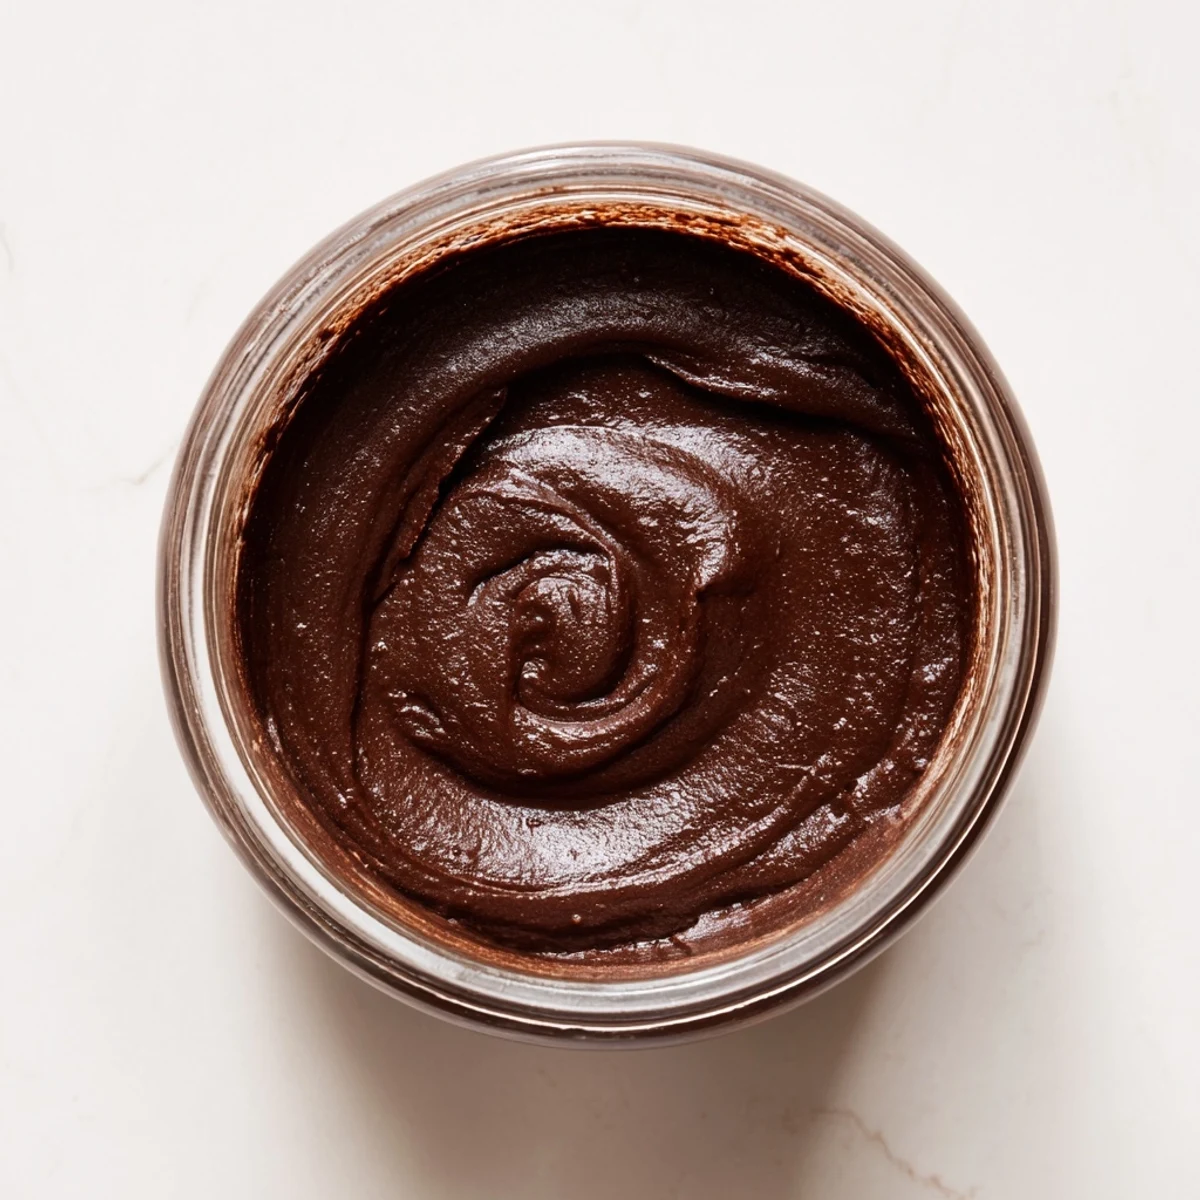 Save to Pinterest
 There's something deeply satisfying about watching homemade chocolate spread slowly spread across warm toast, knowing that every ingredient in it is something you chose and controlled. That's when this recipe became more than breakfast—it became a small act of care for myself and the people I feed.
Perfect Pairings and Serving Ideas
This spread is incredibly versatile, which is why I keep a jar in my refrigerator almost constantly. Beyond the obvious toast and croissants, I've discovered it's divine on warm waffles, swirled into Greek yogurt for a quick dessert, or as a dip for fresh strawberries and banana slices. On lazy mornings, I spread it thick on a croissant with a strong cup of espresso, and suddenly breakfast feels luxurious. My favorite trick is warming it slightly in the microwave (just 10-15 seconds) to get it back to that perfect pourable consistency for drizzling over vanilla ice cream.
Storage and Keeping Your Spread Fresh
Store your chocolate spread in an airtight glass jar in the refrigerator, where it will keep for up to two weeks. The cold temperature thickens it slightly, which is actually ideal for spreading. If you find it's gotten too firm after a few days, let it sit at room temperature for 15 minutes, or warm the jar gently under warm water. I've never actually had mine last two weeks because it disappears so quickly, but the longer storage time gives you freedom to make a bigger batch without worrying about waste. Keep it away from strong-smelling foods in your fridge, as the chocolate can absorb odors over time.
Customizing Your Chocolate Spread
Once you've mastered the basic recipe, the world is your oyster. For a dairy-free version, swap the whole milk for oat or almond milk with no other changes. If you have a nut allergy in your household, sunflower seeds create an equally creamy spread with a slightly different but equally delicious flavor profile. Some friends have asked me to add a pinch of instant espresso powder to deepen the chocolate flavor, and honestly, it's a game-changer for serious chocolate lovers. You could also experiment with a touch of maple syrup instead of some of the powdered sugar for a more complex sweetness. The beauty is that once you understand how these ingredients work together, you can play with them confidently.
- Try adding 1/2 teaspoon of instant espresso powder for an extra chocolate dimension
- Swap 20g of the powdered sugar for pure maple syrup for a more sophisticated sweetness
- Use half hazelnuts and half almonds for a different flavor profile that's equally delicious
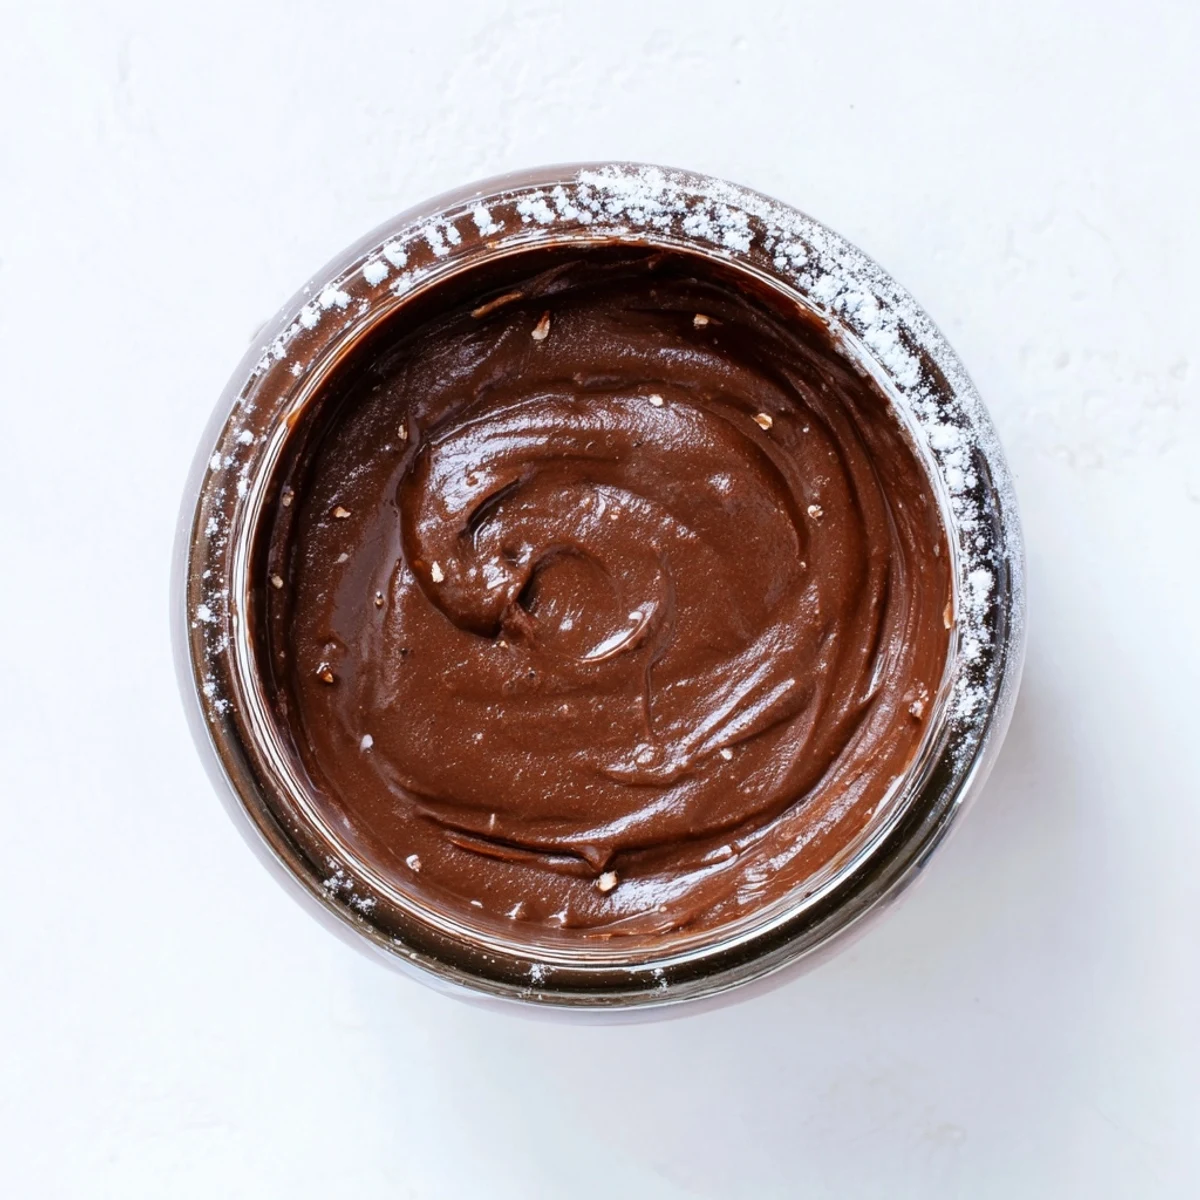 Save to Pinterest
 Making chocolate spread at home is one of those small kitchen victories that loops back to improve your daily life in unexpected ways. You'll find yourself reaching for it more often, sharing it more generously, and somehow, those mornings taste a little bit sweeter.
Questions & Answers About the Recipe
- → How do I make the spread smooth and glossy?
-
Blend the toasted hazelnut paste with cocoa, sugar, and vanilla. Slowly add oil and milk while processing for a smooth, glossy texture.
- → Can I replace whole milk for a different option?
-
Yes, almond or oat milk work well for a dairy-free alternative without compromising flavor.
- → How long can this spread be stored?
-
Keep it refrigerated in an airtight container for up to two weeks to maintain freshness.
- → Are there nut-free variations?
-
Sunflower seeds can replace hazelnuts to create a nut-free version with a similar creamy texture.
- → What pairs well with this spread?
-
Enjoy it on toast, croissants, waffles, or as a dip for fruit. It also complements strong coffee or dessert wines.
