 Save to Pinterest
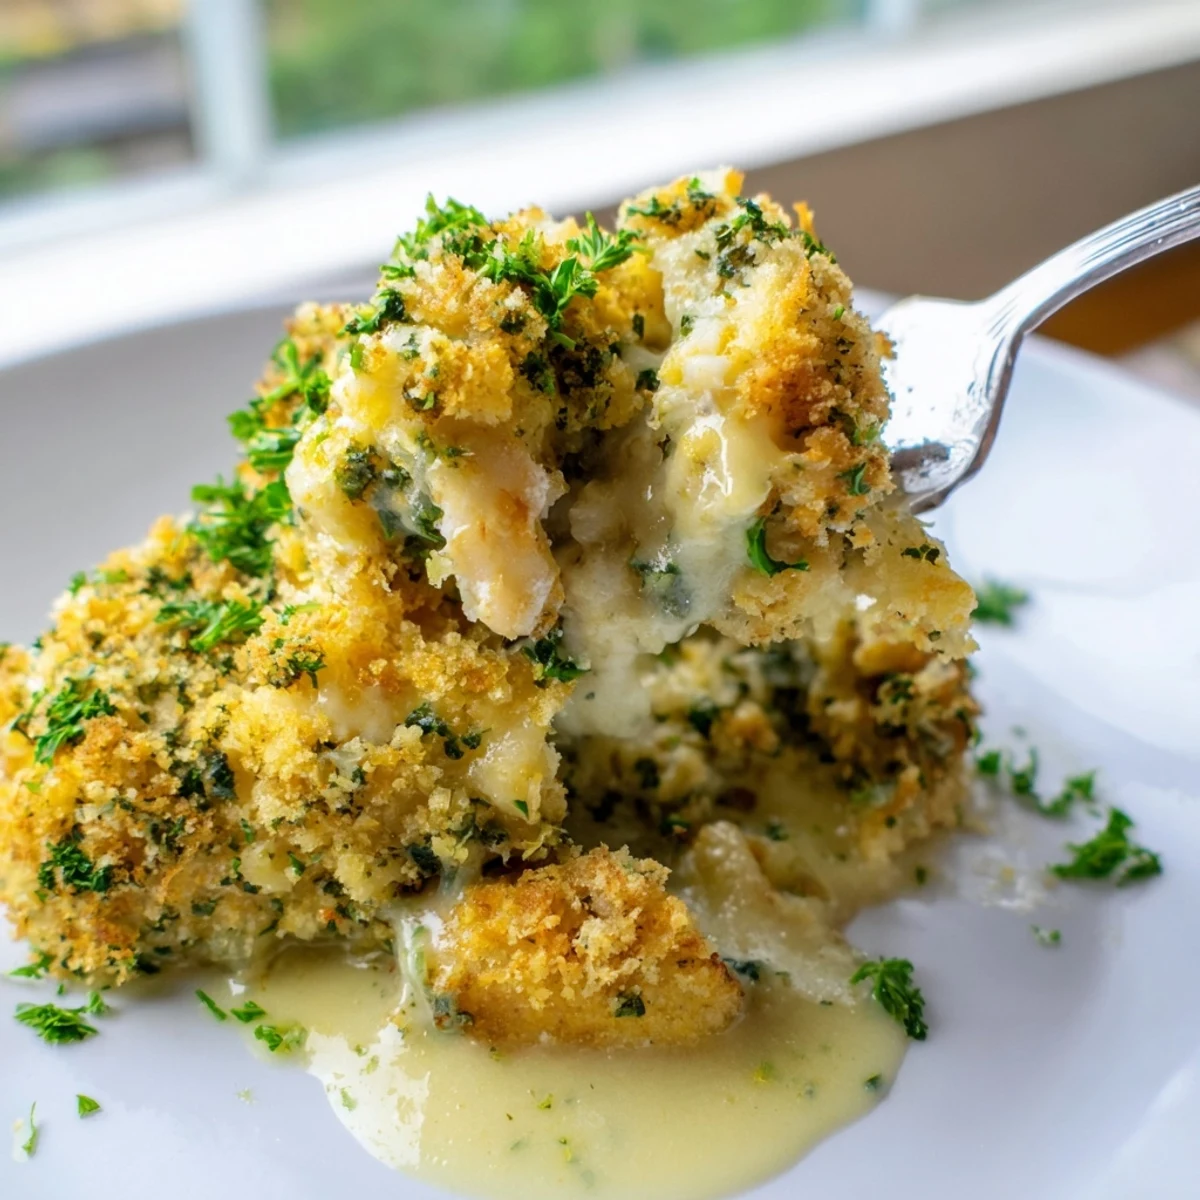
 This deconstructed Chicken Kiev casserole transforms the classic Eastern European dish into an effortless one-pan dinner. Juicy bite-sized chicken breast pieces are enveloped in a rich garlic-herb butter sauce made with fresh parsley, dill, and a splash of lemon juice.
Everything gets topped with a golden panko and Parmesan crust that bakes up irresistibly crunchy. At just 55 minutes from start to finish, it delivers all the comforting flavors of traditional Chicken Kiev without the fussy rolling and frying.
The smell of garlic butter hitting a hot pan is one of those things that stops me in my tracks every single time. My neighbor Nadia brought over a plate of something unrecognizable one rainy Tuesday and refused to tell me what it was until I tried it. One bite and I was lobbying her for the recipe before she even got her coat off. It was her grandmother's deconstructed Chicken Kiev, and honestly, I think the casserole version might beat the original.
I made this for a potluck once and watched three grown adults hover over the baking dish with serving spoons, completely ignoring everything else on the table. There is something about that golden, crunchy topping breaking through into the creamy sauce underneath that makes people lose their manners in the best possible way.
Ingredients
- 1.5 lbs boneless, skinless chicken breasts: Cut into even, bite sized pieces so everything cooks at the same rate and absorbs more of that sauce
- 6 tbsp unsalted butter, softened: This is the soul of the dish, so use good quality butter and let it come to room temperature naturally
- 3 garlic cloves, minced: Fresh is nonnegotiable here, and I always add one extra clove because garlic is never the problem
- 2 tbsp fresh parsley, chopped: Flat leaf parsley adds a brightness that dried simply cannot replicate in this context
- 1 tbsp fresh dill, chopped (optional): The dill is what quietly whispers Eastern European roots into the dish, and I highly recommend not skipping it
- 1/2 tsp salt and 1/4 tsp black pepper: These go into the herb butter and work their way through every layer of the casserole
- 1 tsp lemon juice: Just a tiny splash to wake everything up and balance the richness of the butter
- 1 cup whole milk: Whole milk gives you the velvety texture this sauce deserves, so do not substitute skim
- 1 cup low sodium chicken broth: Low sodium lets you control the salt level and prevents the sauce from becoming overpowering
- 2 tbsp all purpose flour: This is your thickening agent, and cooking it briefly in the pan removes any raw flour taste
- 1 tbsp olive oil: Just enough to get a nice sear on the chicken before everything comes together
- 1 cup panko breadcrumbs: Panko gives you that light, shatteringly crisp topping that regular breadcrumbs struggle to achieve
- 1/4 cup grated Parmesan cheese: Adds a savory depth to the crust and helps it brown beautifully in the oven
- 2 tbsp unsalted butter, melted: Tossed with the breadcrumbs to help them toast and turn golden in the oven
- 2 tbsp fresh parsley for garnish: A final sprinkle of green makes it look as good as it smells when it comes out of the oven
Instructions
- Preheat and prepare your dish:
- Set your oven to 375 degrees Fahrenheit and grease a 9 by 13 inch baking dish with a little butter or cooking spray so nothing sticks later.
- Make the garlic herb butter:
- In a small bowl, mash together the softened butter, minced garlic, parsley, dill, salt, pepper, and lemon juice until it looks like a fragrant, speckled paste. Give it a taste, because this little bowl right here is the heartbeat of the entire recipe.
- Sear the chicken:
- Heat olive oil in a large skillet over medium high heat, add the chicken pieces with a light sprinkle of salt and pepper, and cook until just golden on the edges and cooked through, about 5 to 7 minutes. Transfer the chicken into your prepared baking dish and spread it out evenly.
- Build the sauce:
- In that same skillet, sprinkle the flour and stir constantly for about a minute until it smells slightly toasty. Slowly pour in the milk and chicken broth while whisking to keep lumps from forming, then let it simmer until it thickens enough to coat the back of a spoon.
- Enrich with herb butter:
- Take the pan off the heat and drop in your prepared garlic herb butter, whisking until the sauce turns glossy and smooth. Pour this golden liquid evenly over the chicken in the baking dish and watch how it seeps into every gap.
- Add the crunchy topping:
- Toss the panko breadcrumbs with melted butter and Parmesan in a bowl, then sprinkle the mixture generously across the entire surface of the casserole. Every exposed bit of chicken should be covered because that crunch is what makes this dish sing.
- Bake until golden:
- Slide the dish uncovered into the oven and bake for 25 minutes until the topping is deeply golden and the sauce is bubbling up around the edges. Your kitchen will smell absolutely incredible right about now.
- Rest and garnish:
- Pull it from the oven and let it sit for 5 minutes so the sauce has time to settle, then scatter fresh parsley over the top before serving.
 Save to Pinterest
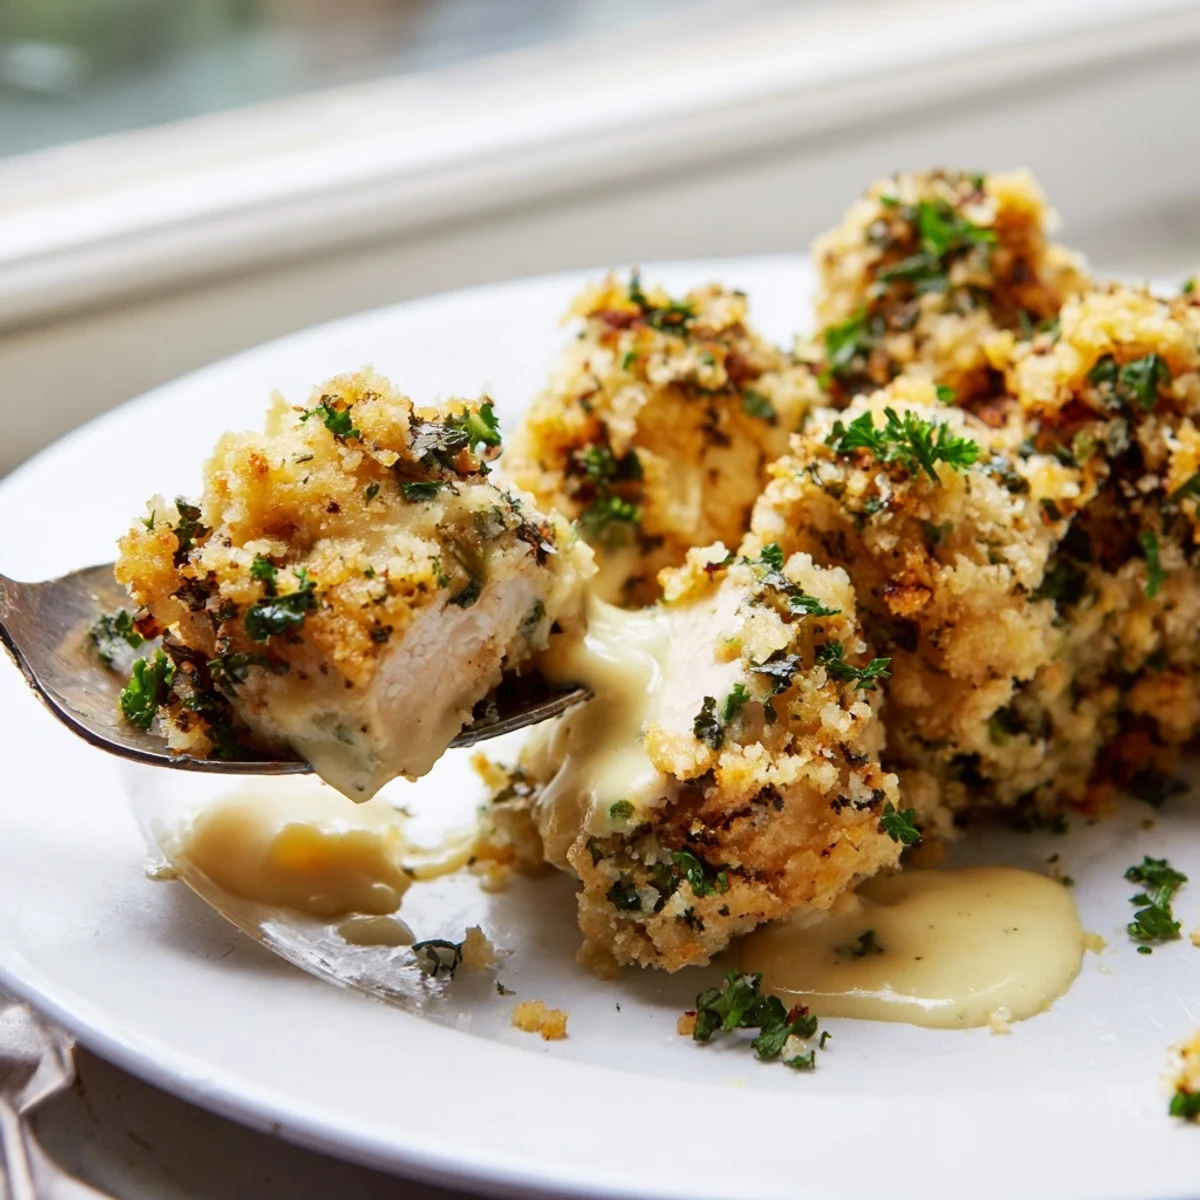
 The first time I served this to my family, my teenage son who normally inhales his food in silence actually put down his fork and said this might be the best thing I have ever made. I do not know if that is true, but I am holding onto that compliment for a very long time.
Serving Suggestions That Actually Work
This casserole is rich enough on its own that it really wants something fresh and simple beside it. A crisp green salad with a lemon vinaigrette cuts through the butter beautifully, and steamed green beans or roasted asparagus bring color to the plate without competing for attention. Steamed rice or crusty bread on the side is never a bad idea if you want to soak up every last drop of that sauce.
Swaps and Substitutions
Chicken thighs work just as well as breasts here, and honestly they stay a little juicier if you are worried about overcooking. If you need to go gluten free, a one to one gluten free flour blend and gluten free panko will get you remarkably close to the original. For extra indulgence, tuck a handful of shredded Gruyere or mozzarella between the chicken and the breadcrumb layer and watch it melt into something extraordinary.
Storage and Reheating
Leftovers keep well in the fridge for up to three days when stored in an airtight container, and they reheat in the oven at 350 degrees Fahrenheit for about 15 minutes. The topping will not be quite as crisp the second day, but the flavor actually deepens overnight, which makes it one of those rare dishes that might be better as a leftover.
- Cover with foil when reheating to prevent the topping from burning while the center warms through
- Freeze individual portions for up to two months and thaw overnight in the fridge before reheating
- Always check the internal temperature reaches 165 degrees Fahrenheit before serving leftovers
 Save to Pinterest
 This is the kind of dish that turns a regular weeknight dinner into something people remember, and honestly, that is all any recipe really needs to do.
Questions & Answers About the Recipe
- → Can I use chicken thighs instead of breasts?
-
Yes, boneless skinless chicken thighs work beautifully in this casserole. They stay even juicier and add a slightly richer flavor. Just cut them into similar bite-sized pieces and adjust the sauté time as needed since thighs may take a minute or two longer to cook through.
- → Can I assemble this casserole ahead of time?
-
Absolutely. You can prepare the chicken, sauce, and topping separately up to a day in advance. Store them covered in the refrigerator, then assemble and bake when ready. You may need to add 5–10 extra minutes to the baking time if going straight from the fridge.
- → What should I serve with Chicken Kiev Casserole?
-
Steamed vegetables like green beans or broccoli make a great pairing. A simple green salad with a light vinaigrette also balances the richness nicely. For a heartier meal, serve alongside buttered egg noodles or mashed potatoes.
- → How do I store and reheat leftovers?
-
Store leftovers in an airtight container in the refrigerator for up to 3 days. To reheat, cover with foil and warm in a 350°F oven for about 15–20 minutes until heated through. The topping will soften in the fridge but still tastes delicious.
- → Can I freeze this casserole?
-
Yes, you can freeze it either before or after baking. For best results, assemble the casserole without the breadcrumb topping, freeze, then add fresh topping before baking. If freezing after baking, thaw overnight in the fridge and reheat at 350°F until warmed through.
- → What can I substitute for panko breadcrumbs?
-
Regular fresh breadcrumbs work fine, though they won't be quite as crispy. For a gluten-free option, crushed rice cereal or almond flour mixed with a little grated Parmesan can create a similar crunchy texture. Avoid using seasoned breadcrumbs as they may overpower the garlic-herb flavors.
