 Save to Pinterest
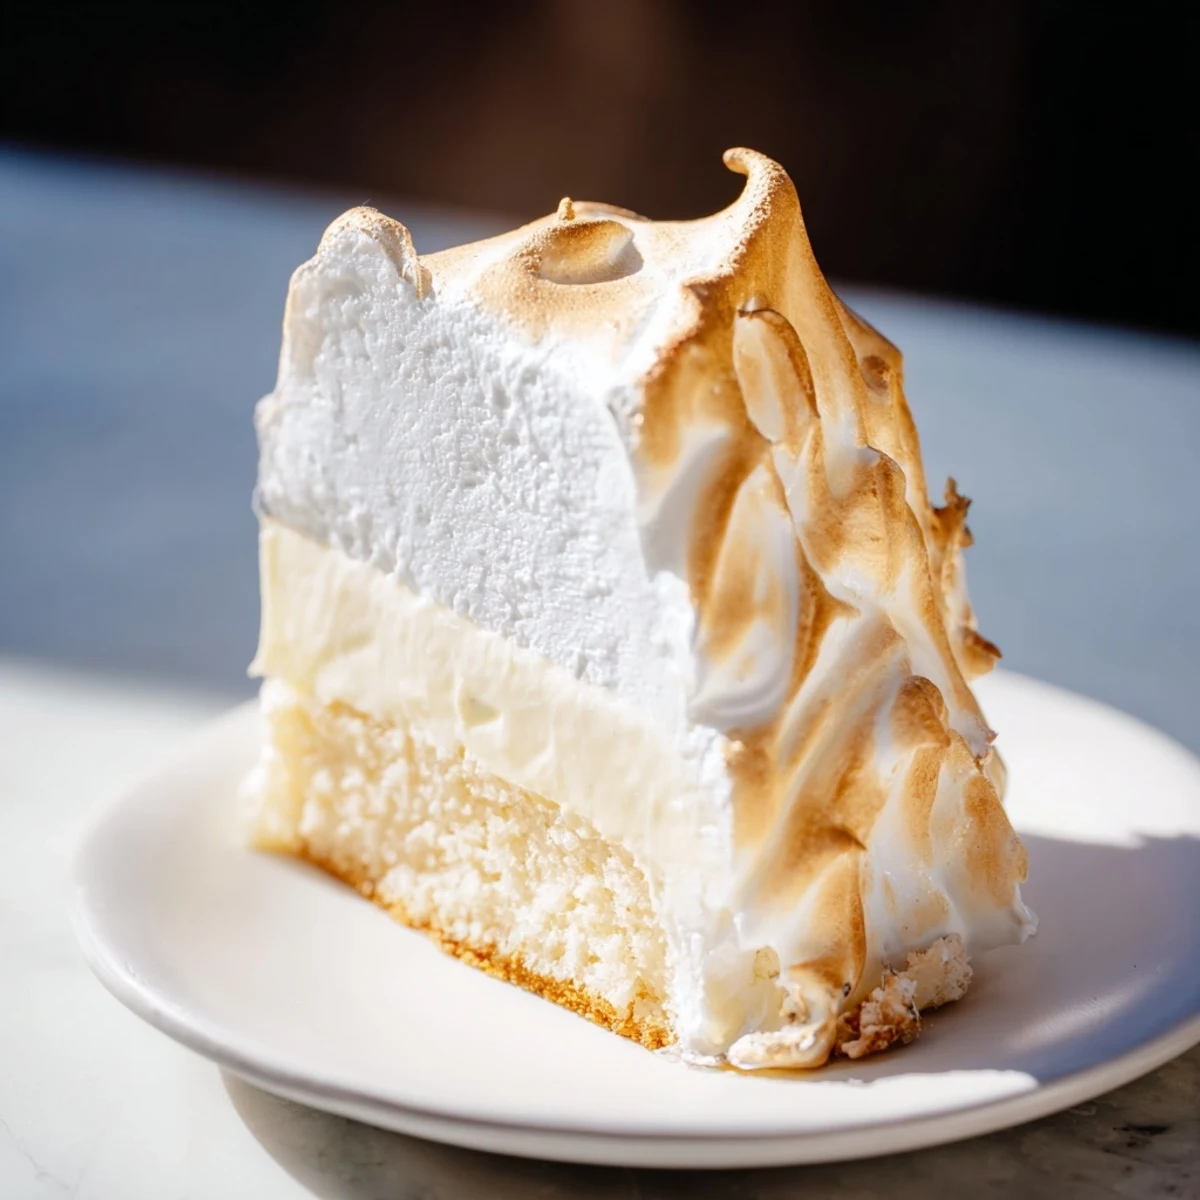
 This dessert features tender sponge cake layered with creamy vanilla ice cream, all enveloped by a golden, fluffy meringue. The combination of textures—from soft cake to smooth ice cream and toasted meringue—creates a dramatic and delightful treat. Preparation involves baking the sponge cake, freezing the ice cream layer, then finishing by browning the meringue for a warm, crisp contrast. Ideal for special occasions and impressive presentations.
I'll never forget the first time I saw Baked Alaska emerge from the oven—a golden, billowing cloud of meringue that looked like something from a dream. I was visiting my aunt's kitchen one summer, and she'd been talking about this theatrical dessert for weeks. When she pulled that magnificent creation out, torch in hand, the whole room gasped. It was the moment I realized that some desserts aren't just about taste; they're about the magic of transformation. That day, I learned that the most memorable meals come from dishes brave enough to be both beautiful and delicious.
I remember making this for my partner's birthday dinner, worried the whole meringue might collapse or brown unevenly. But when I pulled it from the oven and set it on the table, still warm, with that perfect golden crust, I saw their face light up in a way that made every nervous moment worthwhile. That's when I understood—Baked Alaska isn't just a dessert, it's a gesture of love wrapped in sugar and egg whites.
Ingredients
- All-purpose flour (1 cup): The foundation of your sponge cake. I've learned that measuring by weight rather than volume makes this lighter and more reliable every single time.
- Granulated sugar (1/2 cup for cake, 1/2 cup for meringue): Sugar is what gives the cake its tender crumb and the meringue its glossy, stiff peaks. Don't skimp on quality here.
- Unsalted butter (1/4 cup): Soft butter creams into the sugar beautifully, creating that light, fluffy base. Let it sit at room temperature for at least an hour before you start.
- Large eggs (2 for cake, 4 for meringue): Room temperature eggs blend more smoothly into your batter and beat into better peaks. This is worth the wait.
- Milk (1/4 cup): This keeps the cake tender and moist. Any milk works, but I use whole milk for a richer result.
- Vanilla extract (1/2 tsp for cake, 1/2 tsp for meringue): Real vanilla makes a noticeable difference; use the good stuff if you can find it.
- Baking powder (1 tsp): This is your leavening agent, giving the sponge its lift. Make sure it's fresh—old baking powder won't rise properly.
- Salt (pinch): A tiny amount brings out all the sweetness and depth of the other flavors.
- Vanilla ice cream (1 quart): Choose a really good quality ice cream—this isn't the place to compromise. Soften it slightly so it spreads easily, but not so much that it melts.
- Cream of tartar (1/4 tsp): This stabilizes your egg whites and helps them reach those perfect stiff peaks. Don't leave it out.
Instructions
- Get your mise en place ready:
- Line your loaf pan with parchment paper, letting some hang over the edges—you'll thank yourself later when you need to lift the whole thing out. Preheat your oven to 350°F. This is the moment to get organized, because once you start, you'll want to move smoothly from one step to the next.
- Cream the butter and sugar:
- Let your softened butter and sugar come together in a mixing bowl. Beat them for about 2 to 3 minutes until the mixture is pale, fluffy, and almost light enough to float. This step matters more than you might think—it's where the cake gets its tender texture.
- Incorporate the eggs with care:
- Add your eggs one at a time, beating well after each addition. This prevents the batter from looking curdled and ensures everything binds together properly. Add your vanilla and give it one more good beat.
- Combine dry and wet ingredients gently:
- In a separate bowl, whisk together your flour, baking powder, and salt. Now comes the important part—alternate adding the dry mixture and the milk to your wet mixture, starting and ending with dry ingredients. Mix just until everything is combined; overmixing will make your cake tough, and you want it tender and delicate.
- Bake the sponge cake:
- Spread your batter evenly into the prepared pan. Slide it into the oven and bake for 20 to 22 minutes, until a toothpick inserted in the center comes out clean. The kitchen will smell incredible. Let the cake cool completely in the pan—this takes patience, but it's worth it.
- Prepare for the ice cream layer:
- Once the cake is completely cool, run a knife around the edges and lift it out using the parchment overhang. Re-line your clean loaf pan with fresh parchment and place the cake back inside. This setup is key for the unmolding step later.
- Spread the ice cream:
- Take your softened ice cream and spread it in an even layer over the cake. Use a spatula to smooth the top, making sure there are no gaps or lumps. Cover the whole thing with plastic wrap and slide it into the freezer for at least 4 hours—overnight is even better.
- Make your meringue:
- In a completely clean bowl (any trace of oil will ruin your meringue), beat your egg whites and cream of tartar until soft peaks form—you'll see them stand up slightly but still flop over at the tip. Gradually sprinkle in your sugar while beating, continuing until you have stiff, glossy peaks that stand straight up. Beat in your vanilla extract at the very end.
- Unmold the frozen cake:
- Take your frozen loaf from the freezer and lift it out onto a parchment-lined baking sheet, using those parchment overhangs to help. The cake and ice cream should now be one solid unit, ready for its meringue coating.
- Encase in meringue:
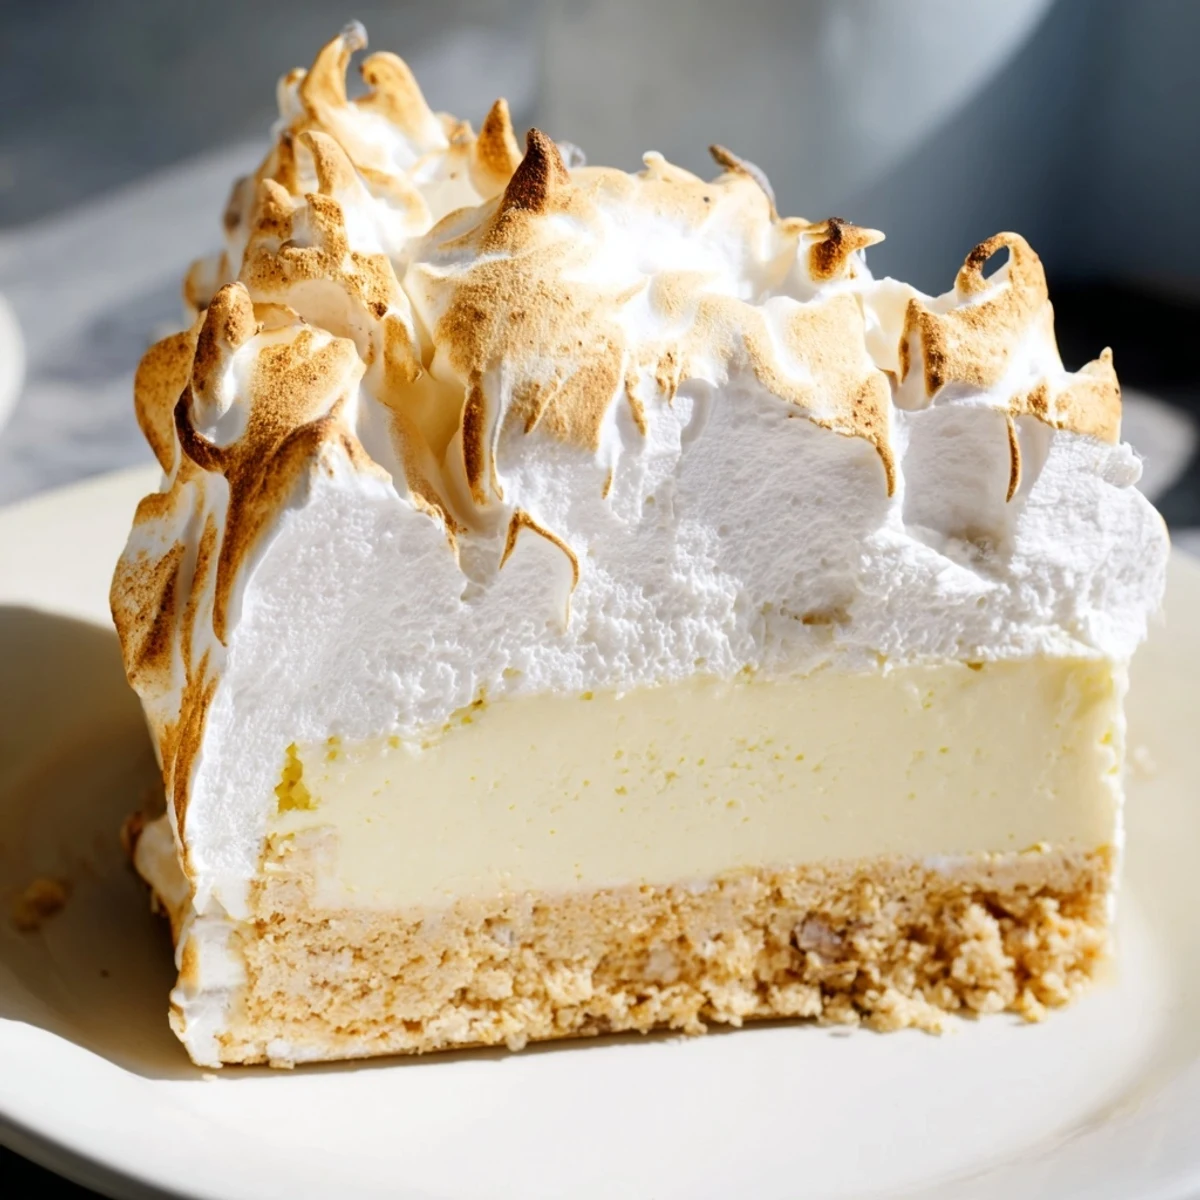
- Spread your meringue over every surface of the cake and ice cream—top, sides, and all. Make sure the meringue completely seals everything; this protects the ice cream from melting during the quick baking. Feel free to create little peaks and swirls with the back of a spoon for visual drama.
- Toast the meringue:
- Either preheat your oven to 500°F and bake for 2 to 3 minutes, watching carefully for golden browning, or use a kitchen torch to brown the peaks yourself. The meringue should turn a beautiful golden color—this is where the magic happens. Don't walk away; it can go from golden to burnt in seconds.
- Serve with joy:
- Slice immediately and serve while the meringue is still warm and the ice cream is cold. This contrast is the whole point. If you want to make it ahead, freeze after toasting and reheat briefly before serving.
 Save to Pinterest
 I'll always remember the look on my mom's face when I brought this to her birthday dinner. She'd never had Baked Alaska before, and when I torched the meringue at the table, creating those perfect caramelized peaks, she actually teared up. It wasn't just about the dessert—it was about knowing someone loved her enough to attempt something that fancy and complicated.
The Magic of Contrast
The beauty of Baked Alaska is that it lives in the moment between hot and cold. That warm, toasted meringue gives way to the cool, creamy ice cream, and the sponge cake underneath holds it all together with its tender crumb. It's the textural dance that makes this dessert so memorable. Every time I make it, I'm reminded that the best food experiences happen when opposing elements come together in harmony. The theatrical presentation is just the opening act—the real show happens on your palate.
Making It Your Own
While the classic vanilla version is stunning, I've had wonderful results swapping in chocolate ice cream for a richer dessert, or even strawberry for something more summery. The sponge cake can be made a full day ahead, wrapped well at room temperature, which takes some of the pressure off if you're planning ahead. I've also found that serving it with a bright raspberry coulis or fresh berries on the side adds a tangy note that balances all that sweetness beautifully. The structure is flexible enough to let you make it yours while still maintaining that dramatic impact.
Timing and Preparation
The most important thing I've learned is that Baked Alaska rewards preparation. Make your sponge cake the day before, assemble with ice cream 24 hours ahead, and you only need to make the meringue and torch it just before serving. This approach means you're never stressed in the final moments before dessert—you're just executing the finishing touches. Plus, knowing you have flexibility takes away the anxiety and lets you focus on creating something beautiful.
- The sponge cake is stable for up to two days when wrapped well, so don't hesitate to get a head start.
- You can keep the frozen cake and ice cream layer in the freezer for several weeks if needed, which means you can make this whenever inspiration strikes.
- The meringue is best made fresh, about 30 minutes before serving, when it still has that beautiful glossy finish.
 Save to Pinterest
 There's something wonderful about finishing a meal with a dessert that feels like a celebration. Baked Alaska does that effortlessly. When you set it down in front of people, you're not just serving them something delicious—you're offering them a moment of genuine delight.
