 Save to Pinterest
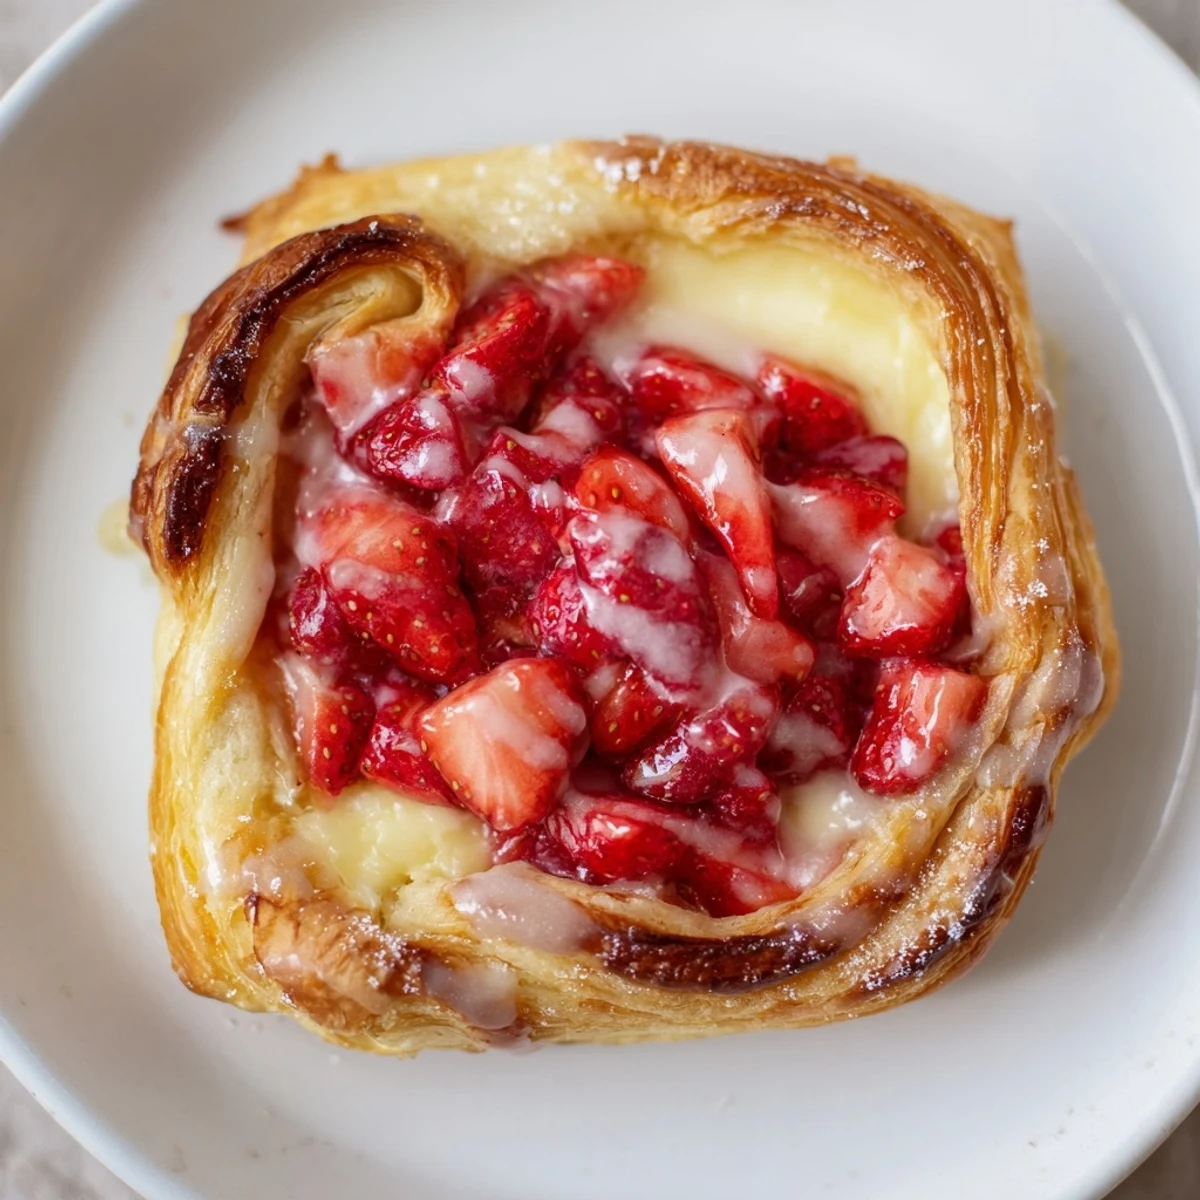
 This strawberry Danish uses thawed puff pastry filled with a smooth cream cheese, sugar, vanilla and lemon zest, topped with a spoonful of sugared diced strawberries. Cut into 8 squares, score a border, add fillings, brush with egg wash and bake at 200°C (400°F) for 18–22 minutes until puffed and golden. Cool slightly and drizzle optional glaze. Yield: 8 pastries.
The scent of strawberries and warm pastry drifting through my kitchen always turns an ordinary morning into something quietly special. Last spring, on a whim to bring brightness to a rainy weekend, I tried making these Strawberry Danishes for breakfast. While rolling out puff pastry, the hum of the radio in the background and the crisp citrus of lemon zest in the air convinced me this would become a staple treat. Delicate, flaky, and beautifully layered, these are the kind of pastries you’ll want to linger over with a second cup of coffee.
I’ll never forget the first time I pulled a pan of these out of the oven for some visiting friends. The conversation paused as everyone leaned in to admire the glossy pastries, their centers glistening with jammy strawberries, and it wasn’t long before laughter and powdered sugar covered the table.
Ingredients
- Puff pastry sheet: Thaw it fully for the best results, and keep it chilled until you’re ready to roll so you get maximum flaky layers.
- Cream cheese: Softened just enough to whip smoothly, it brings a creamy base that tempers the fruity filling.
- Granulated sugar: Added both to the cheese and strawberry filling, it balances the tartness and helps everything caramelize just right.
- Vanilla extract: A little goes a long way in amplifying the elegant flavors of both cheese and glaze.
- Lemon zest and juice: Zest brightens the cheese, juice perks up the strawberries, and both keep the flavors vivid rather than overly sweet.
- Fresh strawberries: Sliced berries burst into juicy pockets when baked; if using frozen, drain them well to avoid soggy pastry.
- Cornstarch: Gently thickens the berry juices so they don’t spill out during baking.
- Egg and milk (egg wash): This duo brushes on a golden sheen—skip this and you’ll miss out on the best crisped edges.
- Powdered sugar, milk, and vanilla (glaze): Whisked into a simple icing, it’s the final touch for a patisserie finish.
Instructions
- Get ready:
- Preheat your oven to 200°C (400°F) and line your tray—parchment paper will save you from sticky cleanup later.
- Mix the cream cheese layer:
- Beat cream cheese, sugar, vanilla, and lemon zest together until silky and spreadable, with no lumps—taste and inhale, it will brighten your day.
- Prepare the berries:
- Diced strawberries, a sprinkle of sugar, lemon juice, and cornstarch all get tossed together; the berries will glisten and start releasing their juices.
- Shape the pastry:
- Working quickly so the pastry stays cold, lay out the sheet and cut it into even squares. Gently score a border on each for that classic Danish “frame” and crisped edges.
- Layer fillings:
- Spoon creamy filling into the center of each square—it’s tempting to overfill, but resist. Follow with a modest spoonful of strawberry mixture right on top.
- Add a golden touch:
- Brush the uncovered pastry borders with egg wash until shining, then transfer to your prepared baking tray.
- Bake:
- Pop into the oven for 18–22 minutes: watch for the pastry to puff and turn glossy gold, with bubbling berry centers.
- Cool and finish:
- Let the Danishes cool just enough to handle, then whisk up a quick glaze and drizzle with a flick of your wrist to finish them off.
 Save to Pinterest
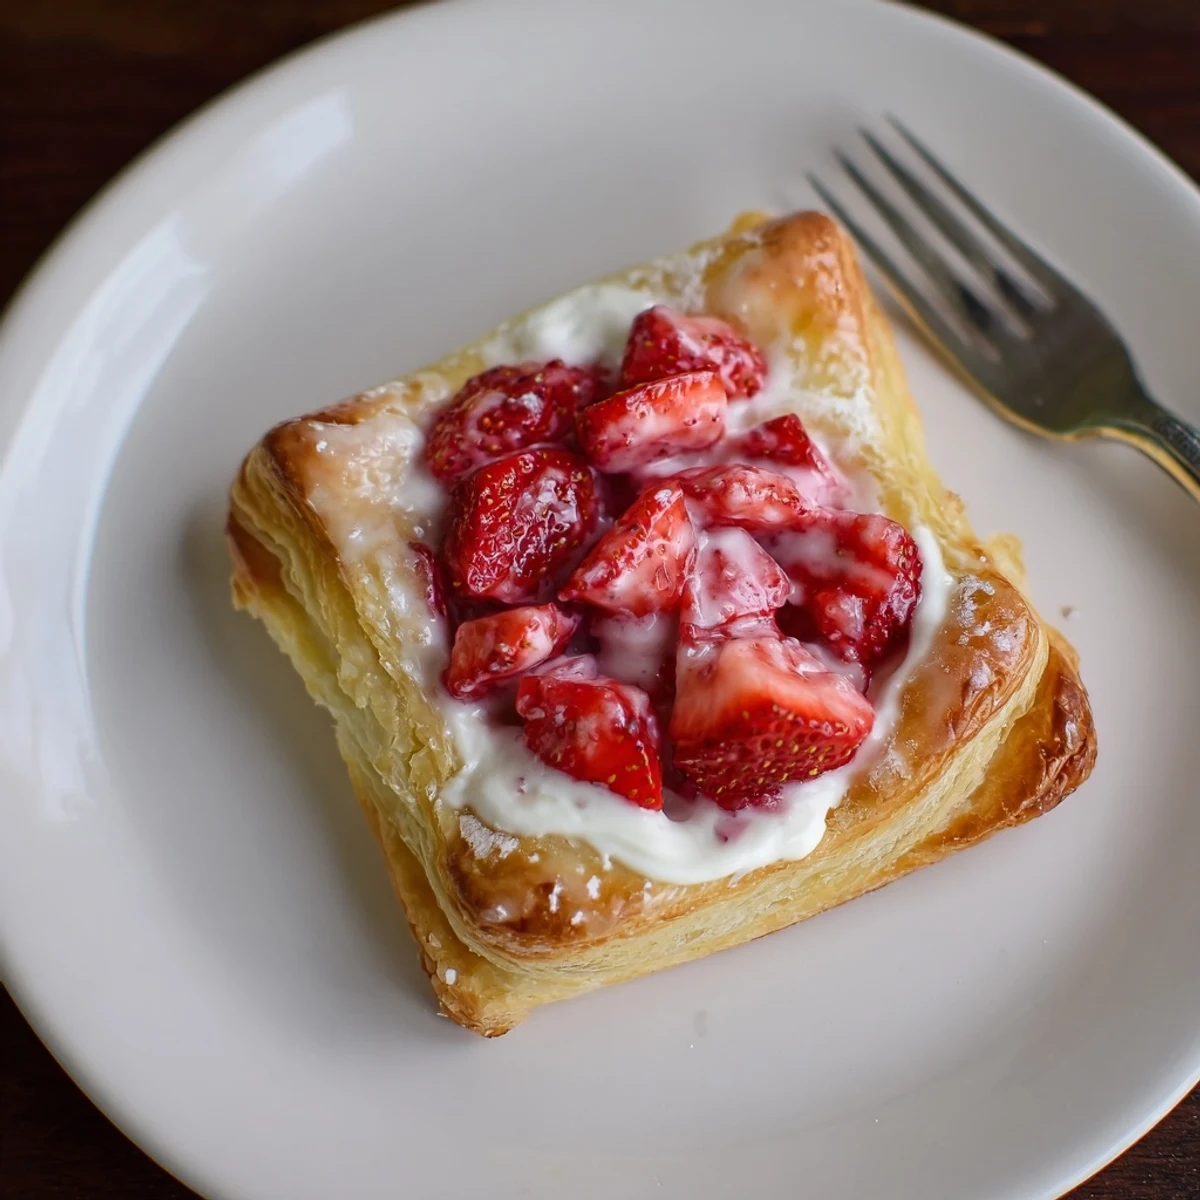
 There’s a moment when someone takes their first bite, the corners of their mouth upturn in surprise at how something so simple can taste so extraordinary—that’s when these Danishes turn from a recipe to a small celebration.
Choosing the Right Strawberries
For the most vibrant flavor, pick slightly underripe strawberries for baking—they hold their shape and don’t become too mushy. If you’re using frozen ones, pat them dry with a towel and toss out any ice crystals lurking between the pieces.
Working with Puff Pastry
Keep the pastry as cold as possible until assembly, and handle it with gentle hands. The chill guarantees those gorgeous, distinct layers after baking.
Easy Variations and Serving Ideas
If you ever want to switch it up, try adding a handful of blueberries or sliced raspberries for a mixed berry twist or a pinch of cinnamon to the cheese filling for warmth. Serve with coffee for breakfast, or a glass of Riesling for dessert—no occasion required.
- Don’t crowd the pastries on the tray so they puff up evenly.
- A sprinkle of lemon zest over the finished Danishes makes the colors pop even more.
- Leftovers toast up delightfully in the oven the next morning—it’s worth hiding a few for yourself.
 Save to Pinterest
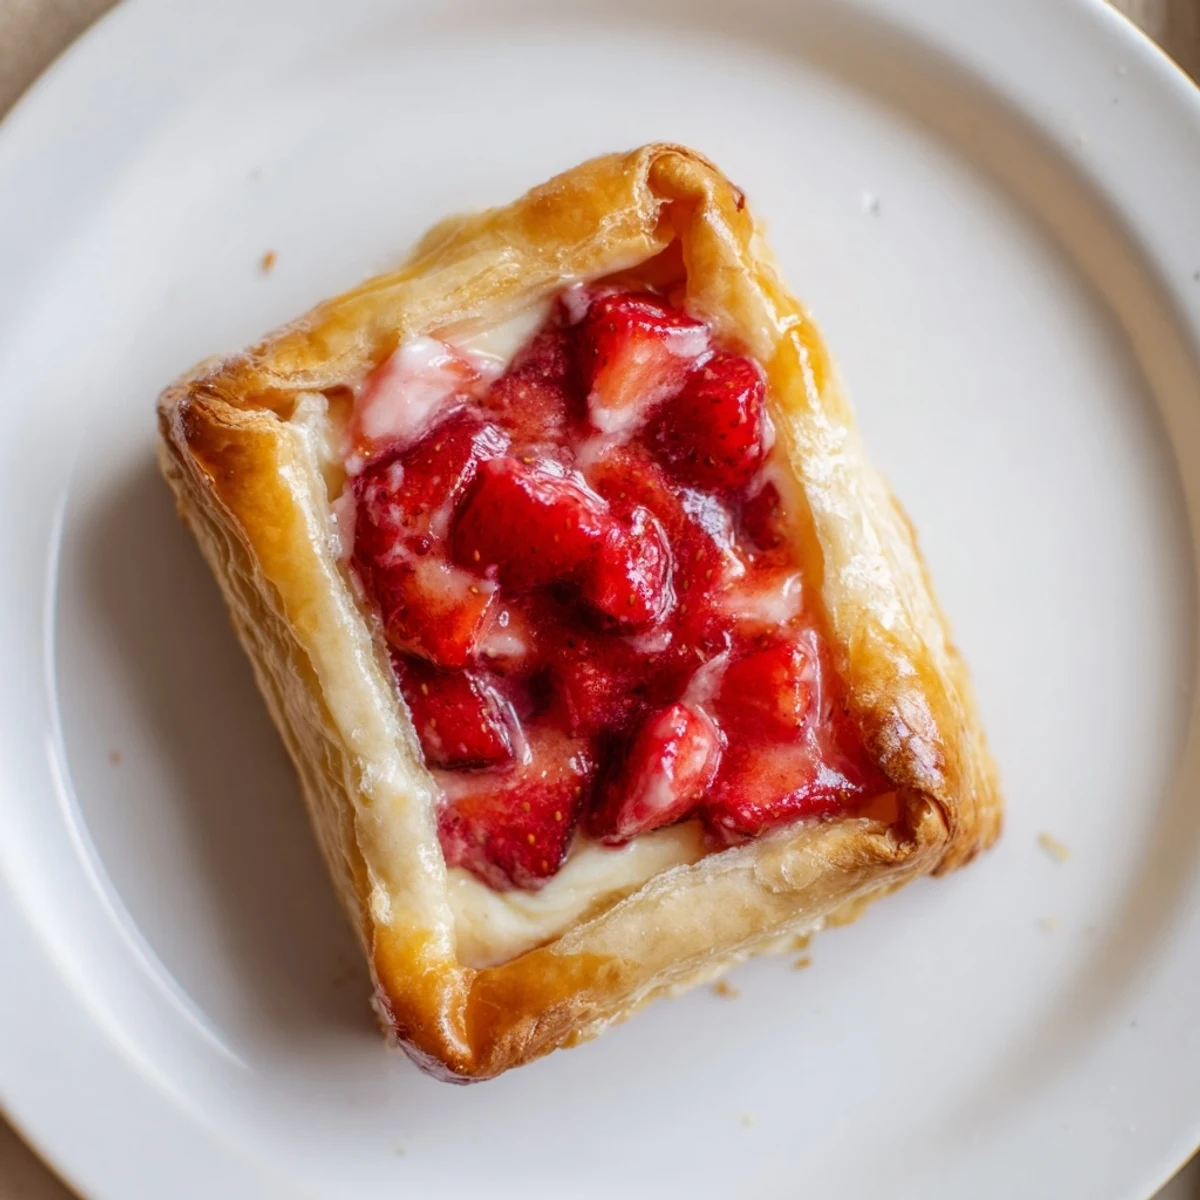
 Few pleasures beat sharing a freshly baked Danish with someone you love. I hope your mornings are as sweet as these pastries, and your kitchen as joy-filled.
Questions & Answers About the Recipe
- → Can I use frozen strawberries?
-
Yes. Thaw and drain excess liquid before mixing with sugar and cornstarch to avoid soggy pastry. Pat dry with paper towels if needed.
- → What does scoring the border do?
-
Scoring creates a rim that puffs up around the filling, keeping the center contained and producing the classic layered edge.
- → How can I prevent a soggy base?
-
Use a light layer of cream cheese first, toss fruit with a little cornstarch to thicken juices, and bake on a preheated tray to encourage crisping.
- → Are there suitable substitutes for cream cheese?
-
Mascarpone or a thick sweetened ricotta work well for a similar creamy texture and mild tang.
- → Can I prepare these ahead of time?
-
Assemble and refrigerate for up to a few hours before baking, or freeze unbaked pastries on a tray then transfer to a bag; bake from frozen, adding a few minutes to the time.
- → What role does cornstarch play in the filling?
-
Cornstarch thickens released juices from the strawberries as they heat, preventing the filling from becoming runny and helping it set slightly.
