 Save to Pinterest
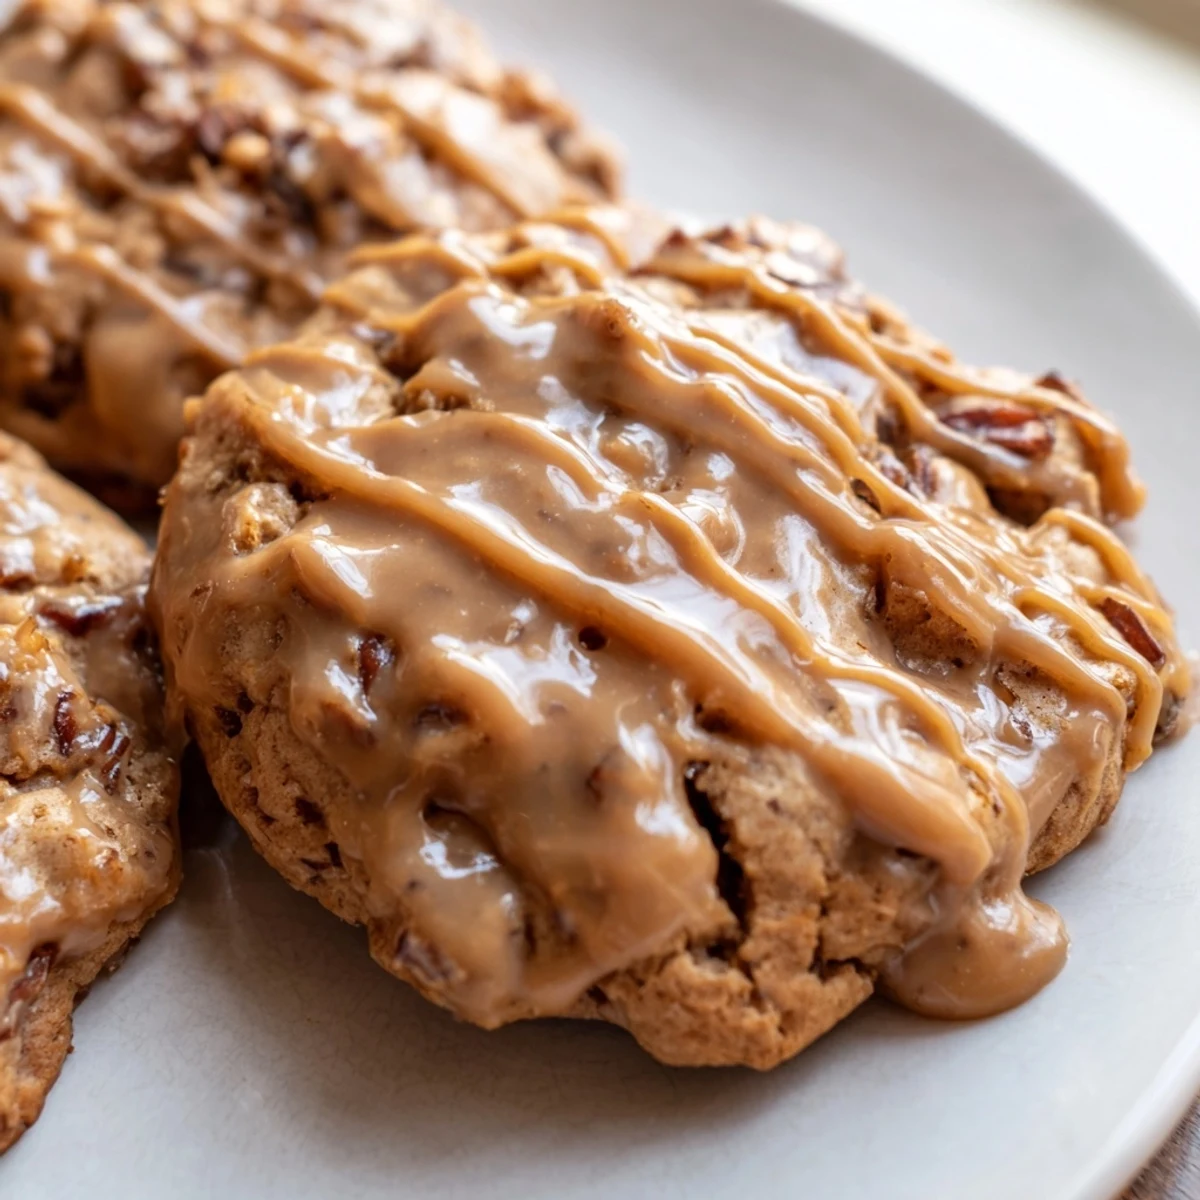
 These soft, chewy cookies capture all the warm, comforting flavors of traditional sticky toffee pudding in a handheld treat. Dates are softened in boiling water with baking soda before being folded into a buttery brown sugar dough. The result is a moist, tender cookie with deep caramel notes. A homemade toffee glaze made with butter, dark brown sugar, and cream adds the perfect finishing touch.
The dough comes together quickly and bakes in just 12 minutes. For the best texture, look for edges that are set while centers remain slightly underbaked. The glaze should be drizzled while warm for easy spreading.
The first time these cookies emerged from my oven, the entire kitchen smelled like a British pudding shop. I had been experimenting with bringing all the cozy flavors of sticky toffee pudding into cookie form, and honestly, my apartment had never smelled better. My roommate actually came wandering out of her bedroom asking what bakery I had secretly opened in our kitchen.
I made these for a rainy Sunday supper with friends last autumn. Everyone went quiet after the first bite, which is pretty much the highest compliment a dessert can receive. My friend Sarah actually asked if I could pack her a few to take home, and I found myself wondering why I had ever thought traditional sticky toffee pudding needed to be so complicated.
Ingredients
- Pitted dates: These are the heart of the cookie, providing natural sweetness and that signature chewy texture. Finely chopping them ensures they distribute evenly throughout the dough.
- Boiling water and baking soda: This combination softens the dates and creates that tender, pudding-like interior that makes these cookies so special.
- Dark brown sugar: The molasses in dark brown sugar gives these cookies their deep, caramel-like flavor and beautiful color.
- Unsalted butter: softened to room temperature for perfect creaming, which creates those delightfully crispy edges.
- Heavy cream: Makes the toffee glaze luxuriously smooth and helps it set perfectly on the cookies.
Instructions
- Prep your baking space:
- Preheat oven to 350°F and line baking sheets with parchment paper. This little prep step makes everything else flow so smoothly.
- Soften those dates:
- Combine chopped dates with boiling water and baking soda. Let it sit for 10 minutes while you gather everything else. The dates will plump up beautifully.
- Cream the butter and sugars:
- Beat until the mixture looks pale and fluffy. This usually takes about 3 minutes, but it is worth every second for the texture it creates.
- Add the egg and vanilla:
- Mix until everything is incorporated. The batter should look smooth and glossy at this point.
- Whisk the dry ingredients:
- Combine flour, baking powder, and salt in a separate bowl. I usually do this while the dates are soaking to save time.
- Bring it all together:
- Add the dry ingredients to the butter mixture, then fold in those softened dates along with all their liquid. The dough will look a bit loose, and that is exactly right.
- Scoop and bake:
- Drop tablespoon-sized dough balls onto the prepared sheets, giving them room to spread. Bake for 10 to 12 minutes until the edges are set but centers still look slightly underbaked.
- Make the magic glaze:
- Melt butter and brown sugar in a small saucepan over medium heat. Stir in the heavy cream and salt, simmer for 1 to 2 minutes until thickened, then remove from heat and stir in vanilla.
- The finishing touch:
- Drizzle that warm toffee glaze over cooled cookies. Let it set for about 15 minutes before serving, if you can resist that long.
 Save to Pinterest
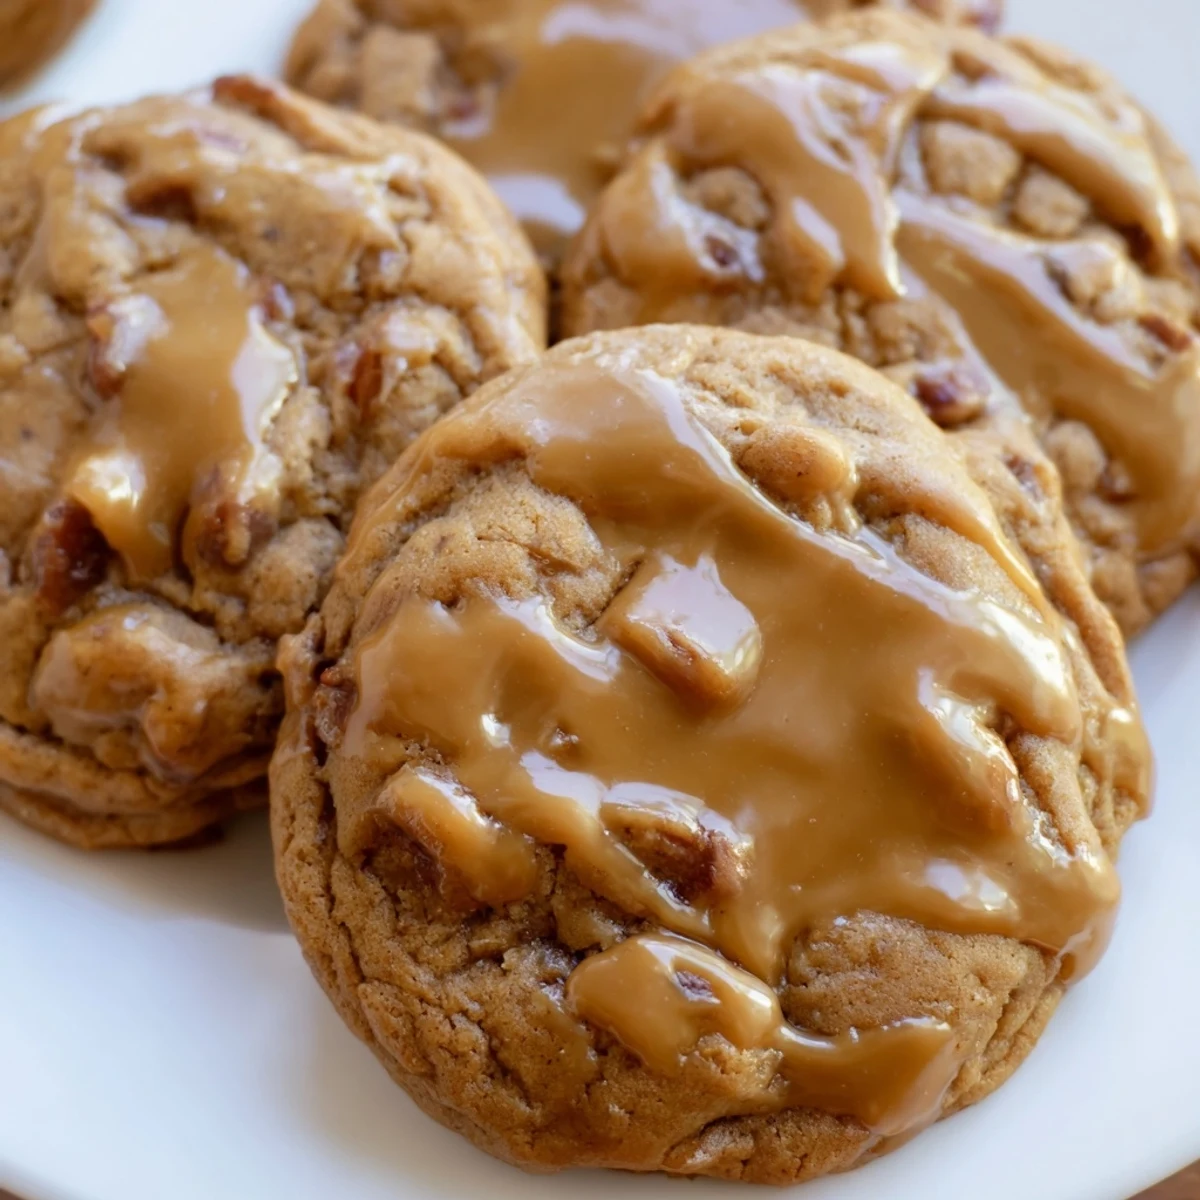
 These cookies have become my go-to for practically everything now. Dinner parties, rainy weekends, Tuesdays that need saving. There is something about them that feels like a hug in cookie form.
Making Ahead
The cookie dough actually freezes beautifully. I scoop it into balls, freeze them on a baking sheet, then transfer to a bag. Fresh baked cookies in 12 minutes whenever the craving hits, which is more often than I care to admit.
Glaze Variations
Sometimes I add a tablespoon of bourbon to the glaze for a grown-up version that is absolutely divine. A pinch of cinnamon in the cookie dough also creates a lovely warming twist perfect for winter months.
Storage Tips
These stay moist for days thanks to the dates, but they rarely last that long in my house. If you need to store them, layer them between parchment paper in an airtight container.
- Pop a slice of bread in the container to keep them extra soft
- The glazed ones are best within 2 days
- Freeze unglazed cookies for up to a month
 Save to Pinterest
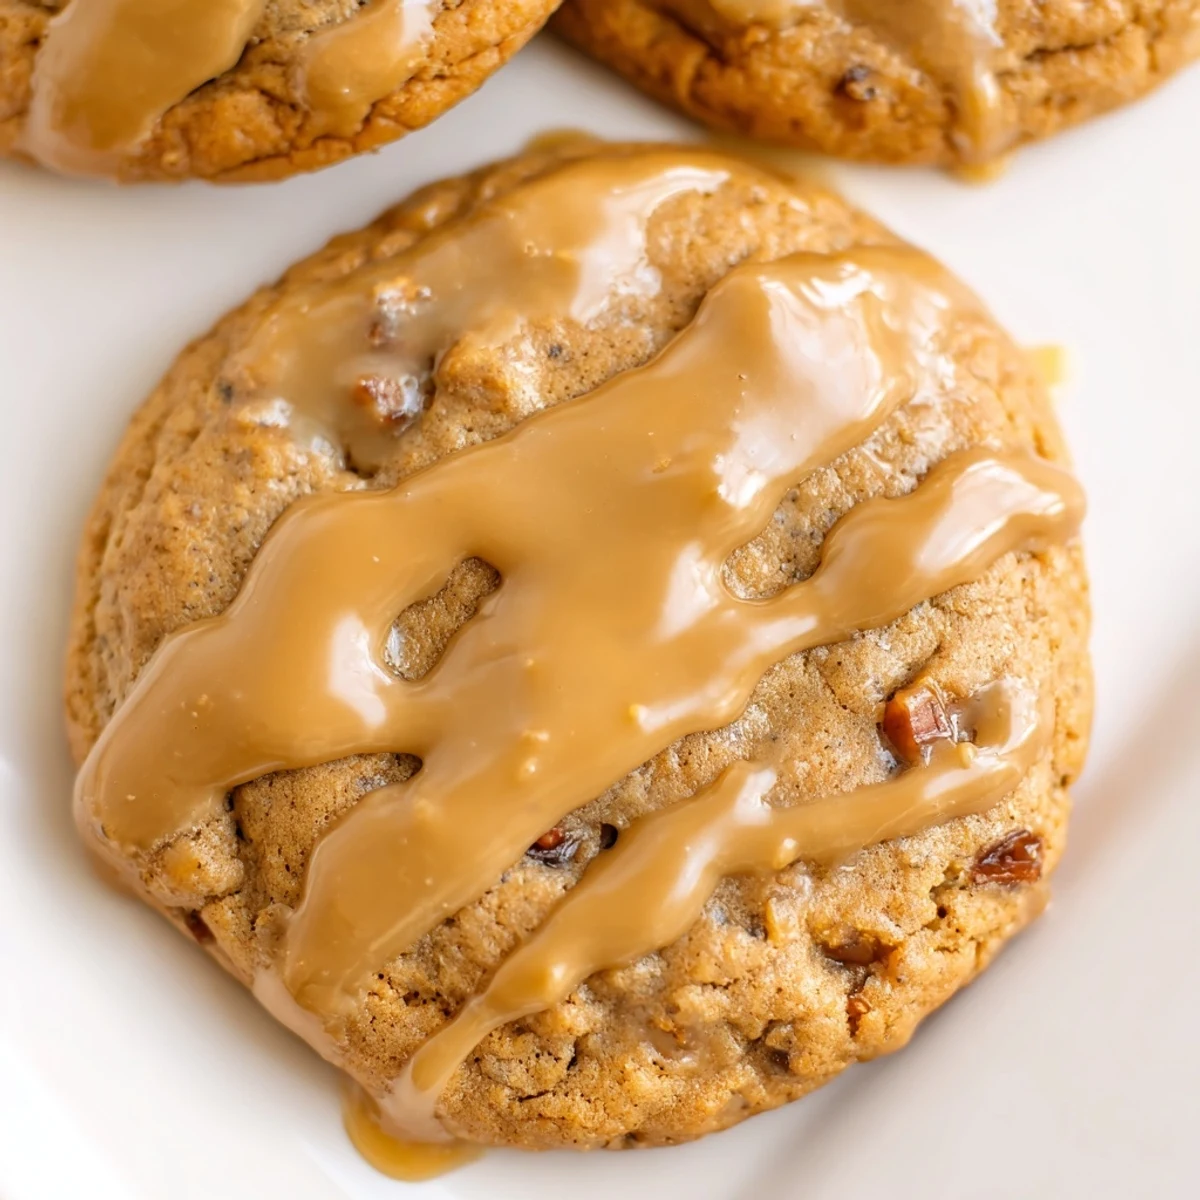
 I hope these bring as much warmth to your kitchen as they have to mine. Happy baking.
Questions & Answers About the Recipe
- → What makes these cookies different from regular chocolate chip cookies?
-
These cookies feature softened dates and brown sugar as the primary sweeteners, creating a moist, chewy texture reminiscent of sticky toffee pudding. The addition of a warm toffee glaze adds a caramelized finish that sets them apart from traditional cookie varieties.
- → Why is baking soda added to the dates?
-
The baking soda helps break down the dates, making them softer and more easily incorporated into the dough. It also helps neutralize acidity, allowing the dates' natural sweetness to shine through while contributing to the cookie's tender texture.
- → Can I make the dough ahead of time?
-
Yes, the cookie dough can be prepared and refrigerated for up to 24 hours before baking. Bring the dough to room temperature for about 15 minutes before scooping and baking. The glaze is best made fresh and applied just before serving.
- → How should I store these cookies?
-
Store the glazed cookies in an airtight container at room temperature for up to 3 days. Place parchment paper between layers to prevent sticking. For longer storage, freeze unglazed cookies for up to 3 months and add fresh glaze after thawing.
- → What can I use instead of dates?
-
While dates are traditional for sticky toffee pudding, you can substitute raisins, dried figs, or dried cranberries. Keep in mind the flavor profile will change slightly, and the moisture content may vary, so adjust the boiling water accordingly.
- → Why should the centers look underbaked?
-
Removing the cookies when centers appear slightly underbaked ensures they stay soft and chewy as they cool. The residual heat continues cooking them gently, resulting in the perfect tender texture without becoming dry or hard.
