 Save to Pinterest
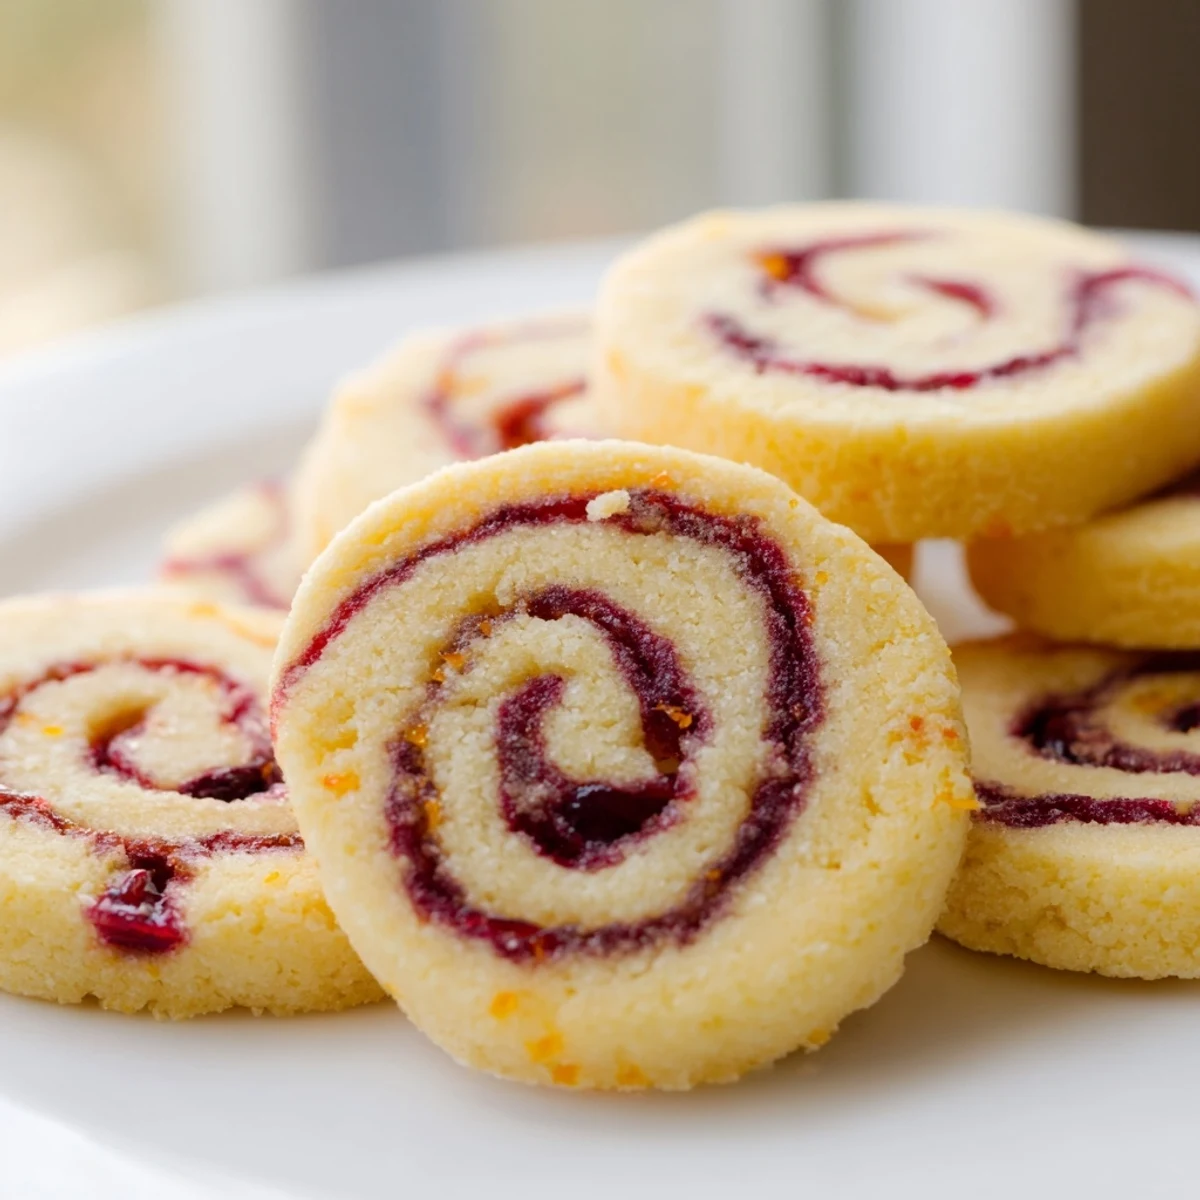
 Create stunning orange cranberry pinwheel cookies with a tender vanilla dough spiraled around a tangy cranberry-orange filling. These swirled treats feature finely chopped dried cranberries blended with fresh orange zest and juice, creating a perfect balance of sweet and tart flavors.
The process involves making a simple buttery dough, preparing a spreadable cranberry mixture, then rolling them together into logs before slicing and baking. The result is beautiful cookies with vibrant red spirals that look impressive on any dessert platter.
Perfect for holiday gatherings, cookie exchanges, or afternoon tea, these cookies can be prepared ahead and frozen for convenient baking. The citrus notes brighten the tart cranberries, while the buttery vanilla dough provides the perfect tender base.
The orange-cranberry combination hit me differently when I first started experimenting with holiday baking years ago. My grandmother swore by cranberry orange bread, but I wanted something smaller, something you could eat with your fingers while standing around the kitchen island. These pinwheel cookies became the answer, swirling tart cranberries through vanilla-scented dough in this beautiful pattern that makes people pause before taking a bite.
I remember bringing a batch to my first proper dinner party as a new cook. The host kept asking where I bought them, and when I explained the rolling technique, she looked at me like I had some secret baking superpower. That moment of someone genuinely impressed by something I made in my tiny apartment kitchen stuck with me. Now these are my go-to when I need something that feels special without requiring three days of work.
Ingredients
- All-purpose flour: The foundation here, providing structure without overwhelming the delicate filling
- Baking powder and salt: Just enough lift to keep cookies tender without making them cakey
- Unsalted butter: Softened properly, this creates the creamiest base for rolling without cracking
- Granulated sugar: Sweetens the dough while helping create those crisp edges we love
- Large egg: Binds everything together and adds richness to the vanilla base
- Vanilla extract: Pure vanilla makes the dough taste like home, nothing artificial needed
- Orange zest: Fresh zest from a large orange gives bright citrus notes throughout the dough
- Dried cranberries: Tart little jewels that provide the perfect contrast to sweet dough
- Orange juice and water: Just enough liquid to turn the cranberries into a spreadable filling
Instructions
- Whisk the dry ingredients:
- In a medium bowl, combine flour, baking powder, and salt until everything is evenly distributed. Set this aside where it will stay close to your work station.
- Cream the butter and sugar:
- Beat softened butter and granulated sugar in a large mixing bowl for 2-3 minutes until the mixture turns pale and fluffy. You will feel the mixture lighten beneath your beaters as air incorporates.
- Add the wet ingredients:
- Beat in the egg, vanilla extract, and orange zest until the mixture is smooth and homogeneous. Scrape down the sides of the bowl to ensure everything gets incorporated.
- Combine dough:
- Gradually add the flour mixture, mixing just until a smooth dough forms. Be careful not to overwork the dough or the cookies will become tough.
- Chill the dough:
- Divide dough in half, flatten each portion into a disc, wrap in plastic, and refrigerate for 1 hour. This rest period is crucial for making the dough easier to roll later.
- Prepare the filling:
- In a food processor, combine dried cranberries, sugar, orange zest, orange juice, and water. Pulse until cranberries are finely chopped and the mixture becomes spreadable like jam.
- Roll the first portion:
- Roll out one dough portion between parchment sheets into a 9x12-inch rectangle. Spread half the filling evenly, leaving a 1/2-inch border on one long edge for sealing.
- Form the log:
- Starting from the opposite long edge, roll dough tightly into a log using parchment for support. Pinch the seam to seal and repeat with remaining dough and filling.
- Chill again:
- Wrap logs in plastic and refrigerate for at least 1 hour, or freeze for 30 minutes if you are pressed for time. This step ensures clean slices that hold their shape.
- Preheat and prepare:
- Preheat oven to 350 degrees and line baking sheets with parchment paper while the logs finish chilling.
- Slice the cookies:
- Cut logs into 1/4-inch rounds using a sharp knife with a gentle sawing motion. Arrange cookies 2 inches apart on prepared sheets.
- Bake to perfection:
- Bake for 13-15 minutes until edges are lightly golden. Let cookies cool on sheets for 5 minutes before transferring to a wire rack.
 Save to Pinterest
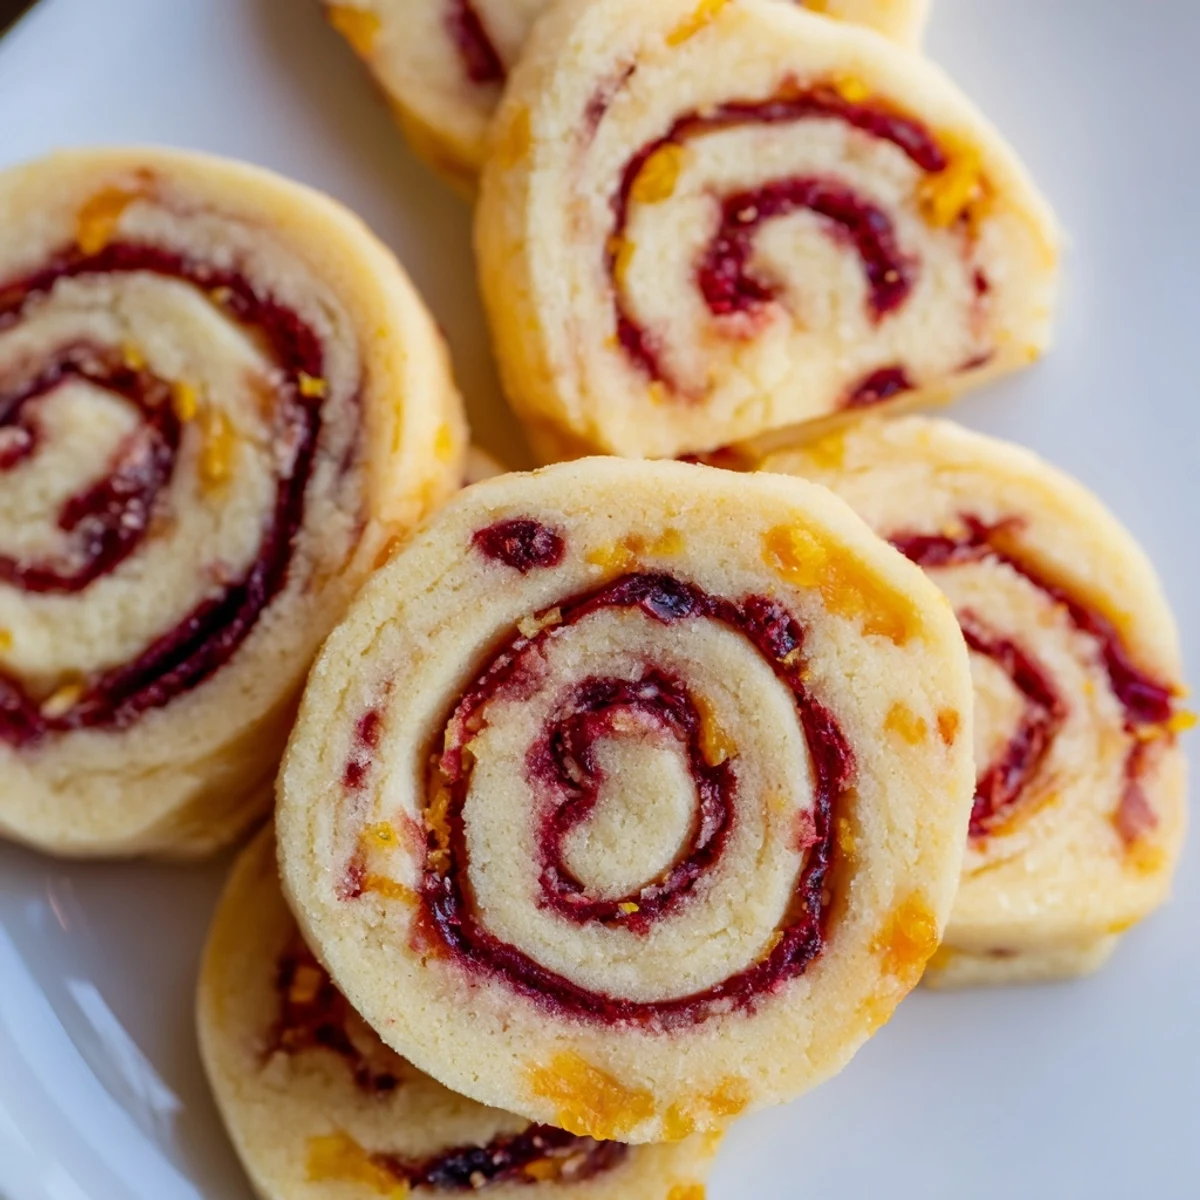
 Last Christmas, my youngest niece grabbed one straight from the cooling rack and declared them Christmas spirals. Now that is what we call them in our house, and she asks to help roll the logs every year. There is something about the swirled pattern that makes people feel like kids again, discovering magic in the kitchen.
Making The Dough Work For You
After making these dozens of times, I have learned that room temperature butter that is slightly too soft can make the dough stick to everything. I aim for butter that yields to gentle finger pressure but still holds its shape. If your dough becomes too soft while rolling, slide it onto a baking sheet and chill for 10 minutes before continuing.
Filling Variations I Have Tried
Sometimes I swap dried cherries for cranberries when I want something deeper and less tart. A friend adds chopped pecans to the filling for crunch, which creates this beautiful texture contrast. Lemon zest and juice work beautifully too, especially in spring when you want something lighter than traditional holiday flavors.
Storage And Freezing Tips
The dough logs freeze exceptionally well for up to two months if wrapped tightly in plastic and placed in a freezer bag. I often double the recipe and keep extra logs in the freezer for unexpected guests or last-minute holiday baking needs.
- Slice frozen logs directly without thawing, just add 1-2 minutes to baking time
- Baked cookies stay fresh in an airtight container for up to one week at room temperature
- For gift giving, stack slices in cellophane bags tied with ribbon before baking
 Save to Pinterest
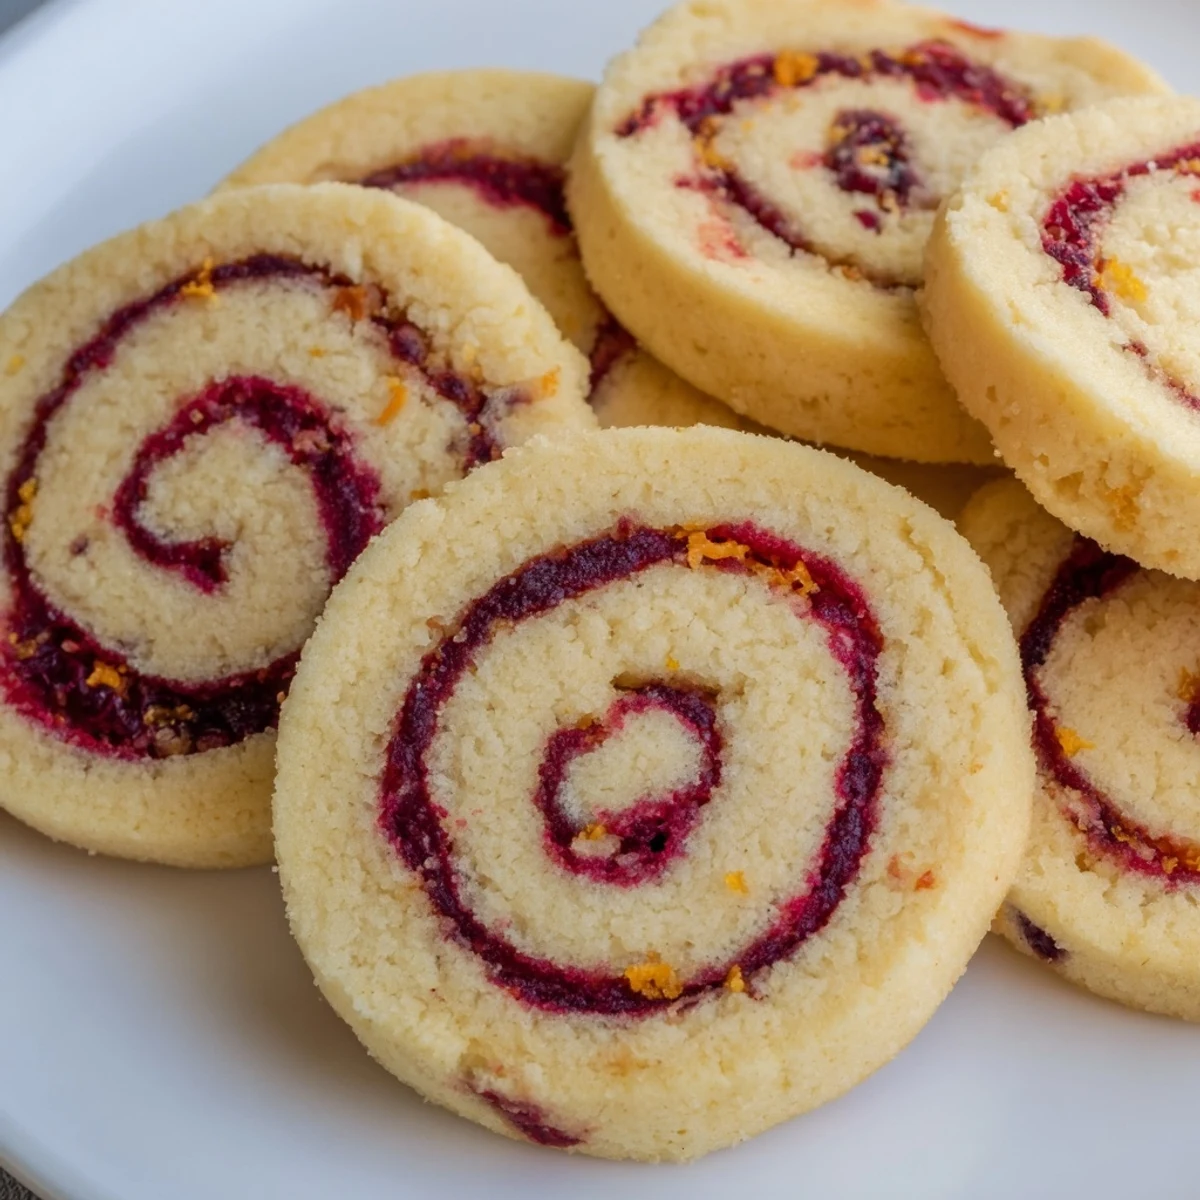
 There is something deeply satisfying about pulling a tray of these from the oven and seeing those perfect spirals, knowing you created something beautiful from simple ingredients. Hope these become part of your kitchen traditions too.
Questions & Answers About the Recipe
- → Can I make these orange cranberry pinwheel cookies ahead of time?
-
Absolutely. The dough logs can be wrapped and frozen for up to 2 months. Slice and bake straight from the freezer, adding just 1-2 minutes to the baking time. You can also refrigerate the logs for up to 3 days before baking.
- → What's the best way to get clean slices without squishing the spiral?
-
Use a sharp, thin knife and wipe it clean between slices. For the cleanest cuts, chill the logs thoroughly until firm but not rock hard. If frozen, let them sit at room temperature for 5-10 minutes before slicing.
- → Can I use fresh cranberries instead of dried?
-
Dried cranberries work best here as they provide the right consistency for spreading. Fresh cranberries contain too much moisture and would make the filling too wet, potentially causing the dough to become soggy.
- → Why do I need to chill the dough twice?
-
The first chill firms the dough for rolling, preventing sticking and making it easier to work with. The second chill after rolling is crucial—it firms the butter so the cookies hold their shape while slicing and baking, preserving those beautiful spirals.
- → Can I add white chocolate chips to the filling?
-
While tempting, adding chunks to the filling would create uneven layers and make rolling difficult. However, you can drizzle melted white chocolate over the finished cookies for an extra decorative touch and complementary flavor.
- → How do I know when these pinwheel cookies are done baking?
-
The edges should be lightly golden, and the centers should feel set when gently touched. They will continue firming up as they cool on the baking sheet. Avoid overbaking, as you want them tender rather than crisp.
