 Save to Pinterest
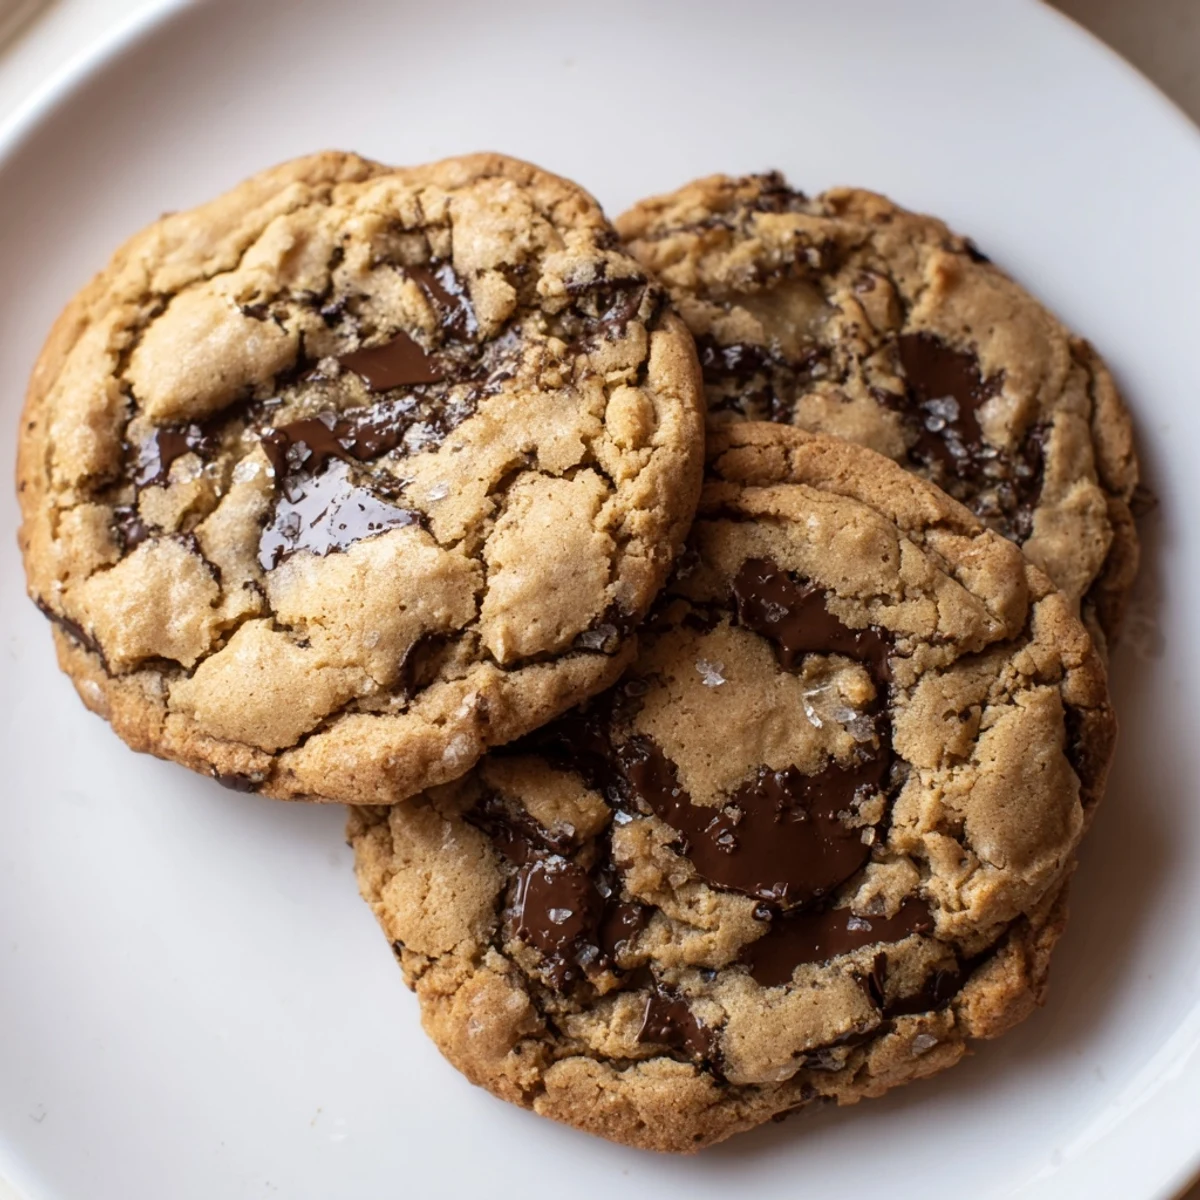
 These soft and chewy chocolate chip cookies deliver classic comfort without any nuts. Made with simple ingredients like butter, brown sugar, and semi-sweet chocolate chips, they bake up golden with slightly soft centers. Perfect for school lunches, afternoon snacks, or dessert. The dough comes together in just 15 minutes and bakes for under 11 minutes. For extra chewiness, chill the dough 30 minutes before baking. Always verify ingredients are certified nut-free for severe allergies.
Last summer, my neighbor's daughter came over while I was baking and mentioned she'd never had a homemade chocolate chip cookie because of her nut allergy. That afternoon changed everything about how I think about inclusive baking. We made three batches together, and her face when she took that first warm bite convinced me these needed to be in regular rotation. Now they're the only cookie I keep stocked in my freezer.
I brought these to a potluck last month without mentioning they were nut free, and watched three different people go back for seconds before someone finally asked what made them so good. The best part was telling them they were enjoying an allergy friendly version without even noticing the difference. Now my friend with the nut allergy finally gets to be the one who brings the homemade cookies to gatherings.
Ingredients
- All-purpose flour: Provides the structure for that perfect chewy center and slightly crisp edge
- Baking soda: Essential for spreading and creating those irresistible cracks on top
- Salt: Just enough to balance the sweetness and deepen the chocolate flavor
- Unsalted butter: Softened properly makes all the difference between flat cookies and beautifully thick ones
- Granulated sugar: Creates the crisp edges that contrast so perfectly with the soft center
- Light brown sugar: The secret to keeping these chewy days after baking
- Eggs: Room temperature eggs blend better and help create that tender texture
- Pure vanilla extract: Dont skimp here because real vanilla makes the chocolate sing
- Nut free semi sweet chocolate chips: Always check the certification label carefully when allergies are involved
Instructions
- Get your oven ready:
- Preheat to 350°F and line two baking sheets with parchment paper so nothing sticks
- Mix the dry team:
- Whisk together the flour, baking soda, and salt in a medium bowl until well combined
- Cream the butter and sugars:
- Beat softened butter with both sugars for 2 to 3 minutes until fluffy and noticeably lighter in color
- Add the eggs and vanilla:
- Mix in eggs one at a time, scraping the bowl, then add the vanilla until everything is incorporated
- Combine everything:
- Pour in the dry ingredients gradually and mix just until no flour streaks remain
- Fold in the chocolate:
- Use a spatula to gently fold in the chocolate chips until evenly distributed throughout
- Scoop and space:
- Drop rounded tablespoons onto prepared sheets about 2 inches apart to allow for spreading
- Bake to golden perfection:
- Bake for 9 to 11 minutes until edges are golden brown but centers still look slightly underdone
- Cool completely:
- Let them rest on the baking sheet for 5 minutes before moving to a cooling rack
 Save to Pinterest
 My nephew started calling these magic cookies after I told him the secret ingredient was patience while waiting for them to cool. Now every time he visits, he asks if we're making magic, and I've learned that the best part of recipe sharing is watching someone discover their new favorite treat.
Making Them Ahead
Scoop the dough onto a baking sheet and freeze until solid, then transfer to a freezer bag for fresh baked cookies anytime. Bake from frozen adding just 1 to 2 extra minutes.
Getting The Texture Right
Chilling the dough for 30 minutes before baking creates thicker cookies with even more chew. I learned this after years of wondering why bakery cookies always seemed better than mine.
Mix In Ideas
These cookies are incredibly forgiving and welcoming to variations while still maintaining that classic appeal.
- Swap half the chocolate chips for nut free white chocolate chunks
- Try adding dried cranberries or raisins for a fruity twist
- Press a few extra chips into the tops before baking for that bakery look
 Save to Pinterest
 Theres something profoundly satisfying about watching someone take that first bite of a cookie they thought they could never safely enjoy. These prove that allergy friendly baking deserves to be just as indulgent and delicious as everything else.
Questions & Answers About the Recipe
- → Are these cookies completely nut-free?
-
Yes, these cookies contain no nuts or nut-derived ingredients. However, always check chocolate chip labels and verify all ingredients are certified nut-free if preparing for someone with severe allergies.
- → Why chill the dough before baking?
-
Chilling the dough for 30 minutes helps prevent spreading during baking and results in thicker, chewier cookies with better texture.
- → Can I use salted butter instead?
-
Yes, you can use salted butter but reduce the added salt to 1/4 teaspoon to prevent the cookies from becoming too salty.
- → How should I store these cookies?
-
Store completely cooled cookies in an airtight container at room temperature for up to 5 days. They stay soft and chewy when properly sealed.
- → Can I freeze the dough or baked cookies?
-
Scoop dough balls onto a baking sheet, freeze until solid, then transfer to a freezer bag for up to 3 months. Bake from frozen, adding 1-2 minutes. Baked cookies freeze well for up to 3 months.
- → What makes these cookies soft and chewy?
-
The combination of brown sugar, proper mixing technique, and removing from the oven while centers look slightly soft creates that perfect chewy texture as they finish cooking on the hot pan.
