 Save to Pinterest
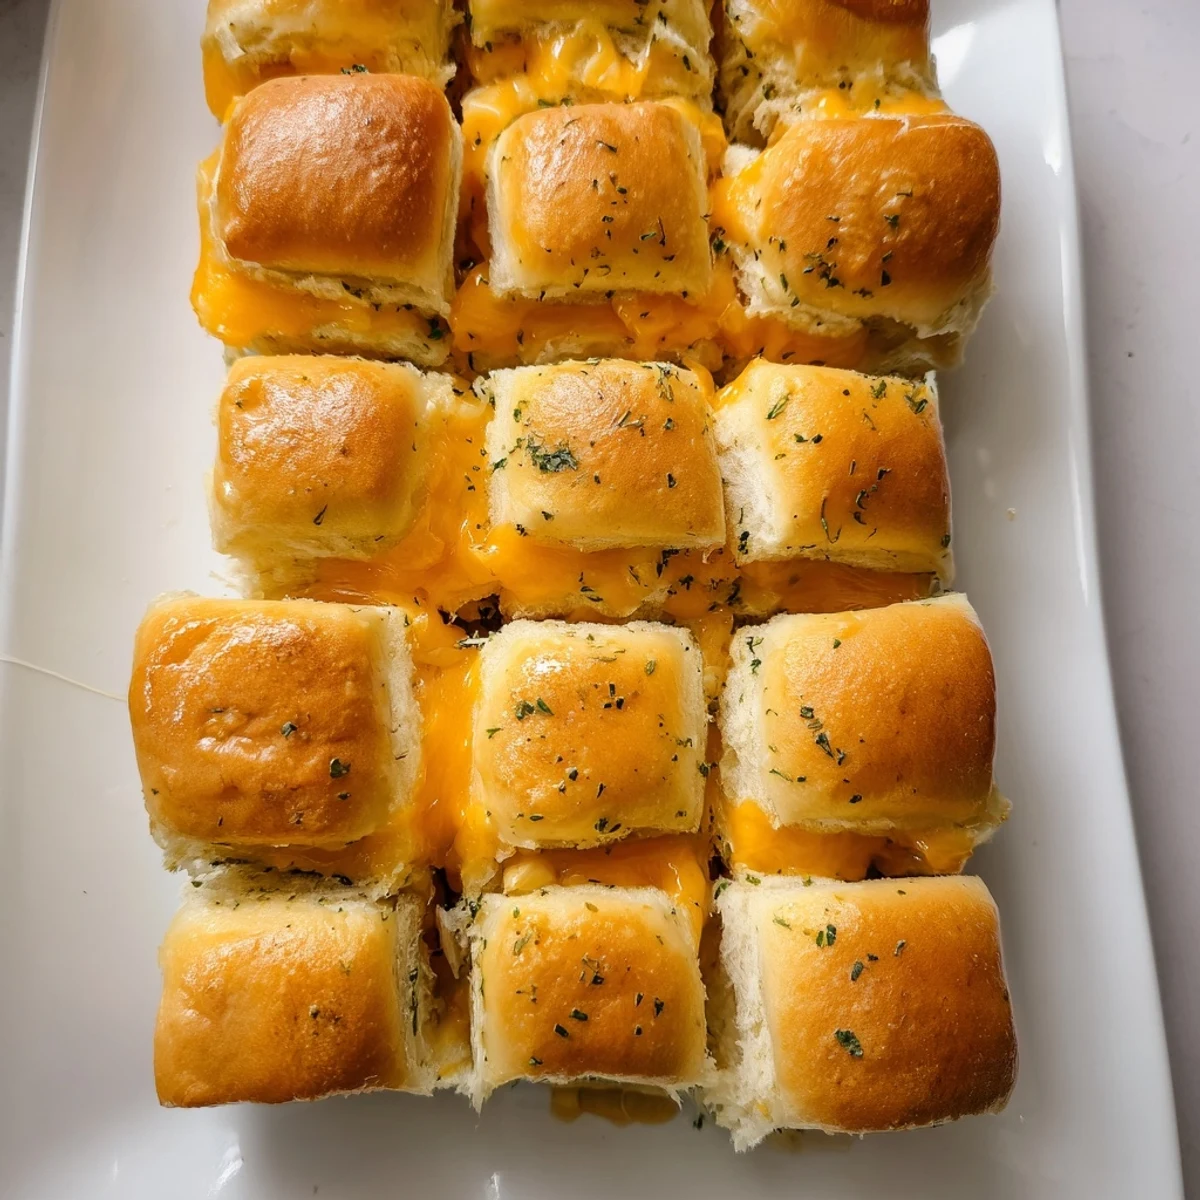
 These bite-sized sliders start with sweet Hawaiian rolls sliced horizontally and layered with sharp cheddar cheese. A buttery garlic-parsley mixture gets brushed across the tops before baking at 350°F for 12-15 minutes. The result? Golden brown, pillowy rolls encasing perfectly melted cheese. The combination of sweet bread and savory cheese creates irresistible flavor. Great for feeding crowds since the rolls stay connected during baking, then separate easily into individual portions. Customize by adding ham, turkey, or tomato slices, or swap cheddar for mozzarella, Swiss, or provolone.
The smell of butter and garlic hitting a hot oven takes me back to my first apartment, where my roommate and I would whip up these bite-sized sandwiches during late-night study sessions. Something about that sweet Hawaiian roll getting all toasty and golden while the cheese oozes out the sides made even the most stressful exam weeks feel manageable.
Last summer, I made a tray for my nephews birthday party and stood there genuinely stunned as adults and kids alike swarmed the platter. My sister admitted she ate three before anyone else even arrived, which honestly explained why I only found nine left when I brought them out.
Ingredients
- 12 Hawaiian rolls: That signature sweetness and soft texture is what makes these special. Keeping them connected while slicing saves time and keeps everything tidy.
- 12 slices cheddar cheese: Sharp cheddar gives you that perfect melt and tang. Provolone or mozzarella work beautifully if you want something milder.
- 4 tablespoons unsalted butter, melted: Unsalted lets you control the seasoning. Make sure its fully melted so it brushes on evenly.
- 1 teaspoon garlic powder: This is what transforms them from plain grilled cheese into something that makes your whole kitchen smell amazing.
- 1 teaspoon dried parsley: Adds a nice color and subtle herb flavor. Totally optional but makes them look restaurant quality.
- 1/4 teaspoon salt: Just enough to enhance all the flavors without overwhelming the sweetness of the rolls.
Instructions
- Get your oven ready:
- Preheat to 350°F so you can slide these in as soon as theyre assembled. A hot oven means better melting and browning.
- Prep the rolls:
- Slice the entire connected slab of rolls horizontally. Keep everything attached until after baking, then cut into individual portions.
- Layer the cheese:
- Place bottom halves in your baking dish and drape a slice of cheese over each roll. Let the cheese hang over the edges slightly for those crispy edges everyone fights over.
- Reassemble:
- Gently place the tops back on. The weight of the top roll helps press everything down as it bakes.
- Make the butter mixture:
- Whisk melted butter with garlic powder, parsley, and salt until smooth. The mixture should be pourable but thick enough to cling to the rolls.
- Brush and bake:
- Generously brush the tops with your butter mixture. Bake for 12 to 15 minutes until the cheese is bubbling and the tops are deeply golden.
- Serve them up:
- Let them cool for just a couple minutes so the cheese sets slightly. Cut between the rolls and serve while still warm and gooey.
 Save to Pinterest
 These have become my go-to whenever someone says dont go to any trouble because they look impressive but take about five minutes of actual effort. Last weekend my friend actually asked for the recipe while still chewing her first one.
Make Ahead Magic
You can assemble everything a few hours before baking and keep it covered in the refrigerator. Brush with butter just before they go into the oven for the best texture.
Cheese Variations
Mixing mozzarella with sharp cheddar gives you the best of both worlds. That mozzarella pull is ridiculous, and the cheddar keeps things from being too mild.
Serving Ideas
Pair with warm tomato soup for the ultimate comfort meal. They also work perfectly alongside a crisp green salad to balance all that richness.
- Set out some Dijon mustard for dipping
- Scatter fresh parsley over the top right after baking
- Keep them warm in a 200°F oven if youre serving a crowd
 Save to Pinterest
 Theres something deeply satisfying about pulling a tray of these golden, bubbling sandwiches out of the oven and watching everyone gravitate toward the kitchen.
Questions & Answers About the Recipe
- → Can I prepare these ahead of time?
-
Assemble the rolls with cheese and butter mixture up to 24 hours in advance. Cover tightly and refrigerate, then bake when ready to serve. Add 2-3 extra minutes baking time if baking from cold.
- → What cheese melts best for these sliders?
-
Sharp cheddar provides classic flavor, but mozzarella offers superior meltiness. Provolone adds mild nutty notes, while Swiss brings subtle sweetness. Pre-sliced cheese works perfectly, or slice block cheese thinly for even melting.
- → Do I need to separate the rolls before baking?
-
Keep the rolls connected while slicing horizontally. Bake them attached to maintain moisture and structure. Cut into individual sliders after baking with a serrated knife for clean edges.
- → How do I prevent the rolls from getting soggy?
-
Avoid over-brushing the butter mixture. A light, even coating provides flavor without overwhelming the bread. Bake immediately after assembly, and serve warm for best texture.
- → Can I make these without Hawaiian rolls?
-
Potato brioche or sweet dinner rolls make excellent alternatives. Plain dinner rolls work but lack the subtle sweetness that balances the savory cheese. Hawaiian rolls remain the ideal choice for authentic flavor.
