 Save to Pinterest
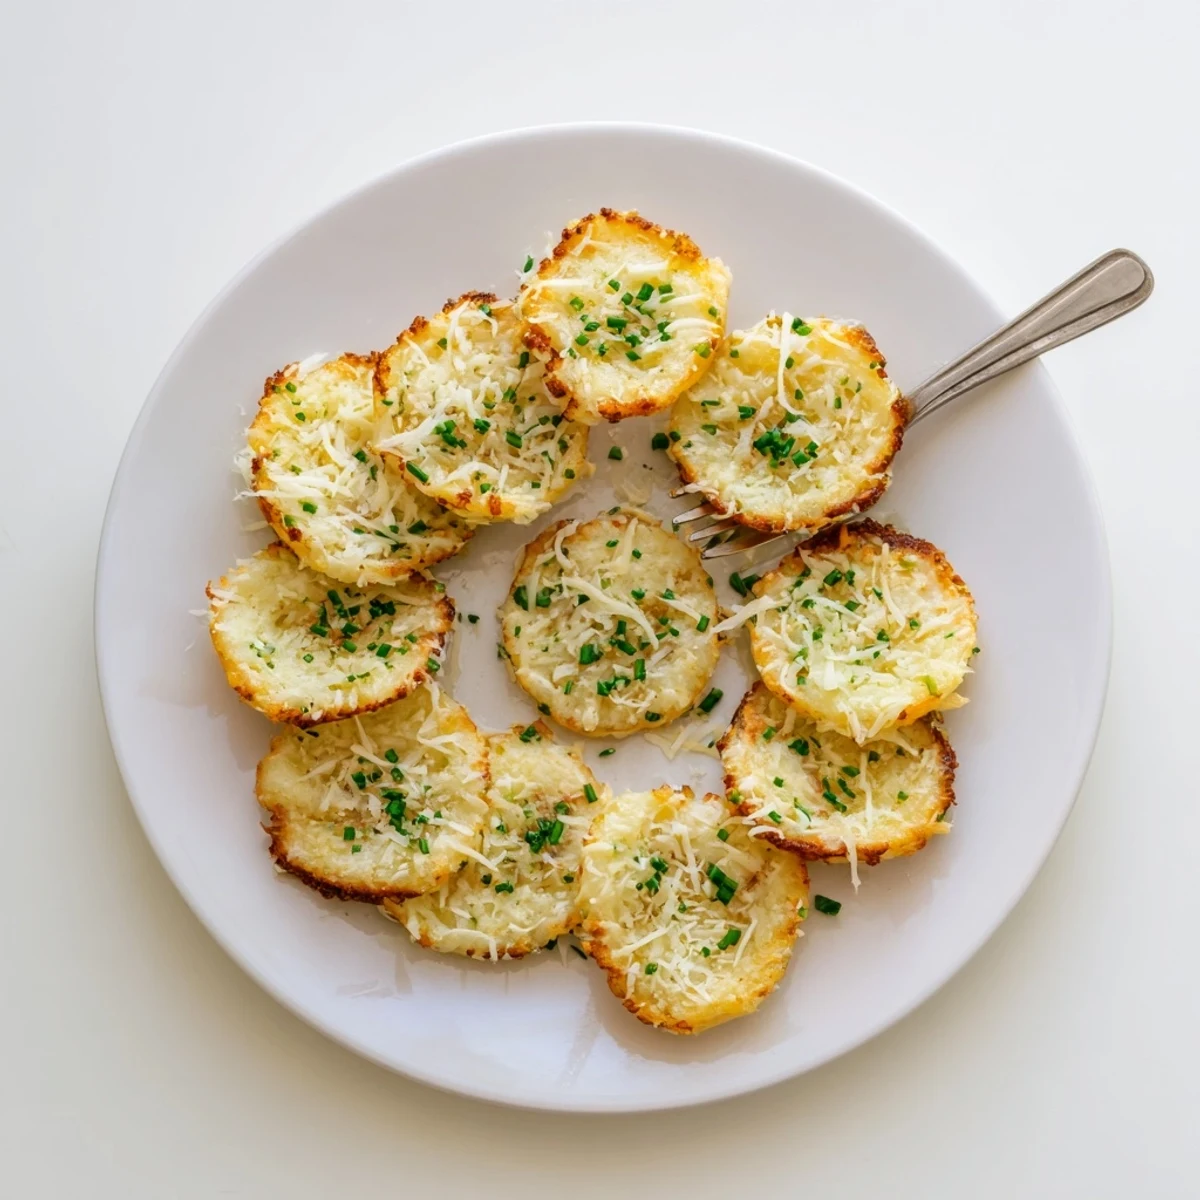
 These crispy cottage cheese chips offer a clever way to enjoy more protein while satisfying snack cravings. The process involves pressing excess moisture from cottage cheese, mixing with savory seasonings like smoked paprika and garlic powder, then baking until golden and crisp.
Each serving delivers 14 grams of protein with just 94 calories, making them ideal for high-protein or gluten-free eating plans. The texture develops beautifully—crunchy edges with a lighter center that holds up well to dipping.
Customize with chili flakes for heat, dried herbs for an Italian twist, or keep it classic with chives and Parmesan. They bake in under 30 minutes and stay crisp for days when stored properly.
My skeptical friend Sarah raised an eyebrow when I told her I was making chips out of cottage cheese, but she reached for a third one before she even finished her first. The transformation from creamy curds to impossibly crispy disks still feels like kitchen magic every time I pull them from the oven.
Last summer, I made these for a backyard gathering and watched them vanish in minutes while the vegetable sat ignored. My brotherinlaw, a selfproclaimed cottage cheese hater, couldn't believe his taste buds and kept asking what secret ingredient I'd used.
Ingredients
- 400 g cottage cheese: Lowfat gives you a lighter chip but regular yields an extra crispy texture with richer flavor
- 1/2 tsp garlic powder: Provides a savory backbone that cuts through the natural tang of the cheese
- 1/2 tsp smoked paprika: This is the secret ingredient that makes people wonder what's so special about these chips
- 1/4 tsp ground black pepper: Adds just enough warmth to keep things interesting
- 1/2 tsp sea salt: Enhances all the flavors without overwhelming your palate
- 1 tbsp finely chopped chives: Fresh oniony brightness that makes these feel fancy
- 2 tbsp grated Parmesan cheese: Creates these incredible umami loaded crispy patches everyone fights over
Instructions
- Preheat your oven to 180°C (356°F) and line two baking sheets with parchment paper:
- Getting your oven fully hot before the chips go in is crucial for that initial burst of crisping
- Place the cottage cheese in a fine-mesh strainer and press gently to remove excess liquid:
- Don't skip this step or you'll end up with sad, soggy rounds instead of the crunchy chips you're after
- Transfer the cottage cheese to a mixing bowl and stir in the garlic powder, smoked paprika, black pepper, and salt until evenly combined:
- Mash the seasonings in thoroughly so every single bite delivers the same flavor punch
- Drop heaping teaspoons of the mixture onto the prepared baking sheets, spacing them about 3 cm apart:
- These little guys don't spread much but they need breathing room to crisp up properly on all sides
- Flatten each mound lightly with the back of a spoon to form thin rounds:
- The thinner you go without creating holes, the more shatteringly crisp your final chips will be
- Sprinkle with chopped chives and/or Parmesan cheese if desired:
- The Parmesan especially gets wonderfully golden and creates these irresistible salty crunch pockets
- Bake for 20–25 minutes, or until the chips are golden and crisp at the edges:
- Set a timer to rotate those trays halfway through or you'll end up with some chips burnt and others underdone
- Let the chips cool on the tray for 5 minutes, then carefully transfer to a wire rack:
- They might feel slightly soft when they first come out but they firm up dramatically as they cool
 Save to Pinterest
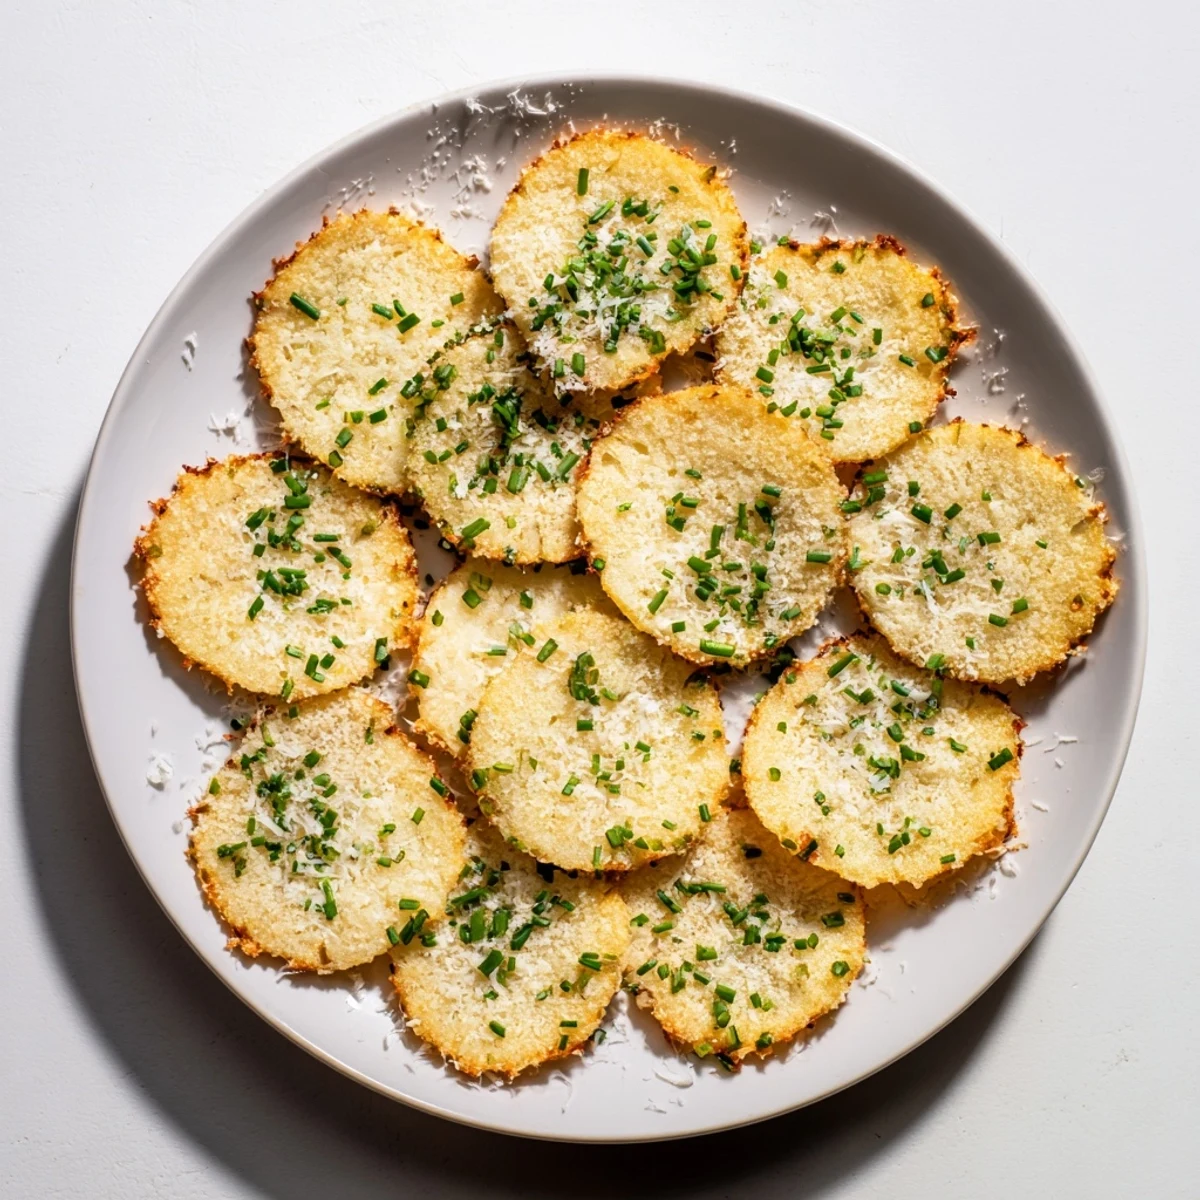
 These have become my emergency appetizer whenever unexpected guests drop by because I almost always have the ingredients on hand. Last week my neighbor texted me at 7 PM asking for the recipe after trying them at our impromptu dinner party.
Getting That Perfect Crunch
I've learned that patience is key here. If you try to rush the draining process or shortcut the cooling time, you'll end up with chewy disks instead of the delightfully crisp chips everyone raves about. The extra few minutes are absolutely worth it.
Flavor Variations That Work
My daughter loves these with everything bagel seasoning instead of the spices, and I've had great success swapping in ranch seasoning mix when we're craving something familiar. The base recipe is incredibly forgiving and welcomes experimentation.
Serving Suggestions
These chips shine alongside a cool Greek yogurt dip or fresh salsa because their mild flavor complements rather than competes with bold dips. They're sturdy enough to scoop without breaking but delicate enough to feel elegant.
- Try crumbling them over tomato soup for a protein packed crunch
- Pair with hummus for an afternoon snack that actually satisfies
- Keep a batch on hand for emergency protein cravings
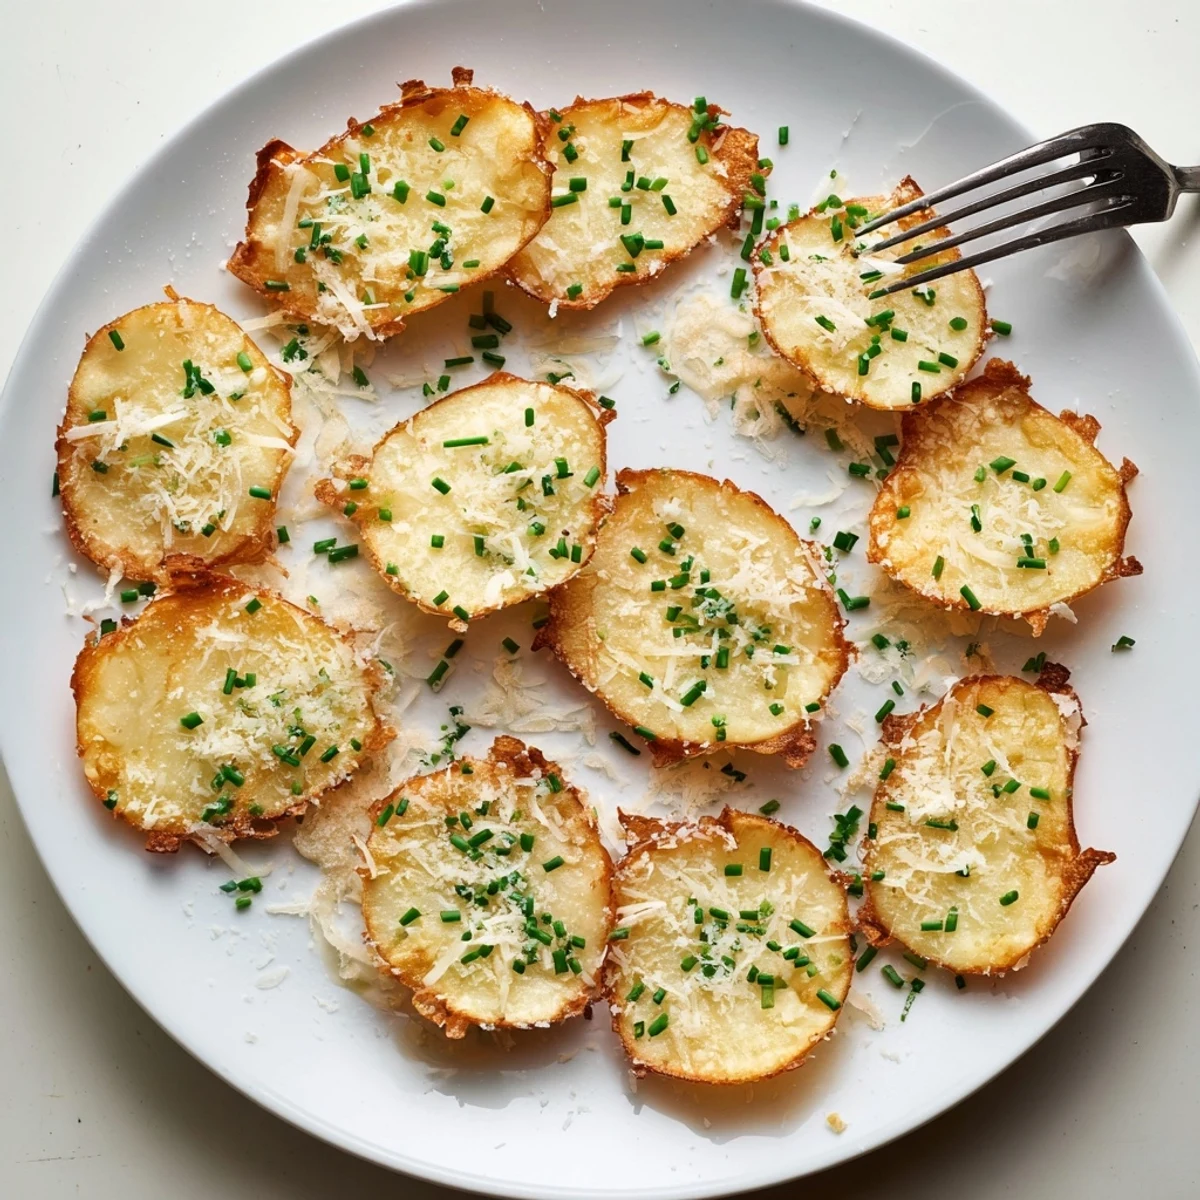 Save to Pinterest
 There's something deeply satisfying about turning a humble ingredient into something so unexpectedly delicious and craveable. These chips have permanently changed how I think about cottage cheese in my kitchen.
Questions & Answers About the Recipe
- → Why do I need to strain the cottage cheese?
-
Removing excess moisture prevents the chips from becoming soggy and helps them crisp up properly in the oven. This step is crucial for achieving that satisfying crunch.
- → Can I use flavored cottage cheese?
-
Stick to plain cottage cheese for best results. Flavored varieties may contain additional moisture or sweeteners that interfere with crisping and alter the savory flavor profile.
- → How thin should I spread the mixture?
-
Flatten each mound to about 1/8-inch thickness. Too thick and they'll remain soft in the center; too thin and they may burn before crisping evenly.
- → What dips pair well with these chips?
-
Greek yogurt dip, salsa, hummus, or a simple herb-infused sour cream all complement the smoky, savory flavors without overwhelming them.
- → Why do my chips turn out chewy instead of crispy?
-
This usually means excess moisture remains in the cottage cheese or the chips weren't baked long enough. Try pressing the cheese more thoroughly and extending baking time by 3-5 minutes.
- → Can I make these ahead for parties?
-
Yes, bake them up to 2 days in advance and store in an airtight container. They maintain their texture well and can be quickly refreshed in a warm oven if needed.
