 Save to Pinterest
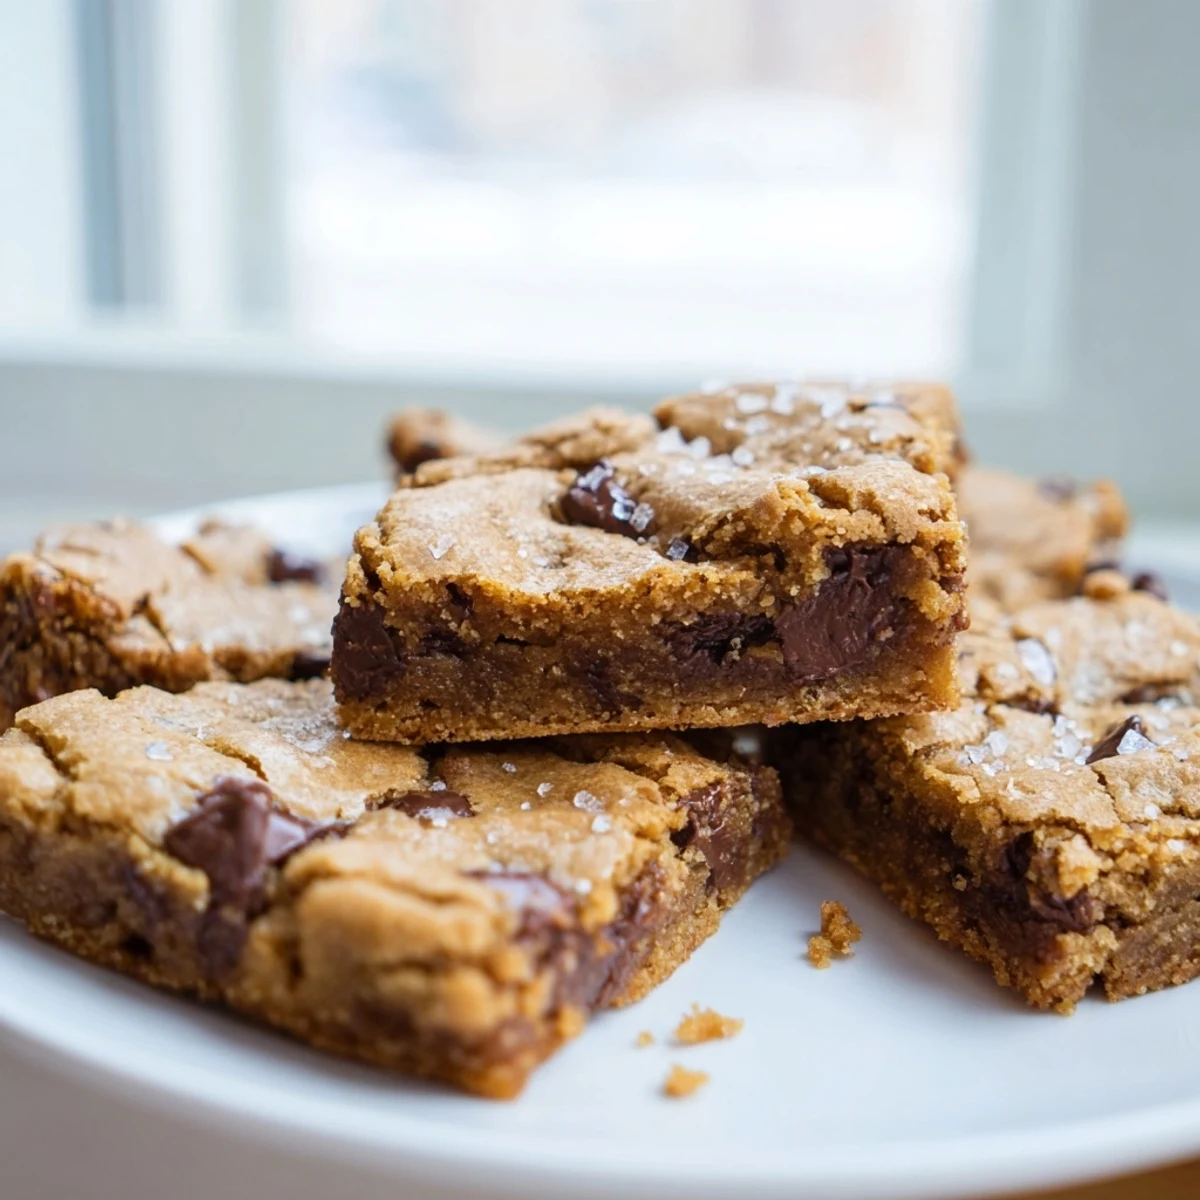
 These chocolate chip cookie bars transform the classic cookie into convenient, thick and chewy squares that are packed with melty chocolate chips and warm vanilla flavor. Ready in just 40 minutes, they feature a perfect balance of crisp edges and soft centers.
The simple batter combines melted butter with brown sugar for depth of flavor, while a generous amount of chocolate chips ensures every bite delivers satisfaction. Customize with optional nuts or enjoy them plain – they're ideal for sharing, potlucks, or storing for whenever a sweet craving strikes.
The summer our oven broke during a heatwave was when these cookie bars saved me from a birthday party disaster. With sweat beading on my forehead and a dozen kids arriving in hours, I frantically adapted my go-to chocolate chip cookie recipe into these bars, thinking they'd be faster. The kitchen filled with that unmistakable vanilla-brown sugar aroma while sunlight streamed through the curtains, and somehow, those rushed squares became the most requested treat in our household.
Last winter, I brought these to our neighborhood holiday swap, stacked in a vintage tin my grandmother gave me. Amid the flashier desserts with their intricate designs, I watched as people kept returning to the cookie bar plate, breaking off just one more piece. An elderly neighbor confided they reminded him of treats his mother made during the war when butter was scarce and every sweet was precious.
Ingredients
- Brown sugar: I always pack it tightly in the measuring cup until it holds its shape when turned out, a trick my aunt taught me that makes these bars irresistibly chewy.
- Melted butter: Wait until its just warm to touch before mixing, something I discovered after accidentally using hot butter once and ending up with greasy bars.
- Semisweet chocolate chips: Try chopping a portion of them into smaller pieces to create pockets of chocolate throughout every bite, a happy accident from when I once used the wrong side of my knife.
- All-purpose flour: Measuring it by spooning into the cup rather than scooping directly gives these bars their tender crumb, a lesson from many dense early attempts.
Instructions
- Prep your canvas:
- Line that 9x13 pan with parchment paper leaving an overhang on two sides for easy lifting later. I can still feel the frustration of trying to pry stuck cookie bars from a poorly greased pan.
- Mix with intention:
- Whisk those dry ingredients separately before introducing them to the wet mixture. The flour should disappear just as its fully incorporated, preserving that perfect texture.
- Create your base:
- When combining melted butter with both sugars, youll notice the mixture transforms from shiny to slightly matte as you mix. This subtle change signals youre building the foundation for that classic cookie flavor.
- Add the soul:
- Beat in those room temperature eggs one at a time, allowing each to fully blend before adding the next. The vanilla should be measured right over the bowl so even the drops clinging to the spoon contribute their flavor.
- Handle with care:
- Fold the dry ingredients using gentle strokes until no flour pockets remain visible. Over-enthusiastic mixing will activate the gluten and rob you of that tender bite we crave.
- Load with goodness:
- Stir in chocolate chips with just a few turns of your spatula, creating beautiful marbling throughout the dough. If adding nuts, this is their moment to join the party.
- Spread with love:
- Use slightly damp fingers to press the dough evenly into your prepared pan, reaching all corners. The thickness should look uniform across the surface for even baking.
- Bake with patience:
- Watch for that golden edge to form while the center remains slightly soft. The kitchen will fill with a caramel-cookie aroma about 18 minutes in, but resist the urge to remove them too soon.
- Exercise restraint:
- Allow the bars to cool completely in the pan, the hardest step of all. I still remember burning my finger and tongue trying to sneak an early taste during my first batch.
 Save to Pinterest
 The afternoon my daughter brought her new college roommates home for the weekend, I pulled a batch of these from the oven just as they walked through the door. The conversation flowed easier with something warm to share, and watching them break off pieces while swapping stories made me realize food isnt just sustenance but a bridge between strangers. By midnight, theyd gone from awkward introductions to planning a spring break trip, all over crumbs and milk glasses.
The Perfect Cut
I learned the hard way that patience yields cleaner cuts with these bars. After cooling completely, I refrigerate them for twenty minutes before slicing with a sharp knife wiped clean between cuts. Gone are the days of jagged edges and chocolate smears that, while delicious, didnt photograph well for my sons bake sale posters.
Storage Secrets
These bars develop an almost caramel-like quality on day two that has converted even the fresh-from-the-oven purists in my household. Layered between parchment in an airtight container, they maintain their magic for nearly a week at room temperature, though they rarely last that long unless I hide a few squares behind the flour canister for myself.
Customization Station
The basic recipe has become my blank canvas for seasonal adaptations through the years. During an unexpected snowstorm when grocery trips were impossible, I discovered that bashed candy canes, butterscotch chips from Thanksgiving baking, and even the remains of a chocolate orange all work beautifully folded into this forgiving dough.
- Replace a quarter cup of the flour with cocoa powder for a double-chocolate version that disappears even faster than the original.
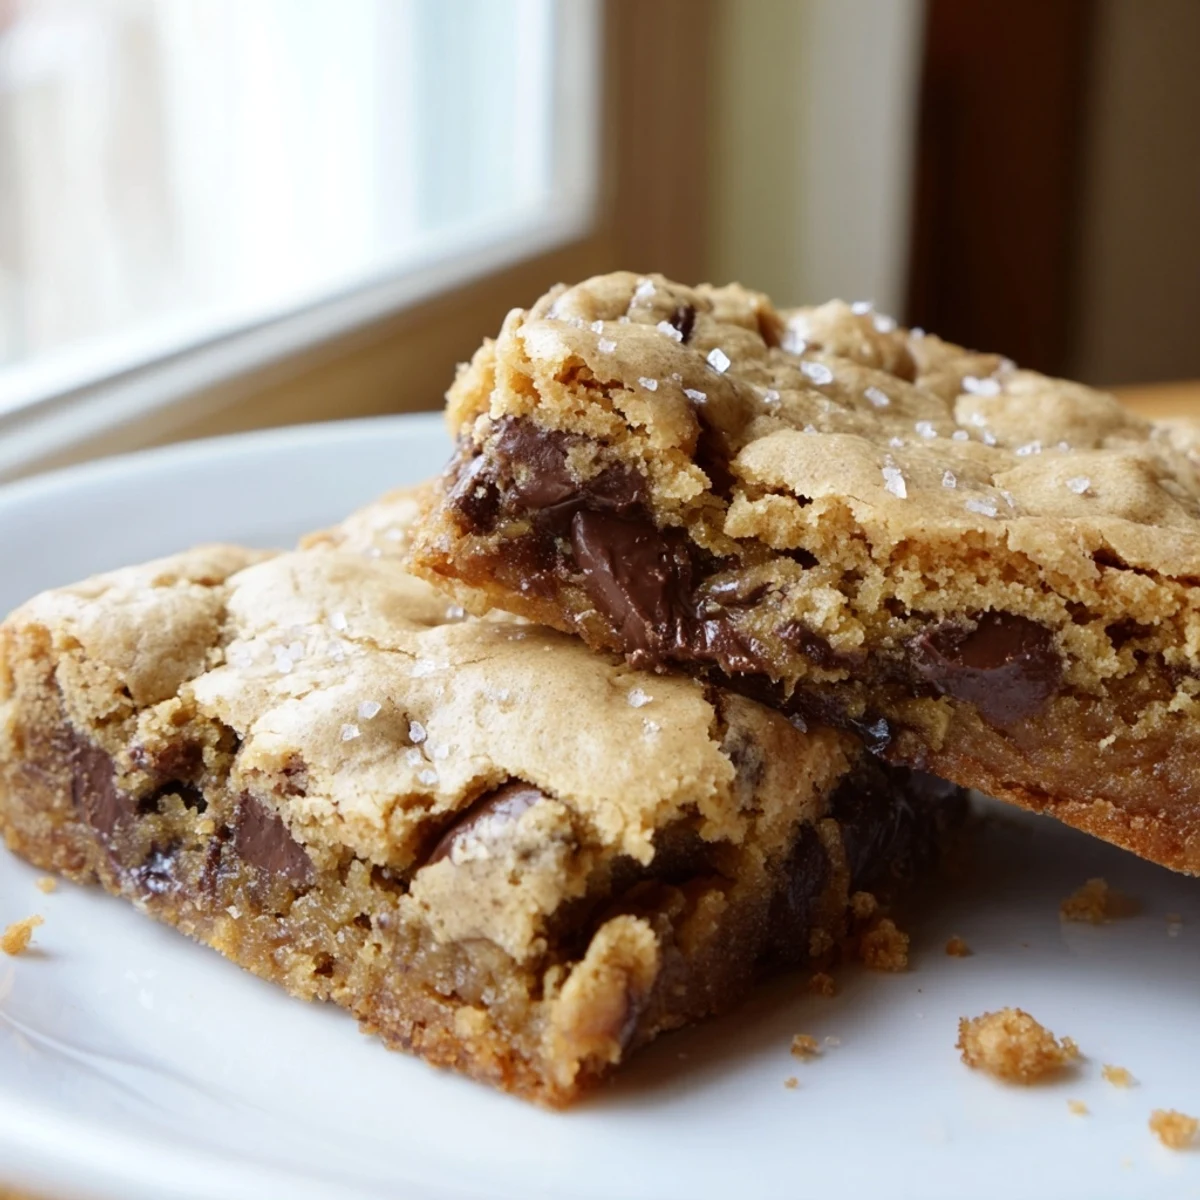
- Press a few whole chocolate squares into the surface five minutes before the end of baking for dramatic melted pools that look impressive with minimal effort.
- Sprinkle flaky sea salt across the top just before baking for that sweet-salty contrast that makes people ask for your secret ingredient.
 Save to Pinterest
 These chocolate chip cookie bars have traveled to beach picnics, comforted friends through breakups, and celebrated tiny victories in ordinary days. They remind me that sometimes the simplest offerings carry the most meaning.
Questions & Answers About the Recipe
- → How do I know when the cookie bars are done baking?
-
The bars are done when the edges are golden brown and a toothpick inserted in the center comes out with a few moist crumbs (not wet batter). For gooier centers, bake for 23 minutes; for more set bars, bake up to 27 minutes.
- → Can I make these bars ahead of time?
-
Absolutely! These bars can be made 2-3 days in advance. Store in an airtight container at room temperature. You can also freeze them for up to 3 months wrapped well in plastic wrap and stored in a freezer bag.
- → What can I substitute for nuts if I have allergies?
-
You can simply omit the nuts entirely or replace them with additional chocolate chips, butterscotch chips, white chocolate chunks, or even dried cranberries for a different flavor dimension.
- → Can I add other mix-ins besides chocolate chips?
-
Definitely! Try adding M&Ms, toffee bits, peanut butter chips, or a swirl of Nutella. Just keep the total amount of mix-ins to about 2-2.5 cups to maintain the right texture.
- → How should I cut these bars for the cleanest results?
-
For the cleanest cuts, make sure the bars are completely cooled. Use a sharp knife and wipe it clean between cuts. For extra precision, refrigerate the bars for 30 minutes before cutting.
